
- Tears of the Kingdom Garden of Time Guide - June 23, 2023
- Link’s Awakening Seashells Guide - June 21, 2023
- Link’s Awakening Ghost Guide - May 9, 2023
The Night Before: Preliminary Walkthrough Rundown
My controversial opinion of the year is that Majora’s Mask is one of my favorite Legend of Zelda games! As a result of my drive to share my lovely bias for Majora’s Mask, I will take you through the game’s First Three Days in this walkthrough. That means the prologue! Which, in this case, is the tutorial bits and the game’s primary content until we obtain the Ocarina and Deku Mask.
I will also cover what is different between the different versions of the game as they become relevant (i.e. N64 vs 3DS).
This Guide Will Have These Sections as Follows:
Skull Kid Wants YOU For The Lunar Crisis: Before Clock Town Content
- Dude, Did We Just Get Robbed?: Beginning Cutscene
- I Hop? You Could Say I Like To Hop: Jumping Tutorial (Including general control table)
- Help! I’ve Fallen, and I Can’t Get Up!: Deku Link and Beginning Gameplay
- The Horrifying Ordeal of Being Known: Completing the Before Clock Town Area
Link and His Adventures in Uncanny Valley: Clock Town
- Um… Mr. Tingle… Why Though?: Exploring North Clock Town
- Heartbreaking! The Great Fairy is… Shattered?: Collecting the Stray Fairies Introduction
- I Really Could Use A Wish Right Now: The Bomber’s Password
- Moon, O Moon, Why Do You Cry?: Meeting the Astronomer and Moon’s Tear Trading
- These Are My Roaming Hours: Snatching the Ocarina Back and Gaining the Deku Mask
A Penny For Your Thoughts?: Legend of Zelda: Majora’s Mask FAQ
Skull Kid Wants YOU For The Lunar Crisis: Before Clock Town Content
Dude, Did We Just Get Robbed?: Beginning Cutscene
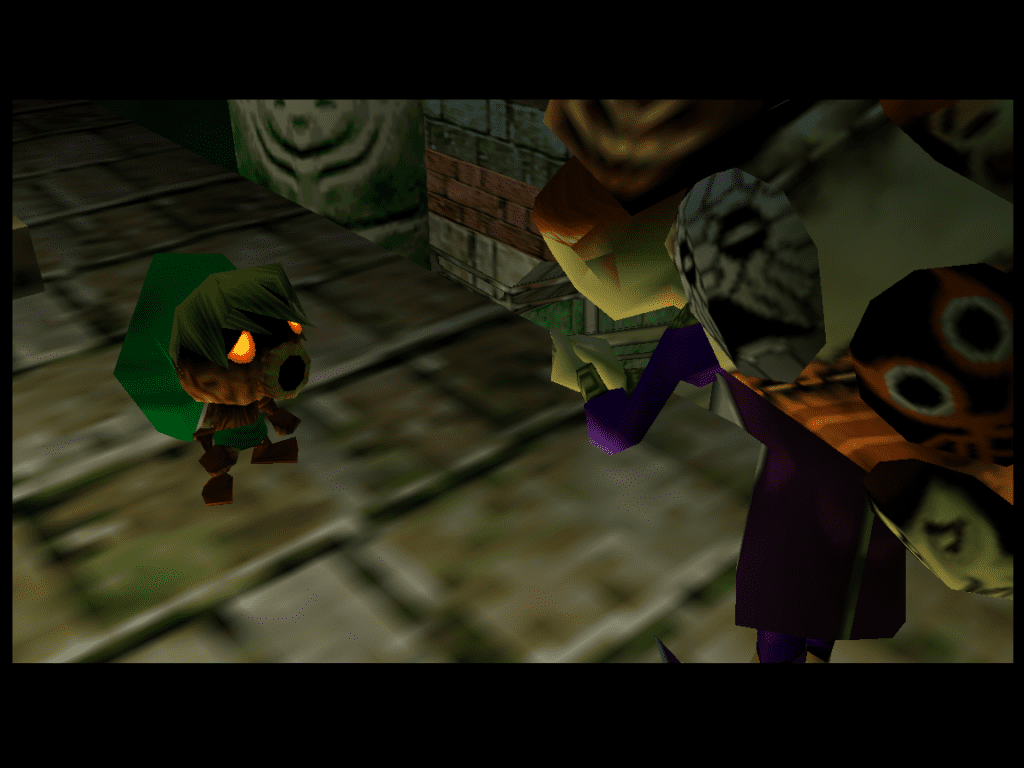
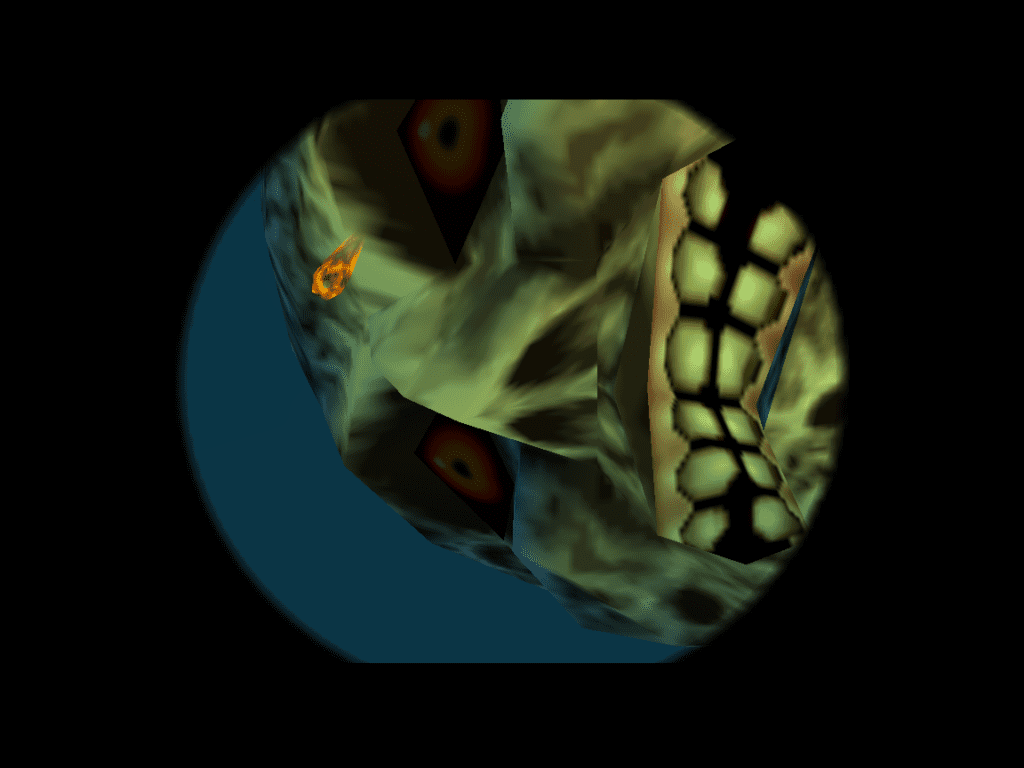
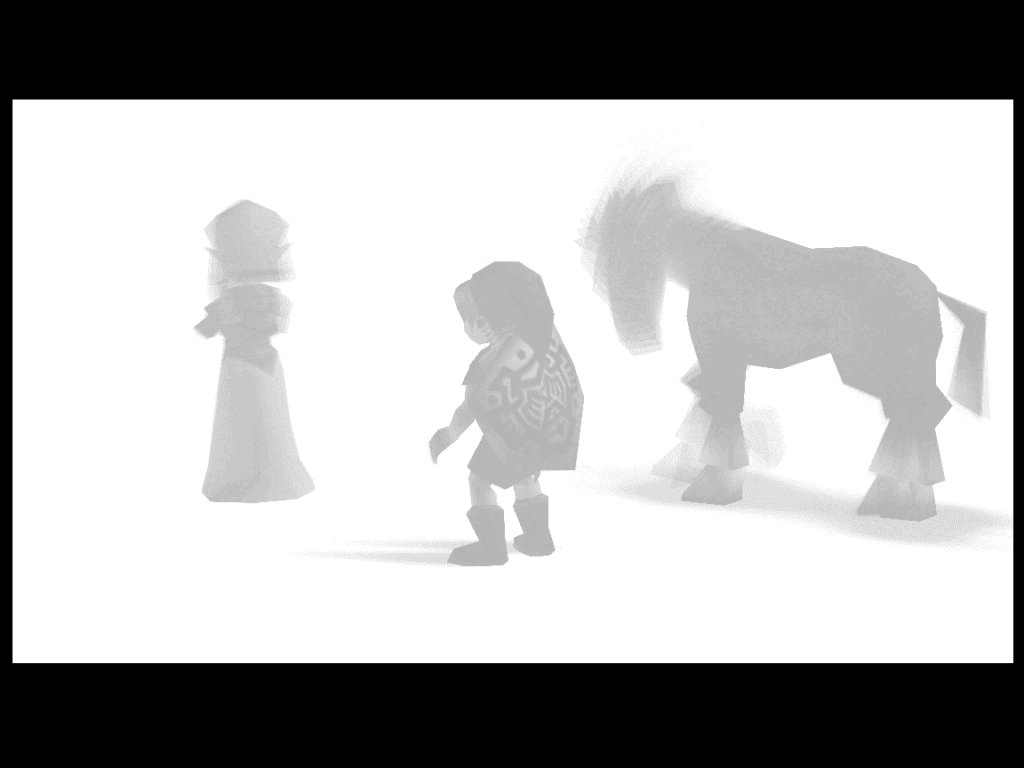
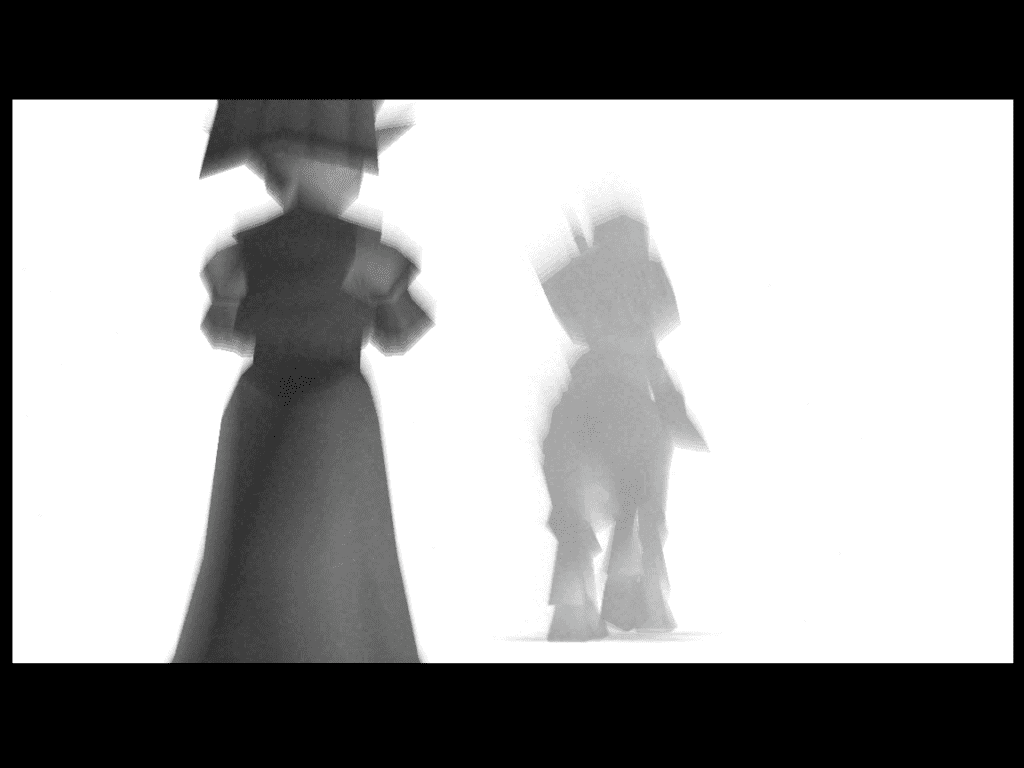
The start of Majora’s Mask kicks off with a cutscene, beginning with some lore-driven fluff text. As the cutscene continues, we reach the frantic race through the woods (the Lost Woods…?) after getting past the exposition. This part features our beloved protagonist, Link, riding atop Epona (the trusty steed). It also gives the first glimpse into the rest of the major characters in Majora’s Mask.
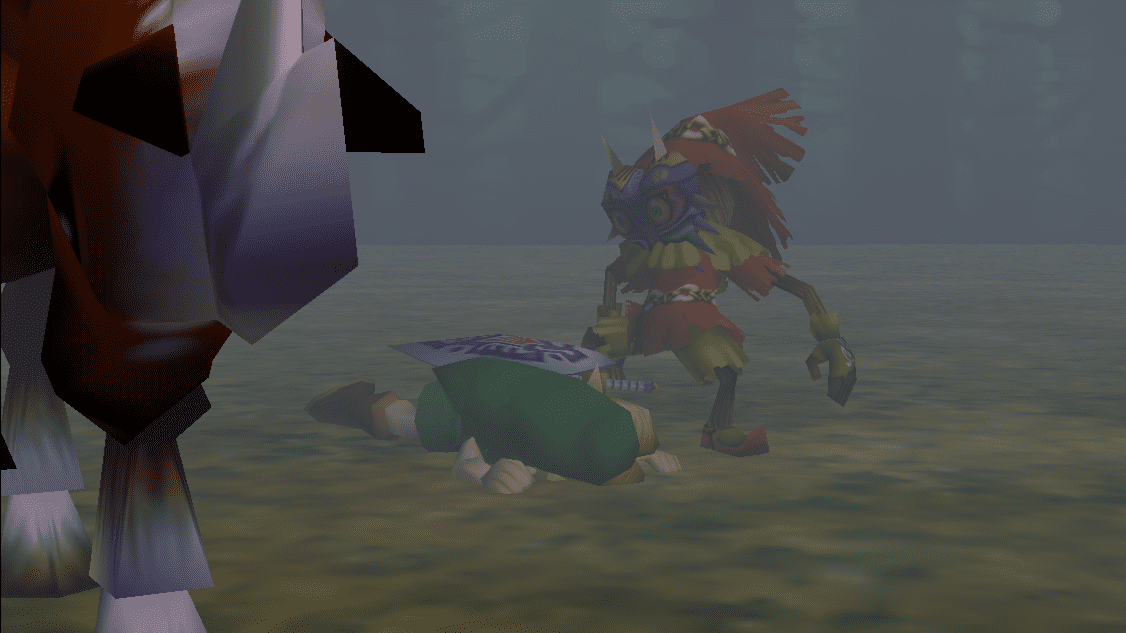
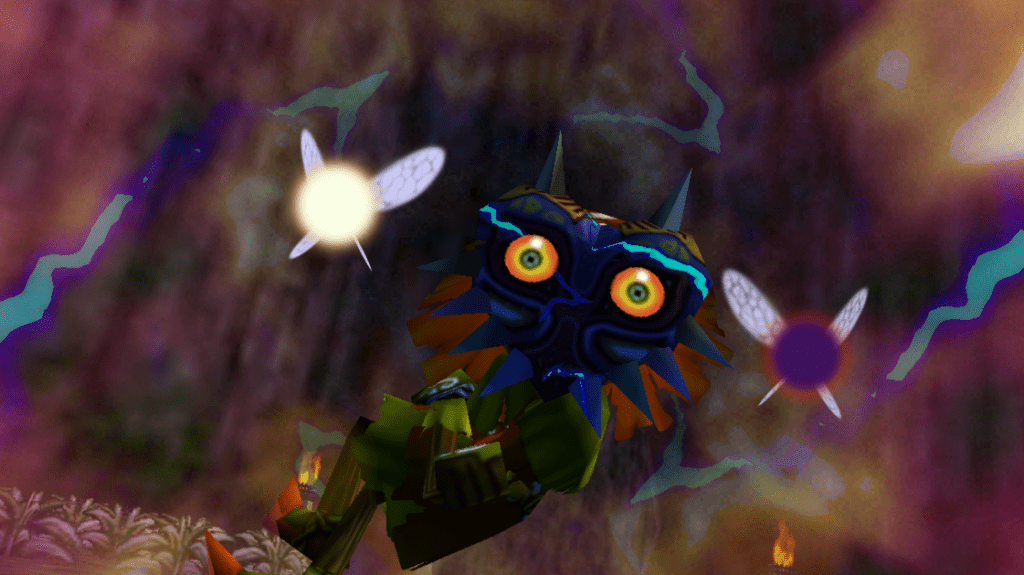
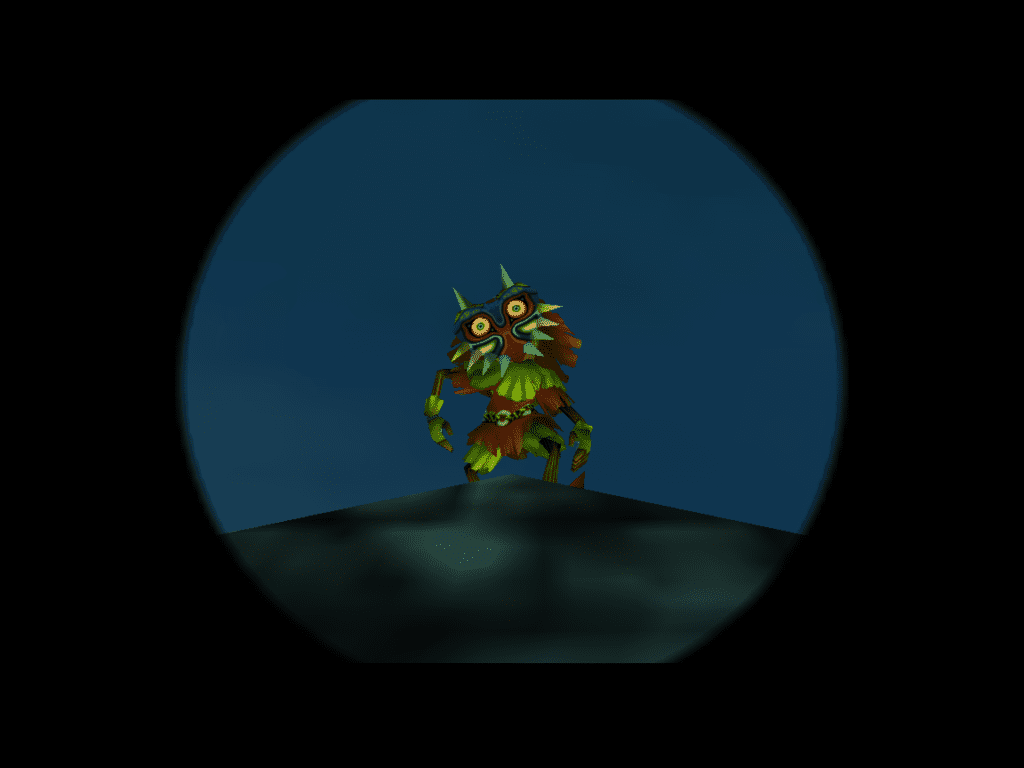
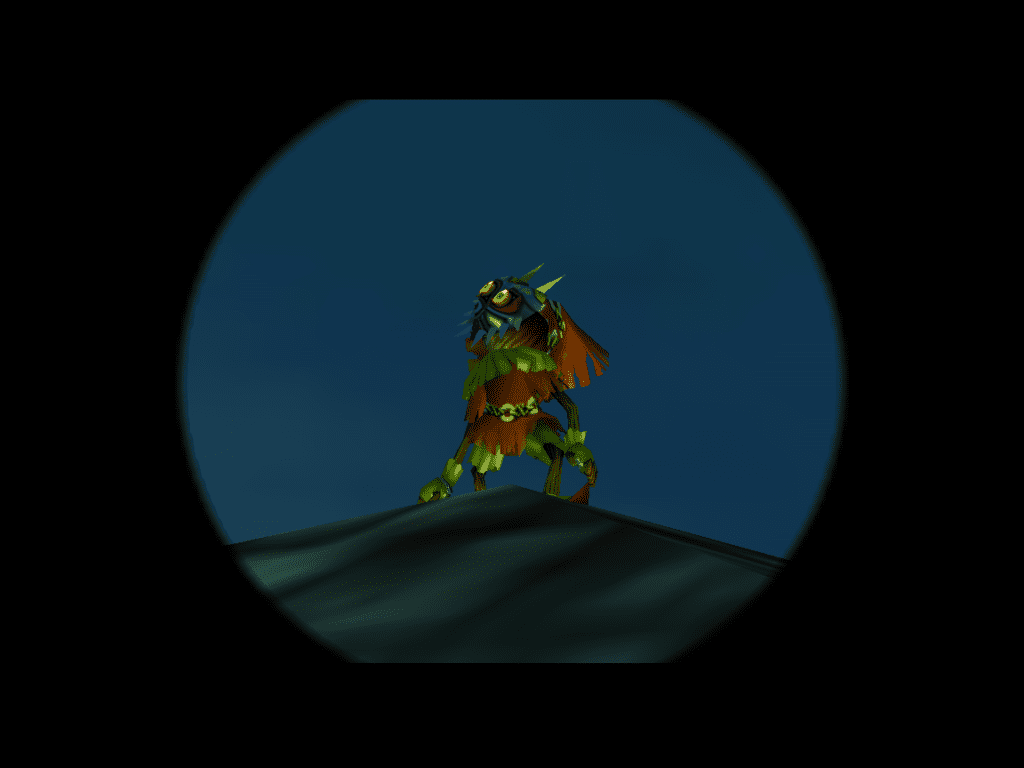
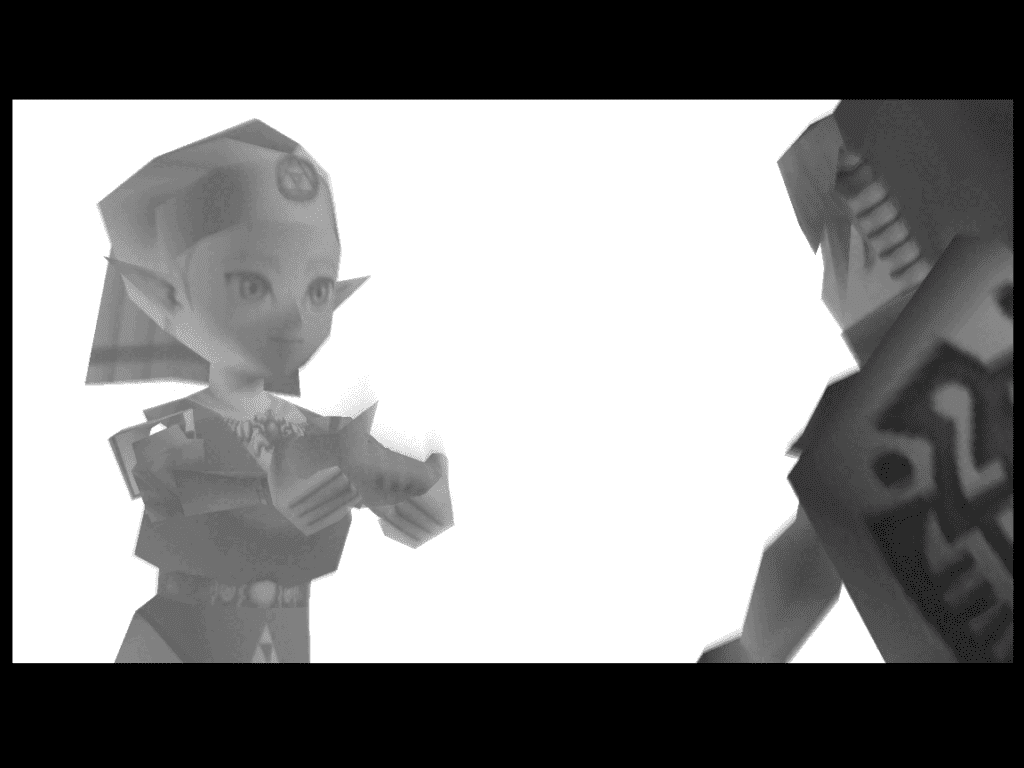
As Link rides through the woods at a breakneck pace, we witness Skull Kid (our fateful antagonist), and his fairies, Tatl and Tael (I recently figured out this is a play on the phrase “tattle tale”). As the cutscene continues, we observe a more tired version of Link, presumably a few hours later. Tatl and Tael spook Epona, who gracefully kicks Link off her back, and now Link’s unconscious.
Skull Kid says some things to Tatl and Tael that imply that he will rob Link, and then a double take because he seems to recognize Link. Then he kicks Link’s currently insentient form… and steals the Ocarina that Zelda gifted him previously (read: Ocarina of Time). To speedrun the rest, Link wakes up, and Skull Kid makes a mad dash for it. He settles himself on Epona and leaves Link to cling to Epona’s leg desperately.
I Hop? You Could Say I Like To Hop: Jumping Tutorial (Including general control table)
Now, the Majora’s Mask tutorials begin for the jumping mechanics. Majora’s Mask has an auto-jump mechanic, so you don’t press any buttons. Just run to a ledge, and Link will jump if the ledge is within the map boundaries.
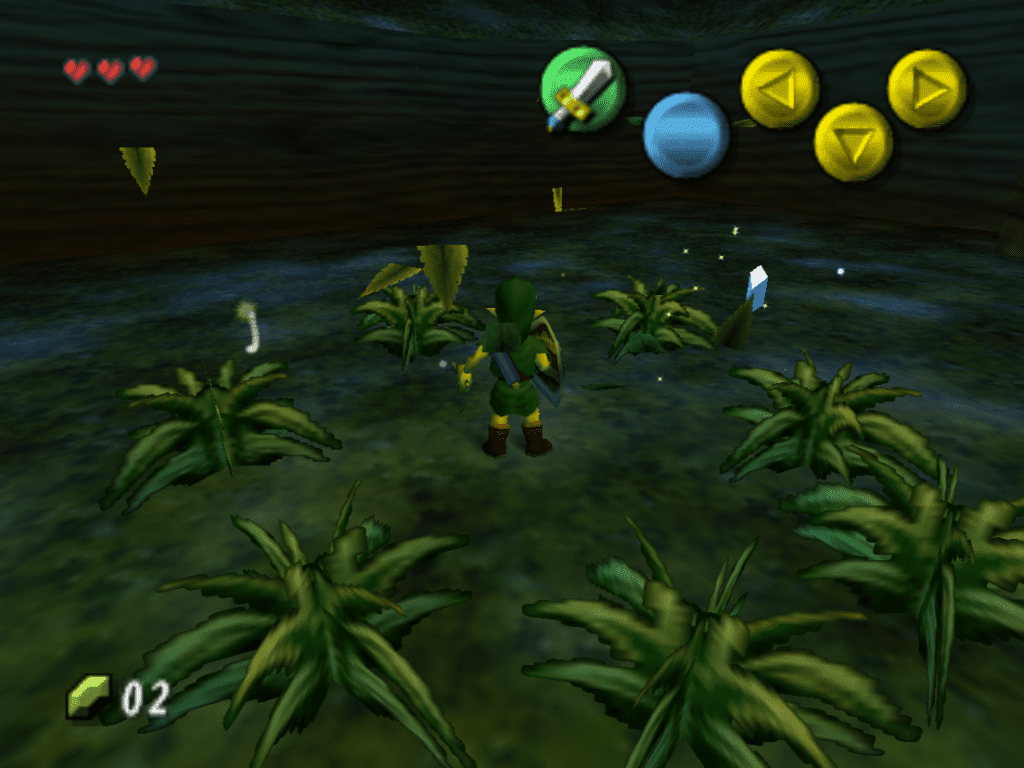
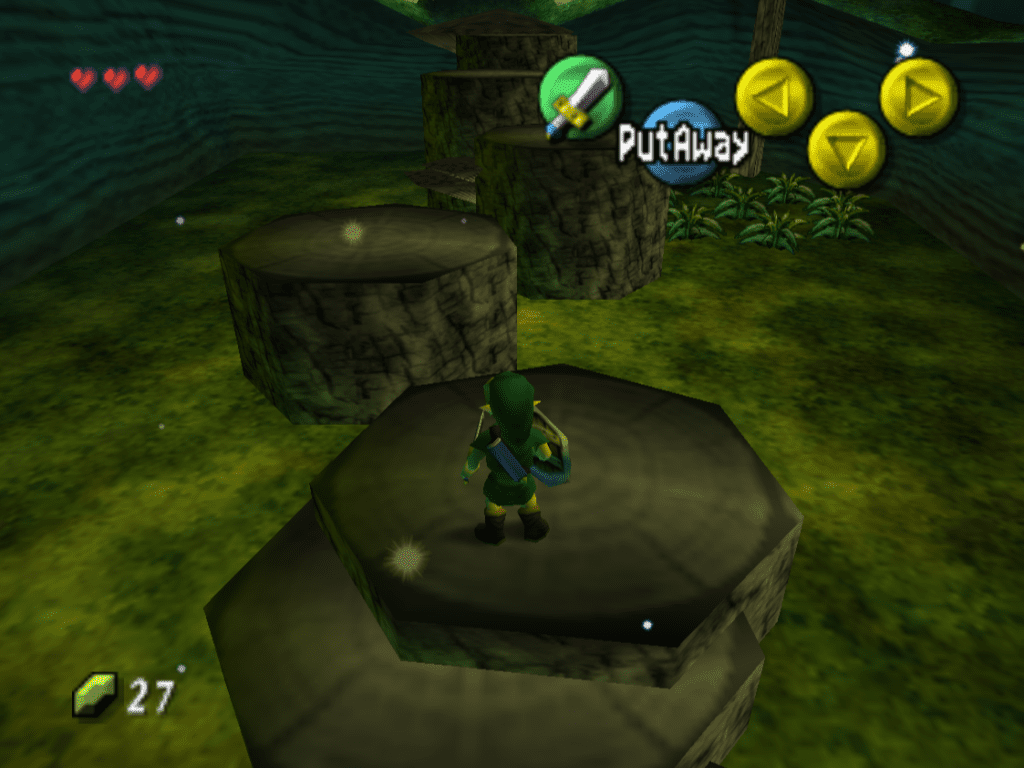
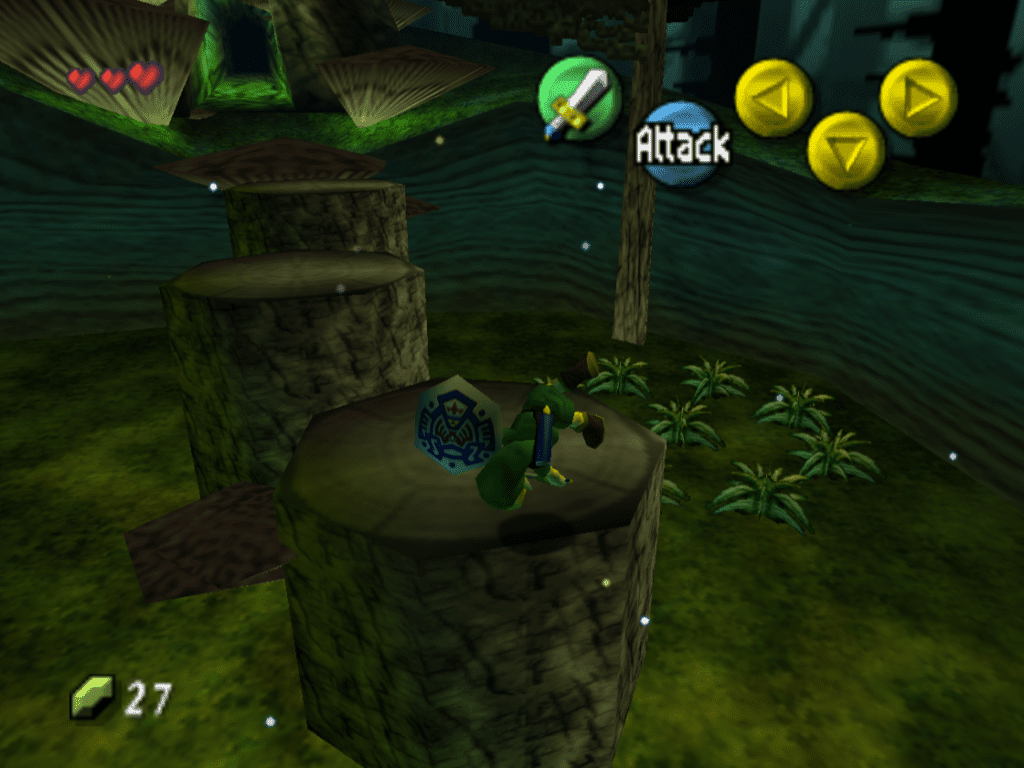
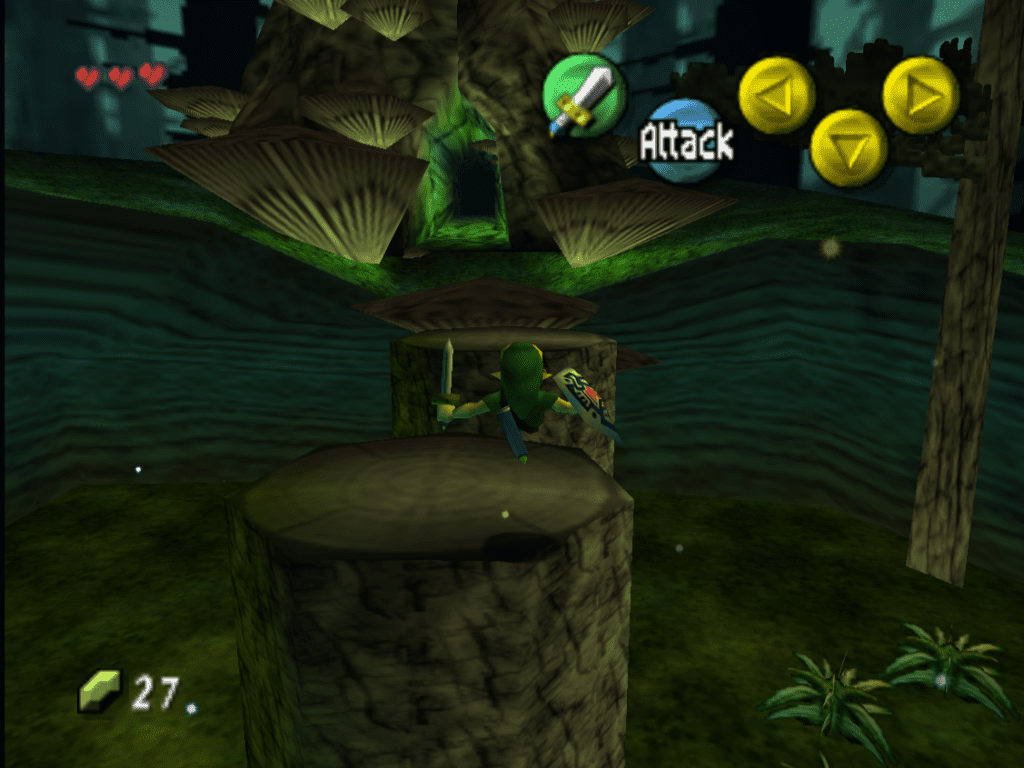
Table for Game Controls: Including the Nintendo 64, Gamecube, Wii, Wii U, Nintendo 3DS, and Nintendo Switch
The table below has a short guide on what button does what for each applicable console. Remember that, for the Wii, I will only be listing the controls for the classic controller.
| Console |
Action(s) Performed |
|||||
|
Nintendo 64 |
Gamecube |
Wii | Wii U VC | Nintendo 3DS |
Nintendo Switch |
|
|
Analog Stick  
|
Analog Stick
(C-Pad)
|
Analog L-Stick |
|
|||
|
A-Button       |
|
|||||
|
B-Button       |
NOTE: This button is also used for different attacks.
Hold the B-Button to perform a sword spin stance (without magic) or charged sword spin (with magic). Release the B-Button to perform the attack. |
|||||
|
R-Button    |
ZR-Button
|
R-Button
  |
NOTE: The shield is used to deflect projectiles and block attacks. If you target an object, Link can shuffle around while blocking. The shield can still be used if an enemy is targeted while swimming. |
|||
|
L-Button |
D-Pad
  |
L-Button  |
L-Button  |
|
||
|
Z-Button |
L-Button
 
|
ZL-Button
|
L-Button  |
ZL-Button  |
NOTE: While utilizing the lock on, the B-Button can be used to attack, or the A-Button can be used to talk to someone. |
|
|
Up C-Button
|
Up C-Stick  |
Up R-Stick  |
Tap Left on Stylus Button
|
Up R-Stick
ZR-Button AND X-Button  
|
|
|
|
Left C-Button Right C-Button Down C-Button |
Y-Button
    X-Button     |
Left R-Stick 
Y-Button Right R-Stick ZR-Button AND A-Button Down R-Stick X-Button |
NOTE: These buttons are assigned an item/function through the inventory menu.
|
|||
|
Z-Button |
ZL-Button
ZR-Button
|
R-Button  |
Stylus Button |
|||
|
START Button   |
+ button  |
Gear/Map/Items on Stylus Button  |
+ button  |
|
||
|
C-Buttons     A-Button |
C-Stick
    Z-Button A-Button |
R-Stick
    A-Button |
A-Button 
X-Button Y-Button R-Button L-Button |
R-Stick
    ZR-Button AND X-Button Y-Button ZR-Button AND A-Button X-Button A-Button |
|
|
|
R-Button Z-Button Analog Stick |
R-Button 
L-Button Analog Stick |
R-Button 
L-Button L-Stick |
ZR-Button 
ZL-Button L-Stick |
D-Pad Up 
D-Pad Down C-Pad |
R-Button
ZL-Button L-Stick |
|


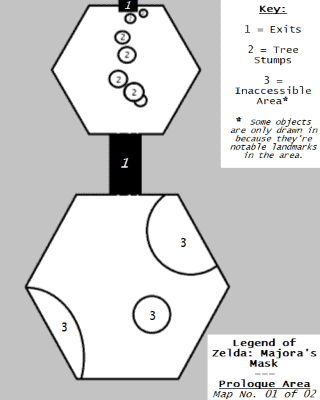
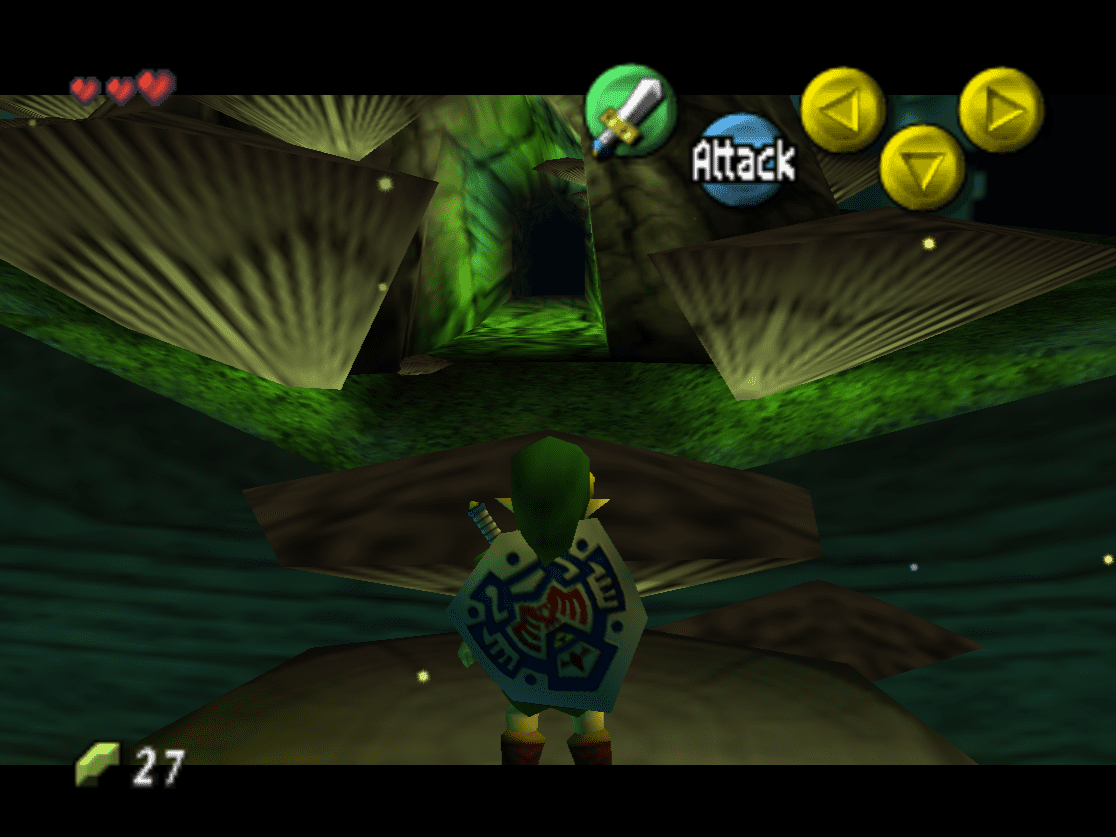
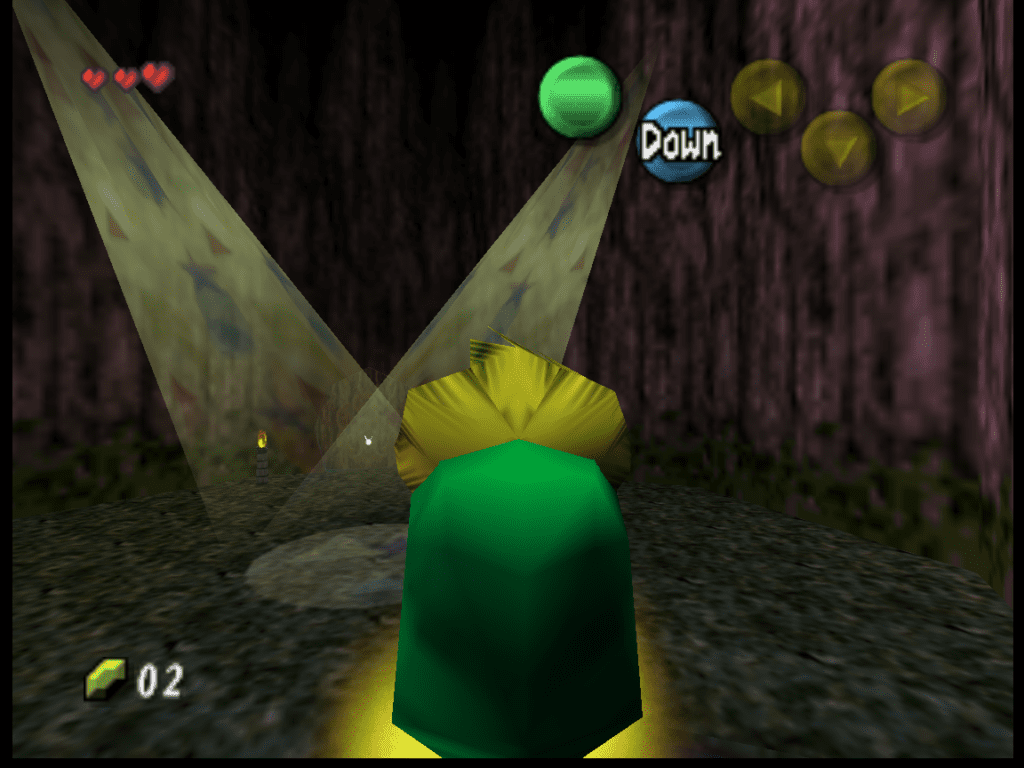
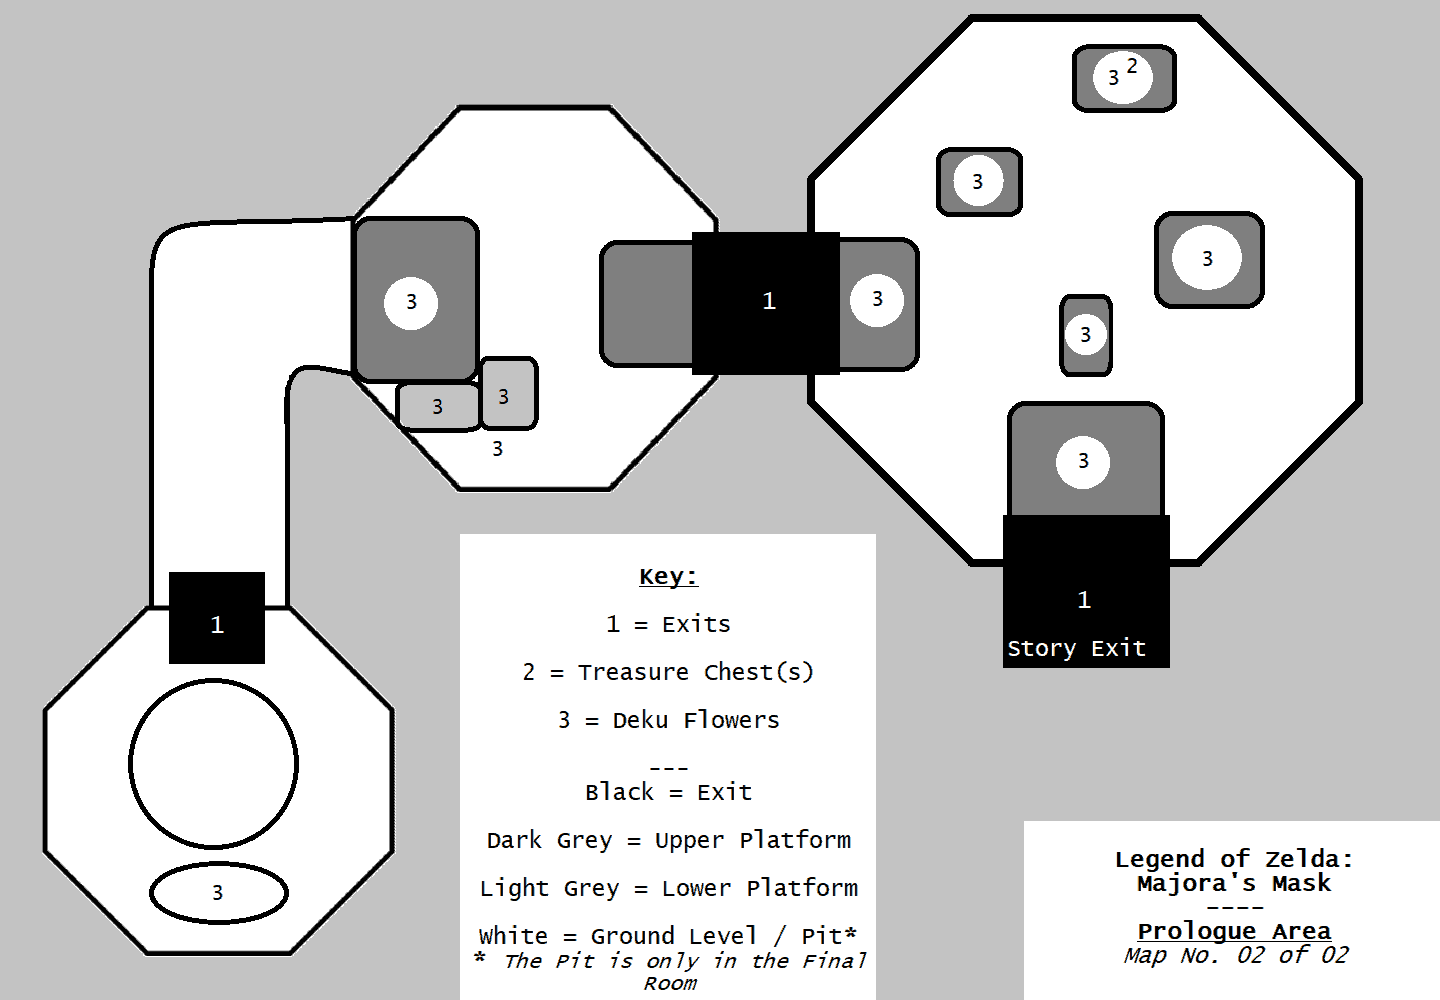
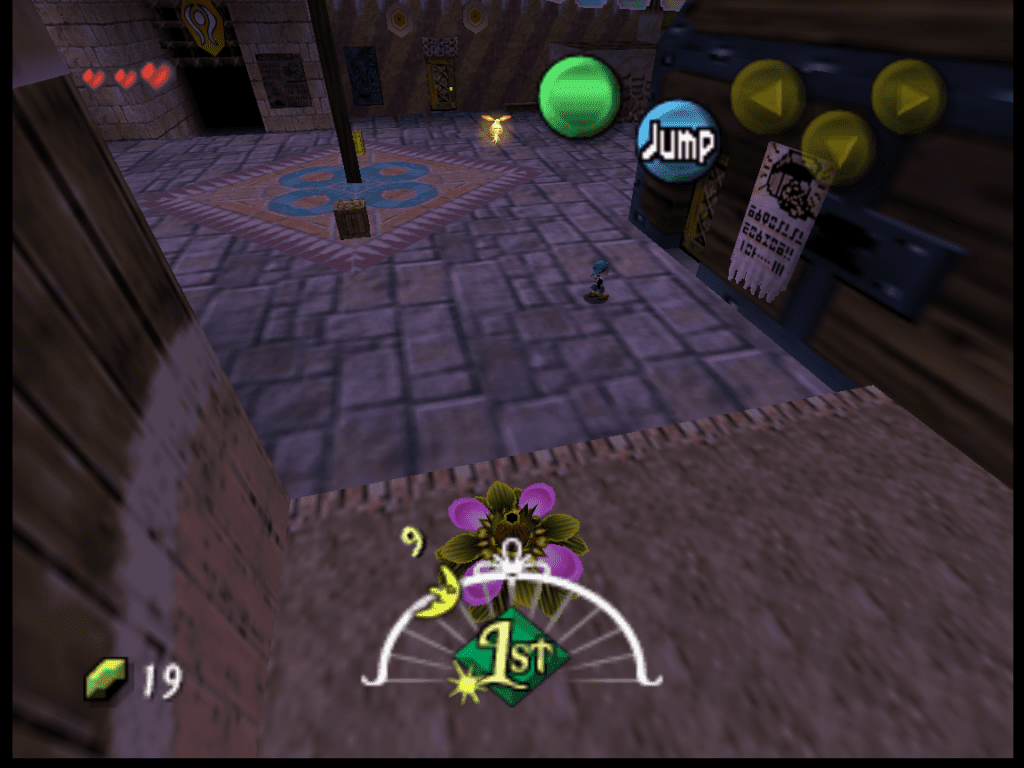
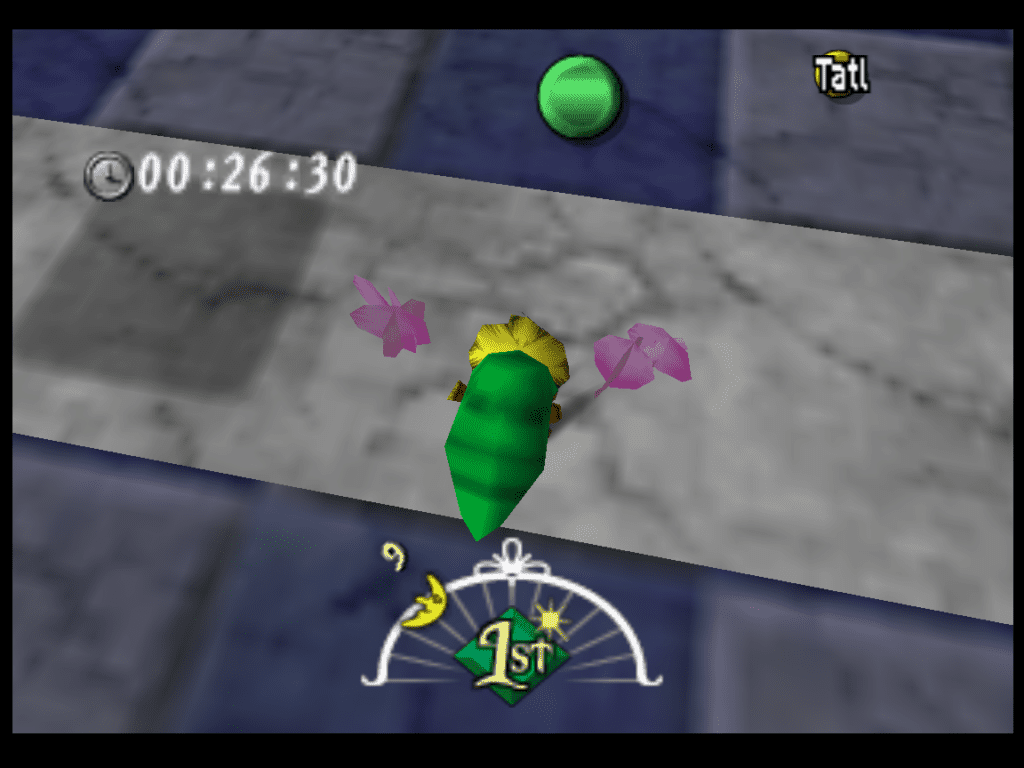
So the beginning is pretty straightforward, with the explorable area being contained to two small hexagonal maps. Run at the tree stumps, and Link will automatically climb and jump.
Now, the nice thing about the 3DS version of this game is that they changed some things. Although I find the graphics objectively more charming in the N64 version, the 3DS version has its perks. A good example is here, right now. In the 3DS version, they added a signpost here that goes over the basic controls of the game for us. The sign explains jumping and fighting, for the most part.
There are also some grass patches throughout this beginning area where you can start cutting grass for Rupees. I think it’s interesting to note that as you get closer to Skull Kid (the second area) when you cut the grass, it becomes… sentient. The grass hops up and skitters around a bit (like it’s afraid…) and then burrows into the ground, not to be seen again.
Help! I’ve Fallen, and I Can’t Get Up!: Deku Link and Beginning Gameplay
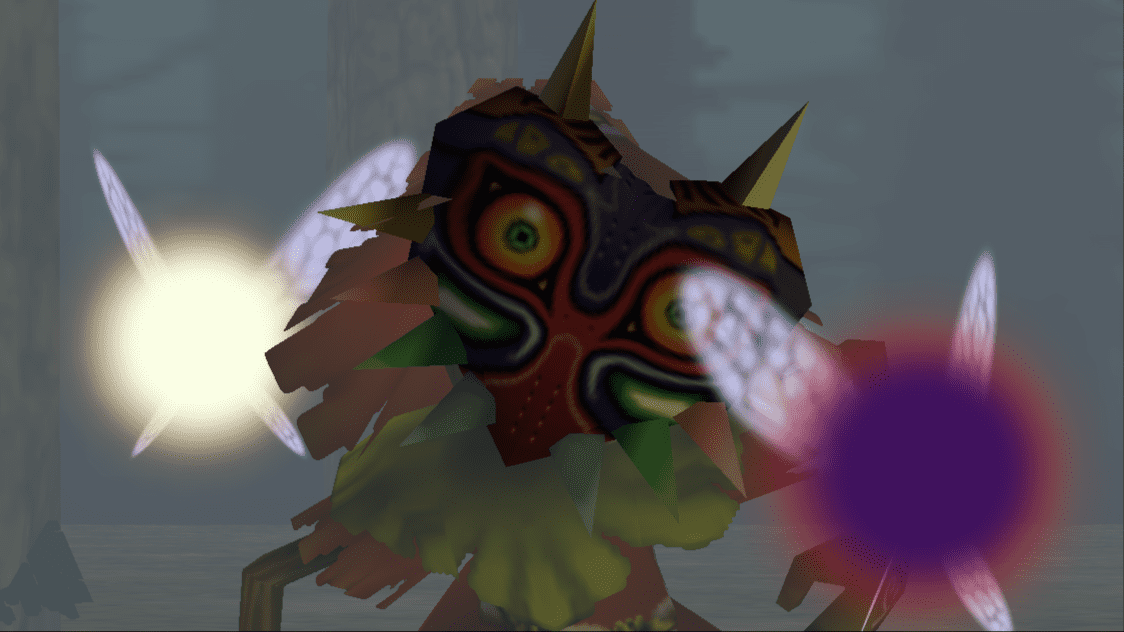
After the excellent jumping tutorial is done, we get to witness a glorious, divine transition screen. Something worthy of becoming someone’s nostalgic Windows Vista screensaver. After this early 2000s glory, we sit through another cutscene where Skull Kid taunts Link and states that he basically vaporized Epona from the known world.
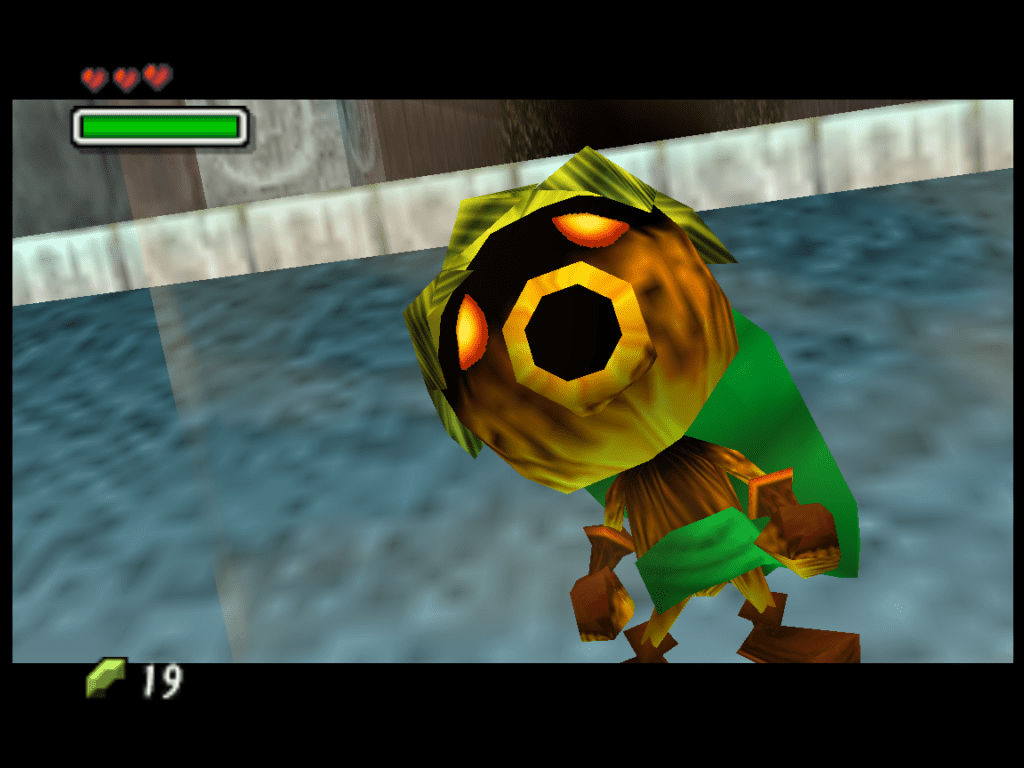
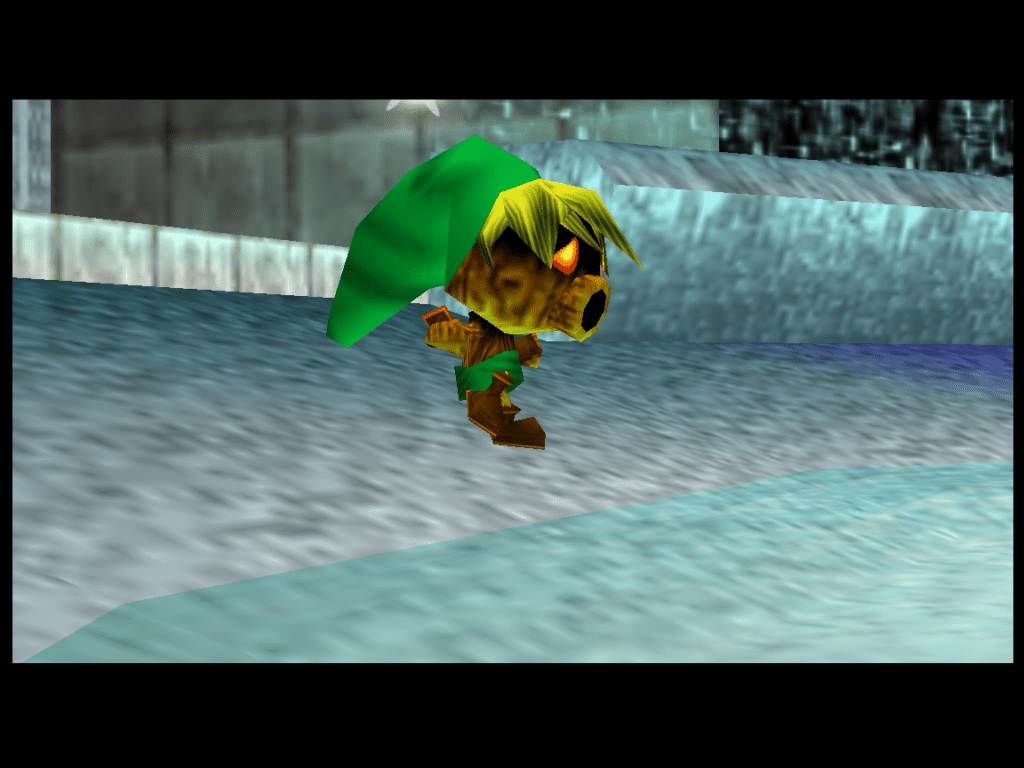
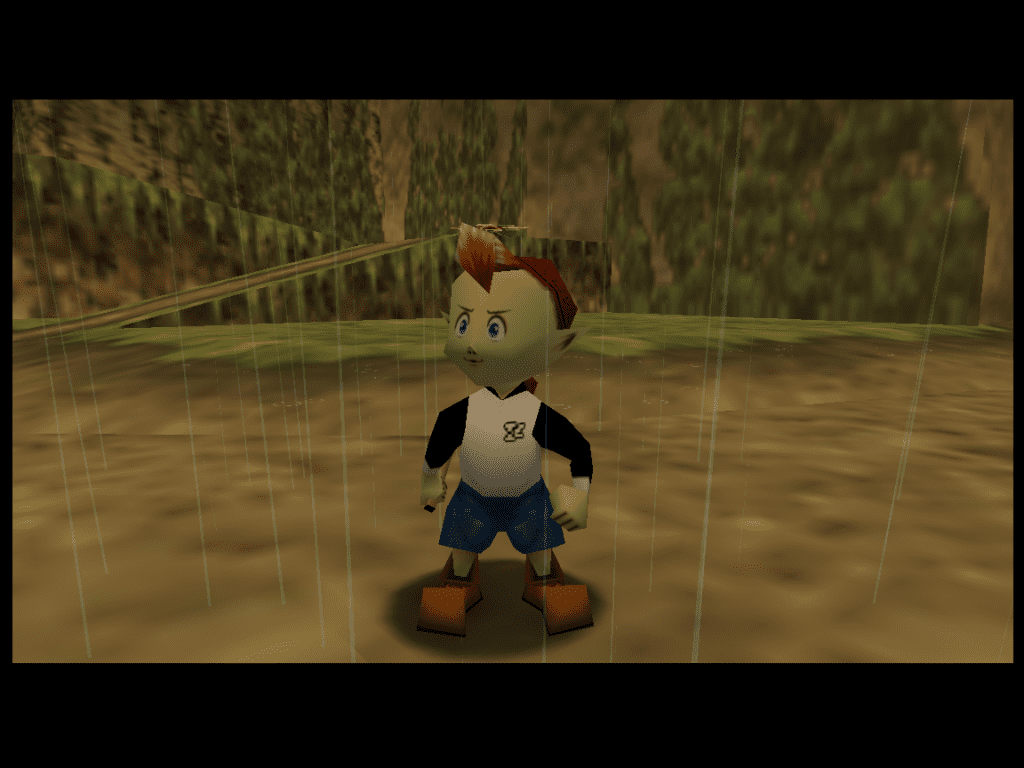
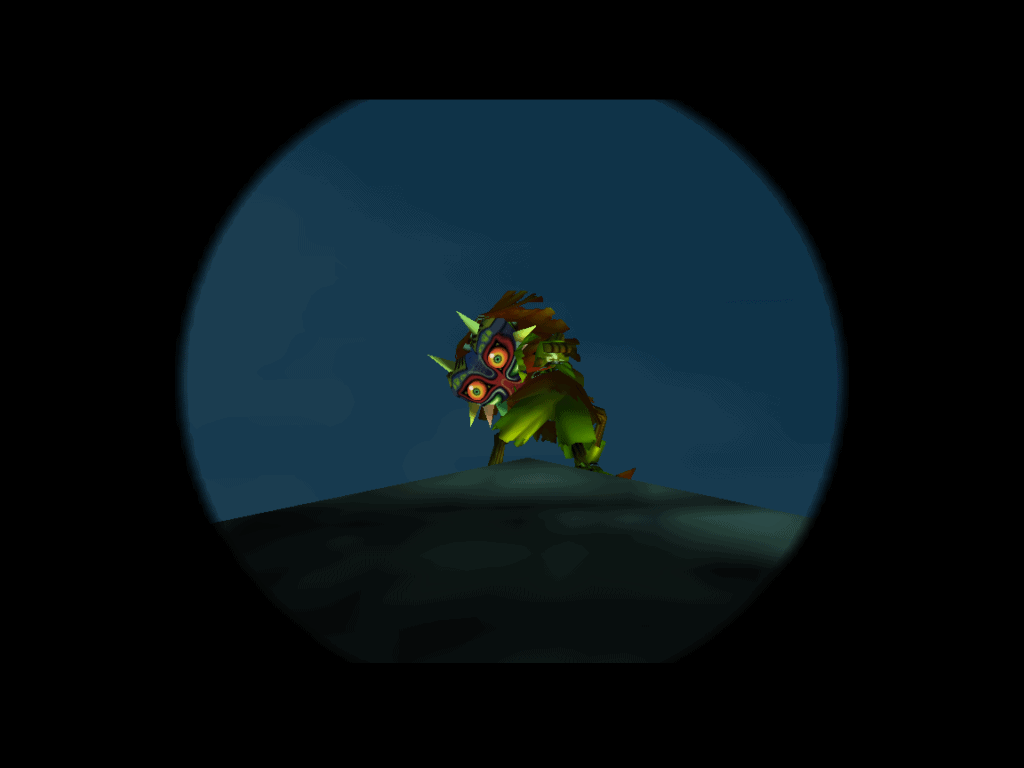
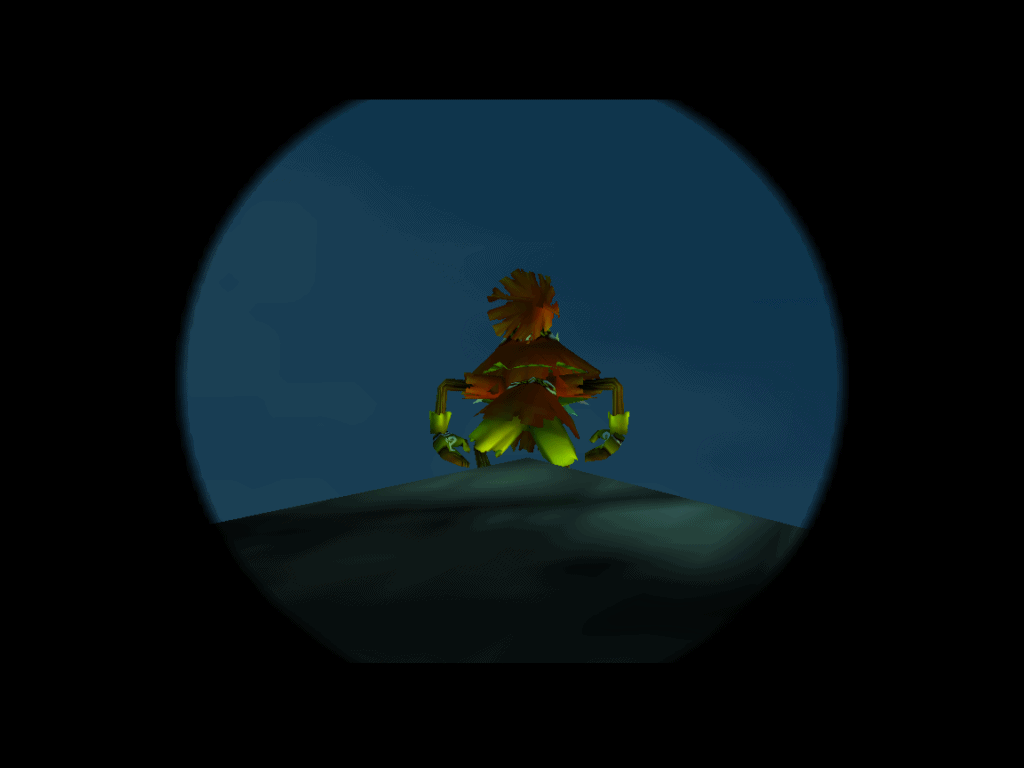
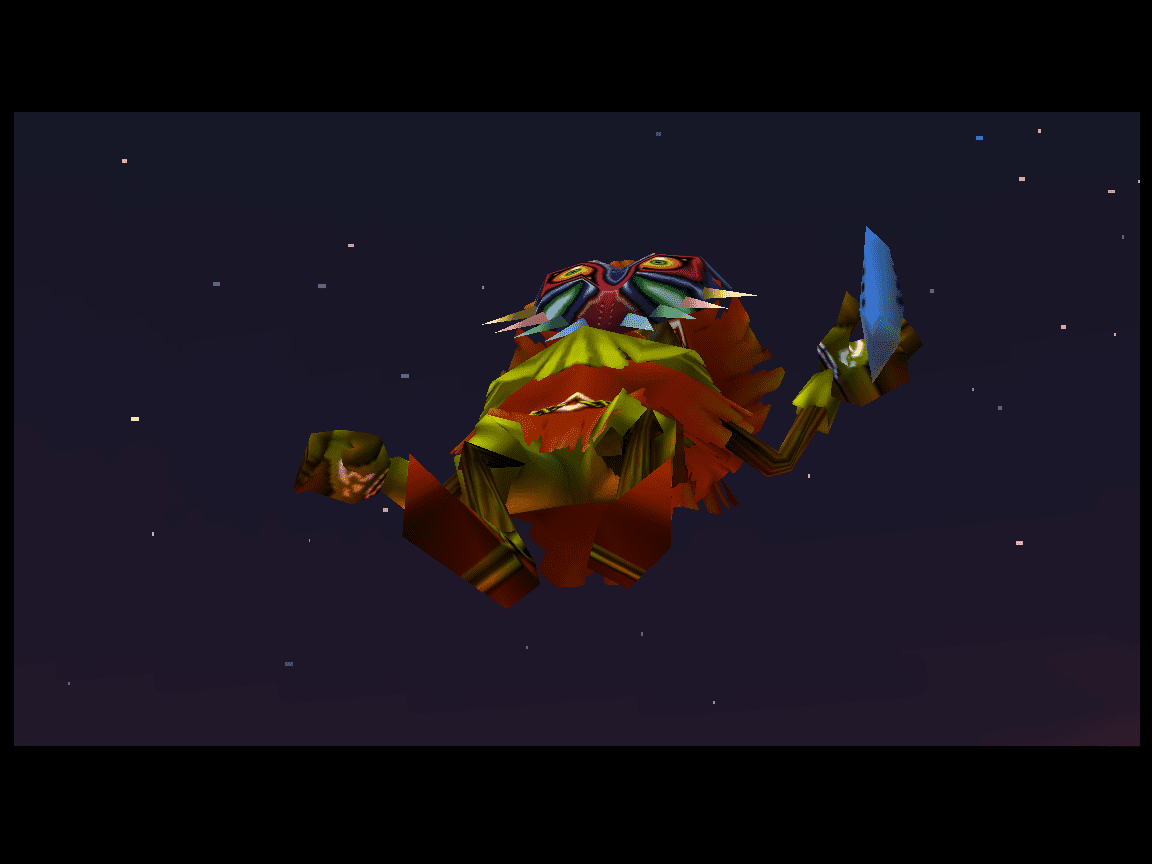
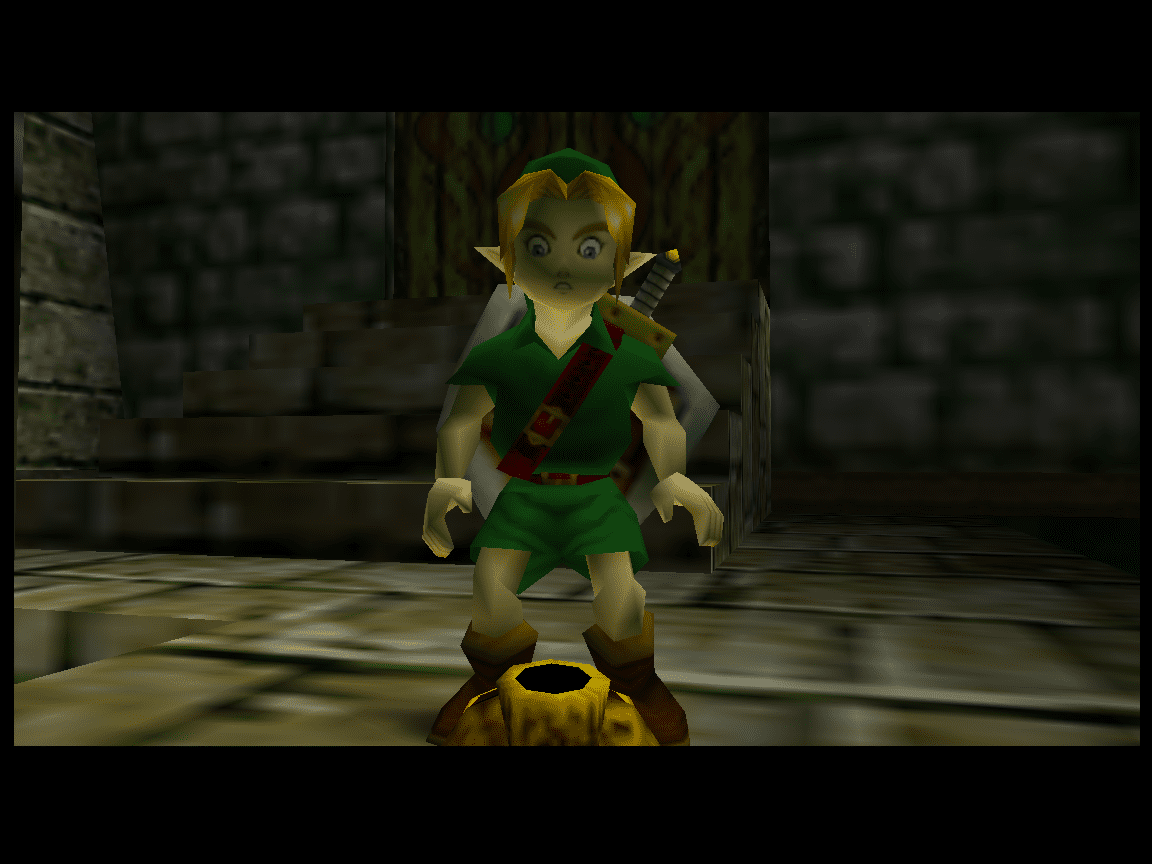
Skull Kid then uses his Mask… the Majora’s Mask… to do some weird magic. Magic that turns Link into a Deku Scrub… But only after giving Link some wack dream about being surrounded by several infamous Mad Scrubs and getting chased by one massive Mad Scrub.
As the dream ends, it will become apparent that Link has been forcefully gifted a Hot New Look (TM) as a Deku Scrub. Skull Kid giggles at Link’s new unwanted fit and his following despair. He then flees the area, leaving as Link just barely gathers his wits enough to attempt to throw hands.
Tatl decides to step in and stop you from going through the door and gets left behind by Skull Kid and Tael. Of course, this means you have now acquired a new friend, tutorial freak, and incessant navigator. However displeased you both are about it, neither of you can do anything about it right now.
The Horrifying Ordeal of Being Known: Completing the Before Clock Town Area

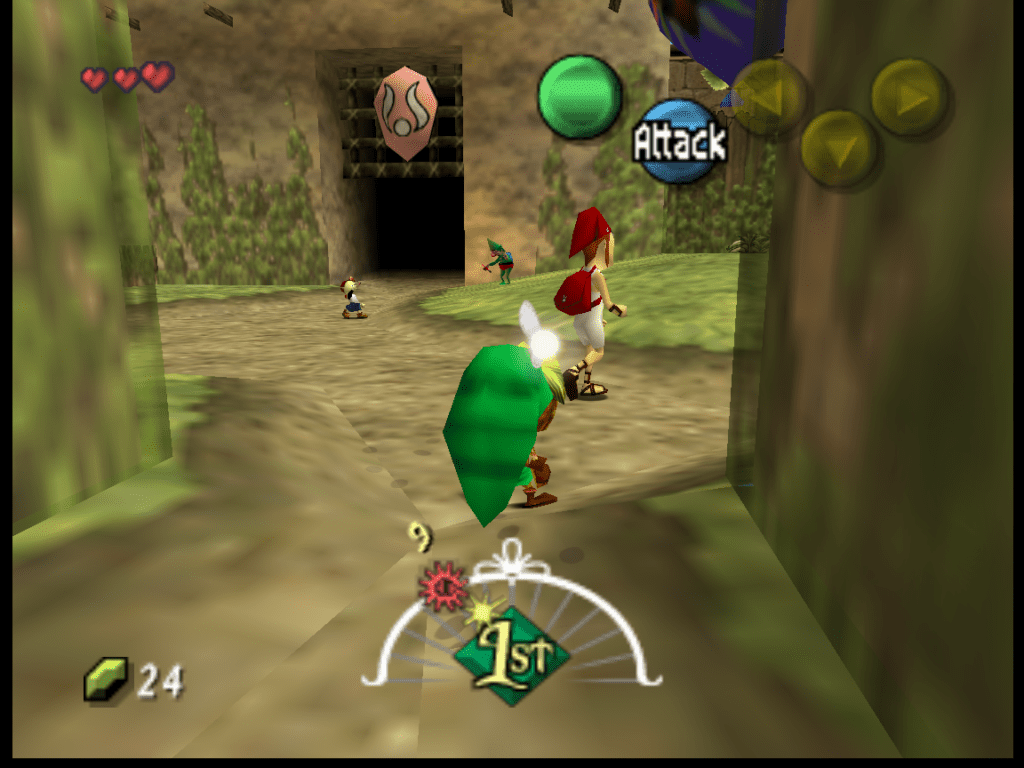
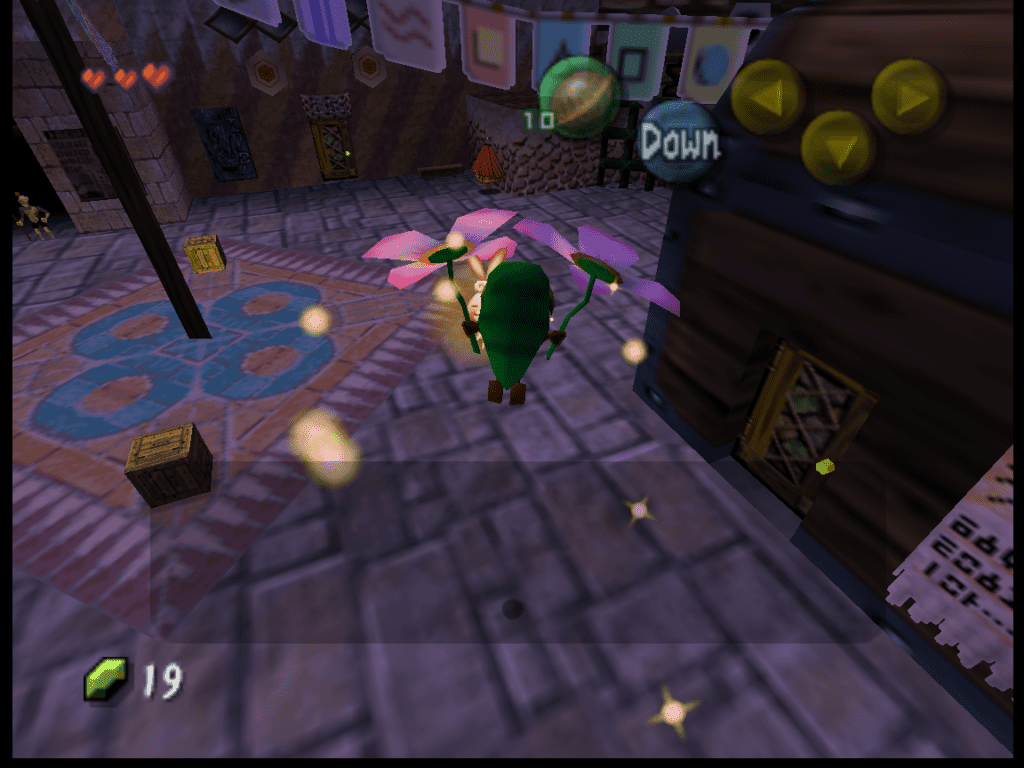
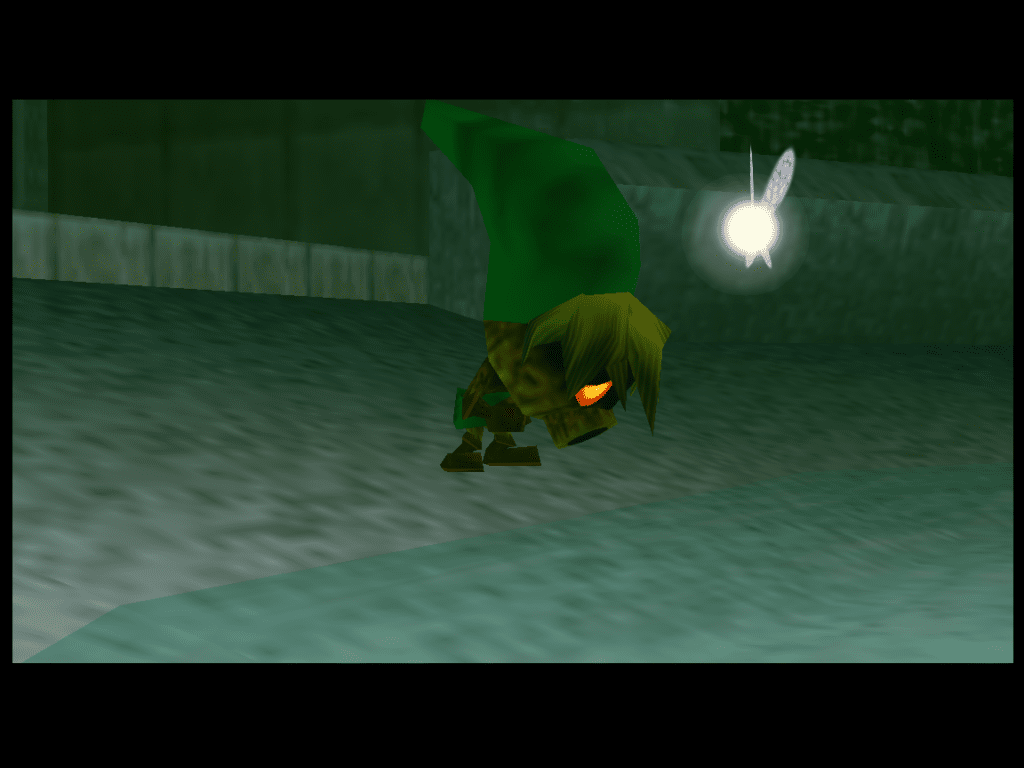
After that cutscene, where we learn that Tatl is more than a little peeved, we get control over Link again. Tatl will stand guard in front of the door we’ll need to go through to proceed. So, feel free to go wild with testing out Deku Link and his shiny new abilities. While Link’s abilities are currently very limited, you can still perform an attack move and try out the Deku Flowers.
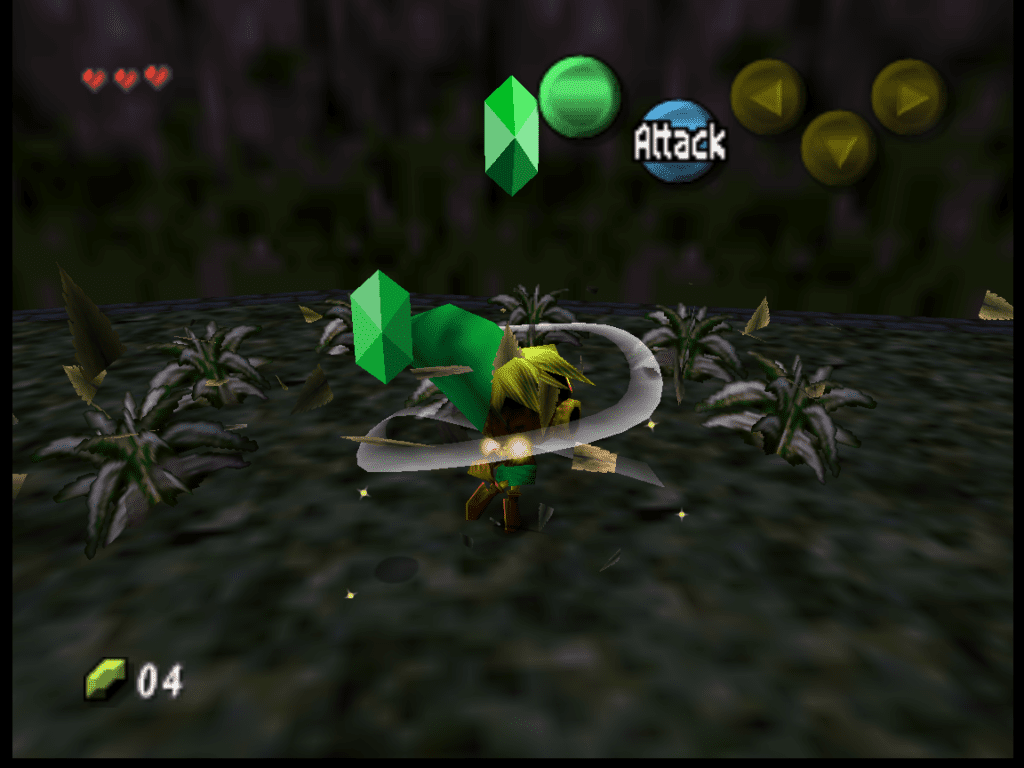
The attack move is a gliding spin, and it appears that Link is utilizing his famous green cap as the weapon. You can move around during this attack, which is useful for large groups of enemies.
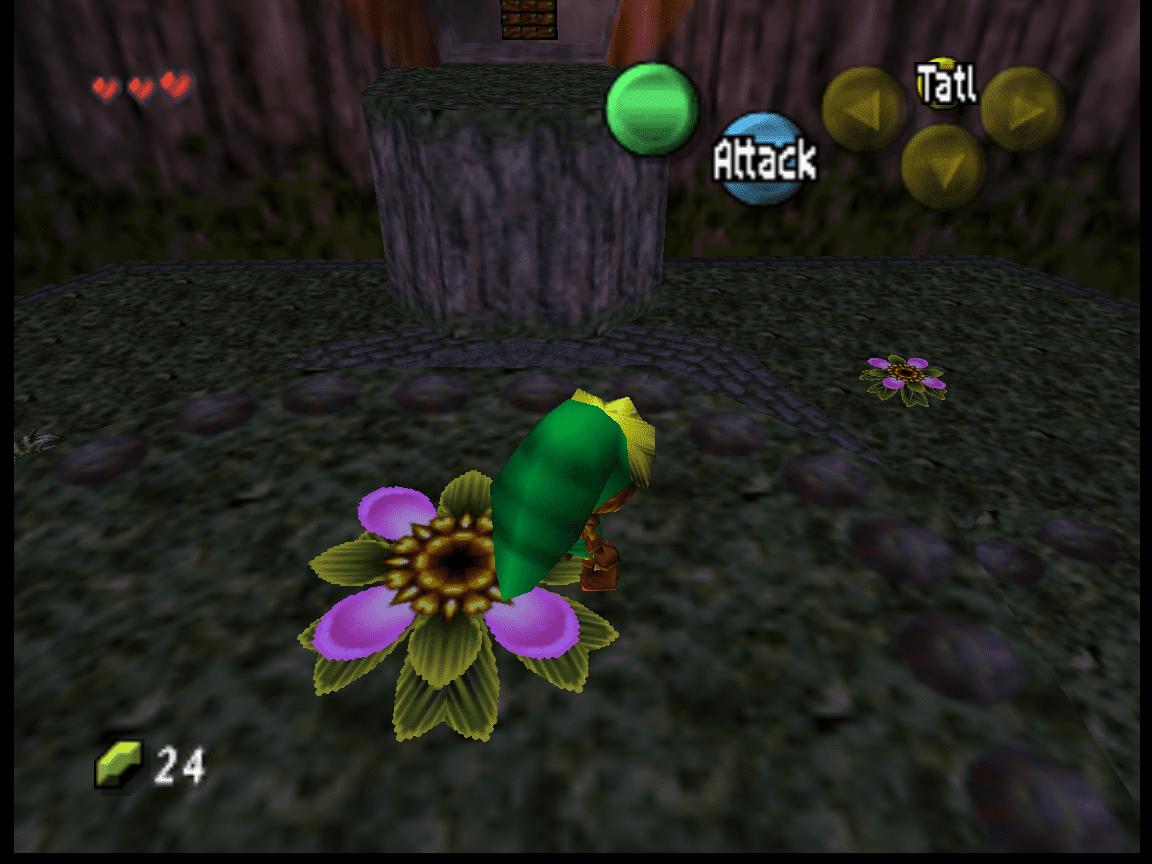
If you see fit, you can use your new spin attack on the grass in this area. The grass, again, starts scuttling away from us. It makes me think that Skull Kid has something to do with this… sentient grass. Regardless, poor grass… we slaughtered some of their brethren! They must be so afraid!
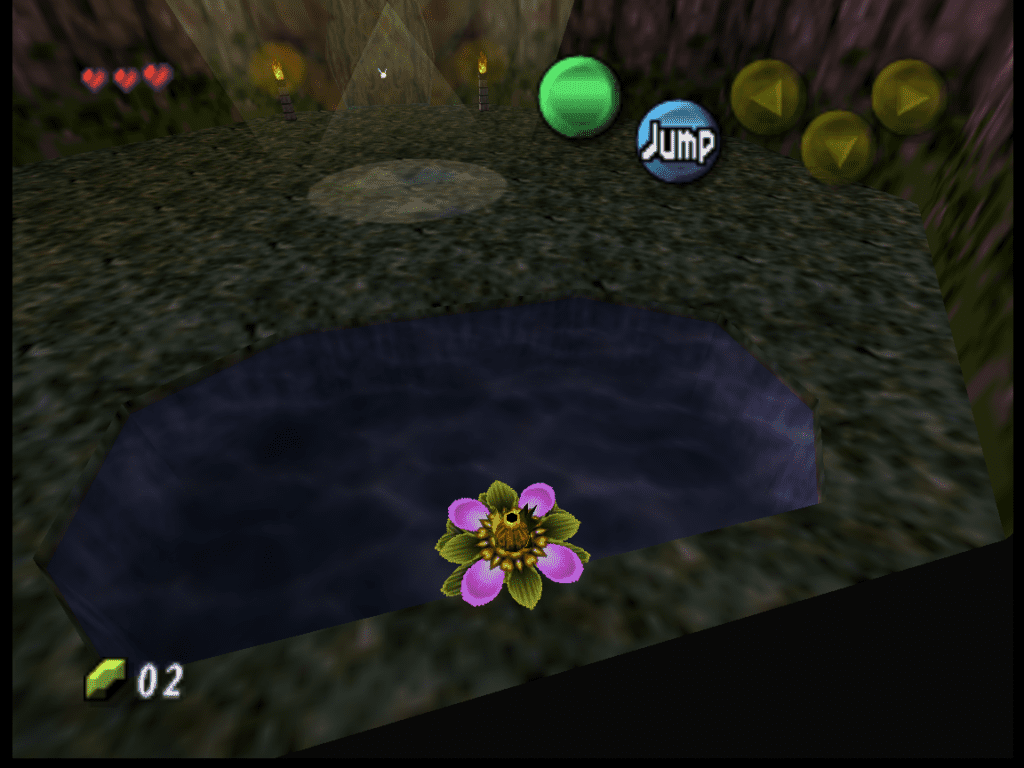
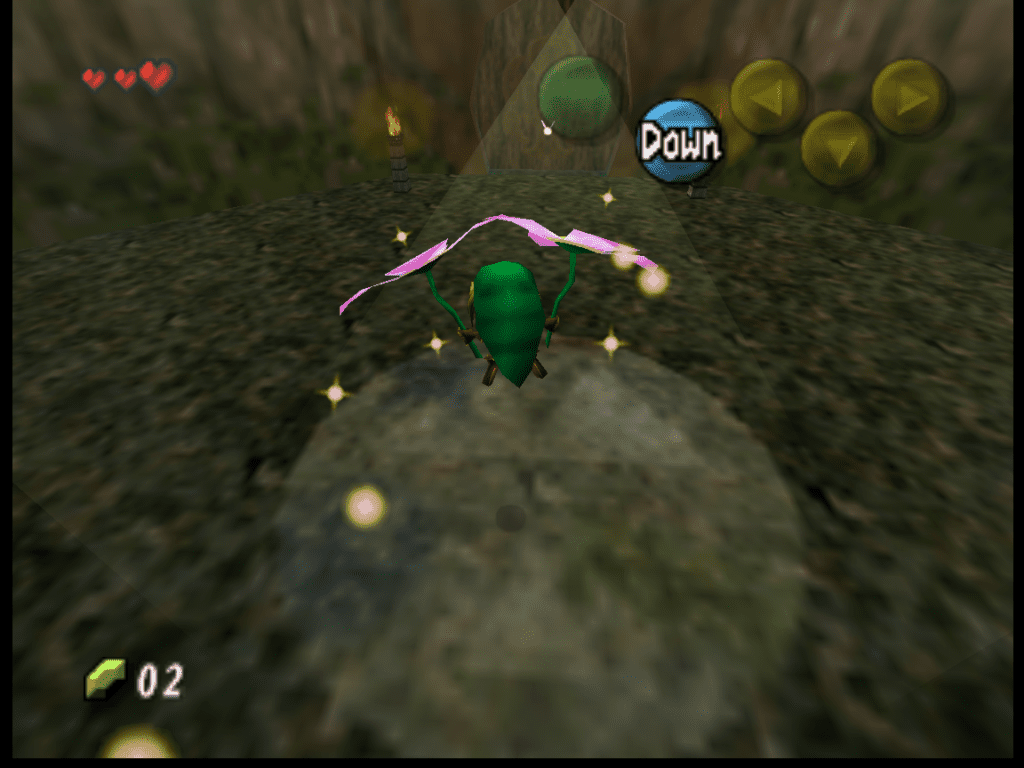
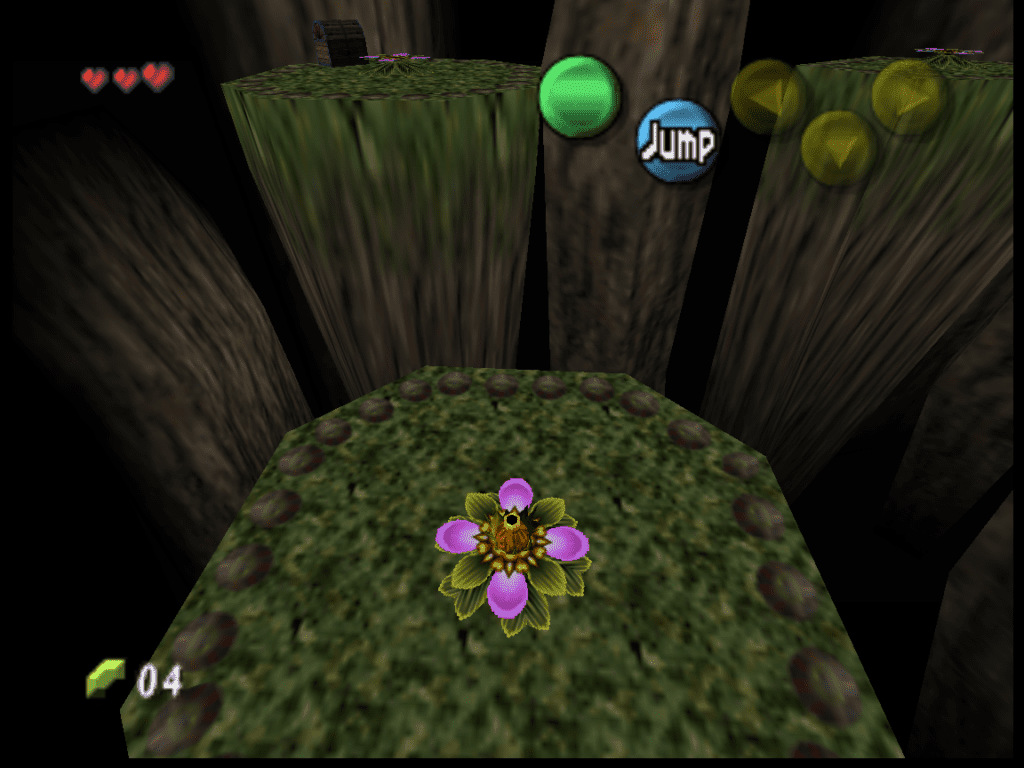
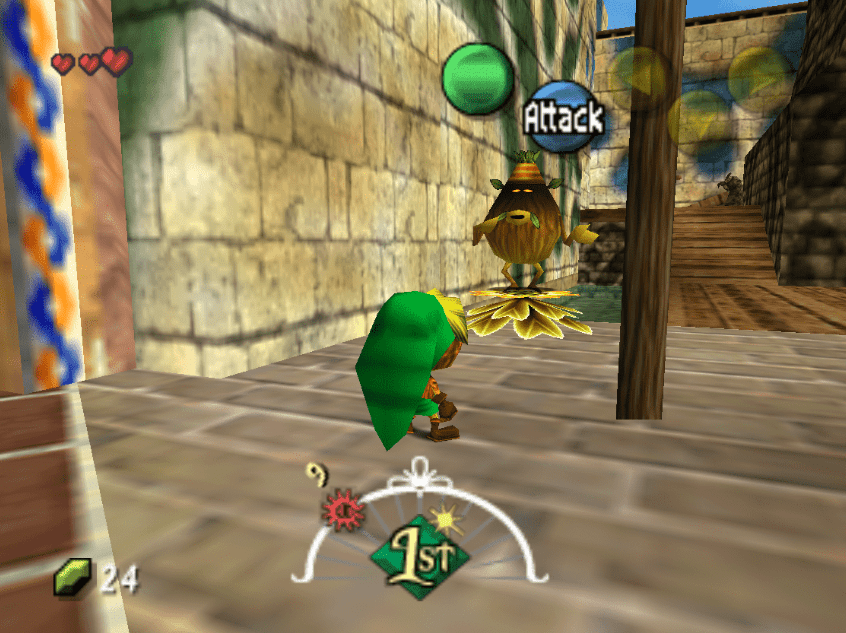
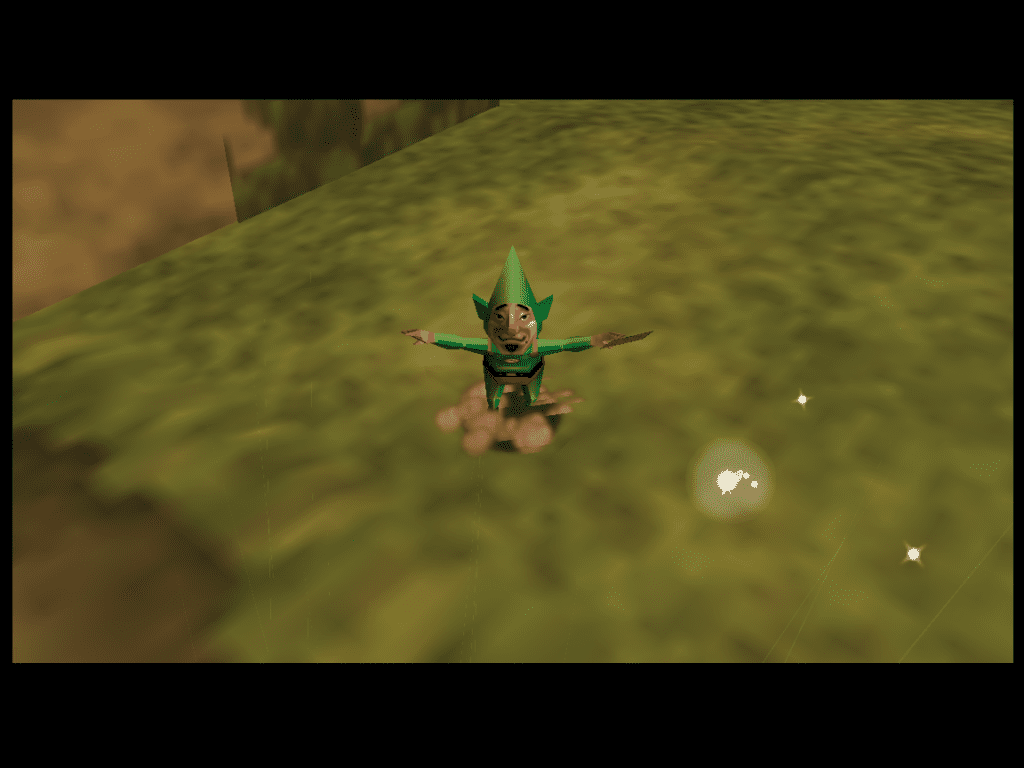
Deku Flowers are only interactable by the Deku Scrubs and their kin… which now includes Link! The flowers will allow Link to burrow into them and then jump out to perform some temporary flight. We can even try this sweet move now! There is the Deku Flower that you landed on at the beginning of this debacle that we can now torment with beginning-game awe and jitters… at least until we pin the mechanics down.
Waddle over to it and hold the A-Button to interact with it. Link will burrow into the flower and pop out only his mouth with a puff of (what I assume to be) pollen to signify when we can leap out.
Our good pal Link will rocket into the air and synthesize two pink flowers, which act like helicopter blades, out of thin air. You can try this several times at varying lengths by holding down the A-button for different durations. What is life for if not experimenting with game mechanics (and trying to figure out where RPG protagonists keep all their items)?
After you walk through the door and the following hallway, Tatl will initiate the first real tutorial. She tells you that she’s sorry for her actions and will help you from now on.
Tatl also reveals that now, whenever she has something that she wants to tell you, you can press the up C-Button (N64), flick up on the C-Stick (Gamecube)/R-Stick (Wii, Wii U, Switch), tap left on the stylus screen (3DS), or hold ZR and press X (Switch). Tatl’s dialogue option appearance will also accompany a little jingling sound.
Tatl also properly explains how to hop into a Deku Flower and perform a spin attack. As mentioned above, both are done by pressing the A-Button, just in different scenarios. Tatl also notes that we can cancel our flower flight mid-flight by pressing A again while in the air. Tatl frequently wants to talk to us, and sometimes it’s helpful! So it’s good to keep an eye (or ear) out for her prompting.
There is also more grass in this area that you can drop down and spin at. So if you fall, or even if you feel like it, the grass is waiting…
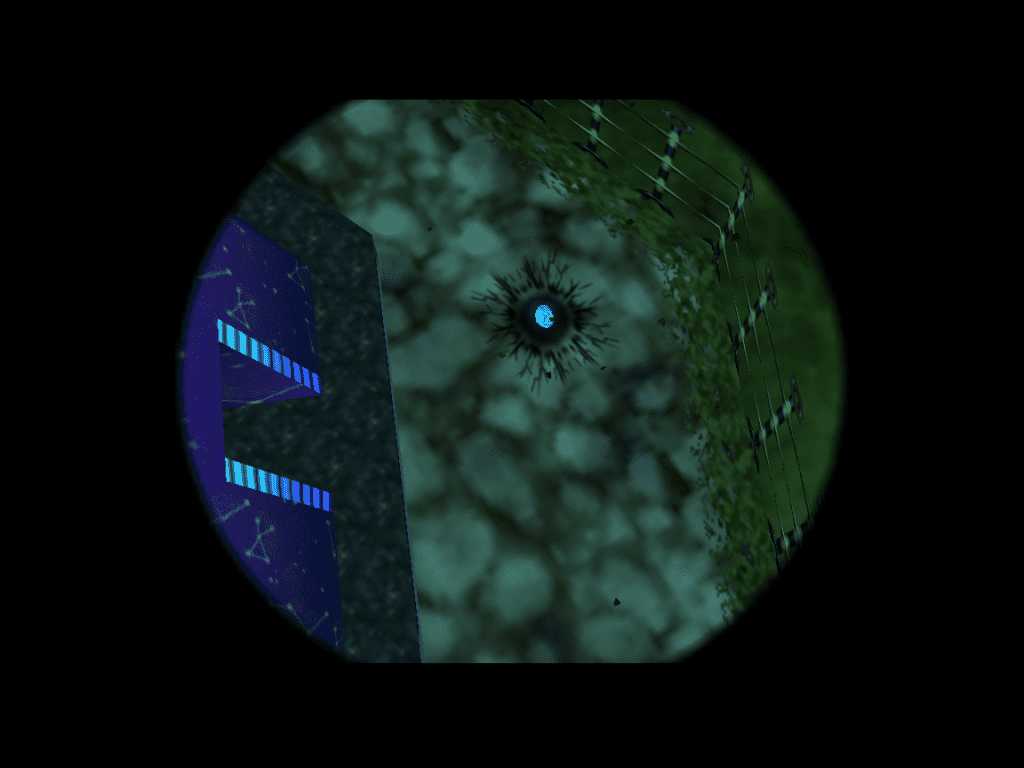
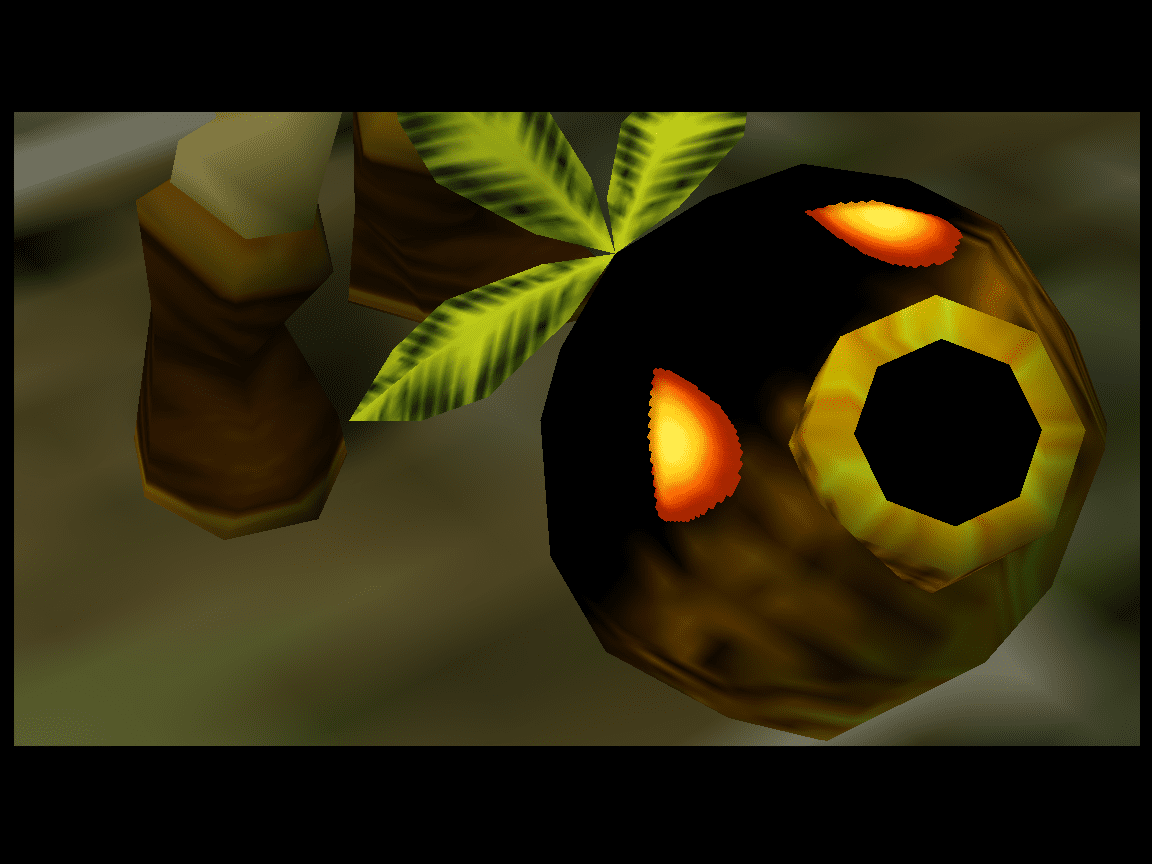
After you leave this area through the door, metal bars will slam down and seal you into this new area. Luckily, there wasn’t anything you could have missed in the previous areas. However, the only missable item in the game is in this new room—one treasure chest containing Deku Nuts (10) for our use.

As we proceed through the room, we will land on a long, narrow patch of land near the exit. Tatl will hop out again with more tutorial fun. This time she lets us know that you can press the Z-Button (N64), L-Button (Gamecube, Wii, 3DS), or ZL-Button (Wii U, Switch) to target something or someone.
She uses this in the context of talking to her rather than utilizing targeting for a fight. She also mentions that we can use this button for centering the camera behind Link (which I find very useful, personally).
After hopping over to Tatl after her tutorial-centric dialogue, we can examine the tree with which she seems to be oh-so taken. She will tell us that the tree reminds her of what Link looks like right now. Sad, about to cry… Thank you, Tatl, for your brutal honesty. Link is very sad… and very likely traumatized.

Now that’s all over and done with, we will continue through the next doorway… and out of the main prologue! Now we first set foot into Clock Town!
Link and His Adventures in Uncanny Valley: Clock Town
Our first view of Clock Town is what seems to be inside an ancient building… One that has… a waterwheel inside it? As we progress through this building, we will find it empty. There’s no one here!
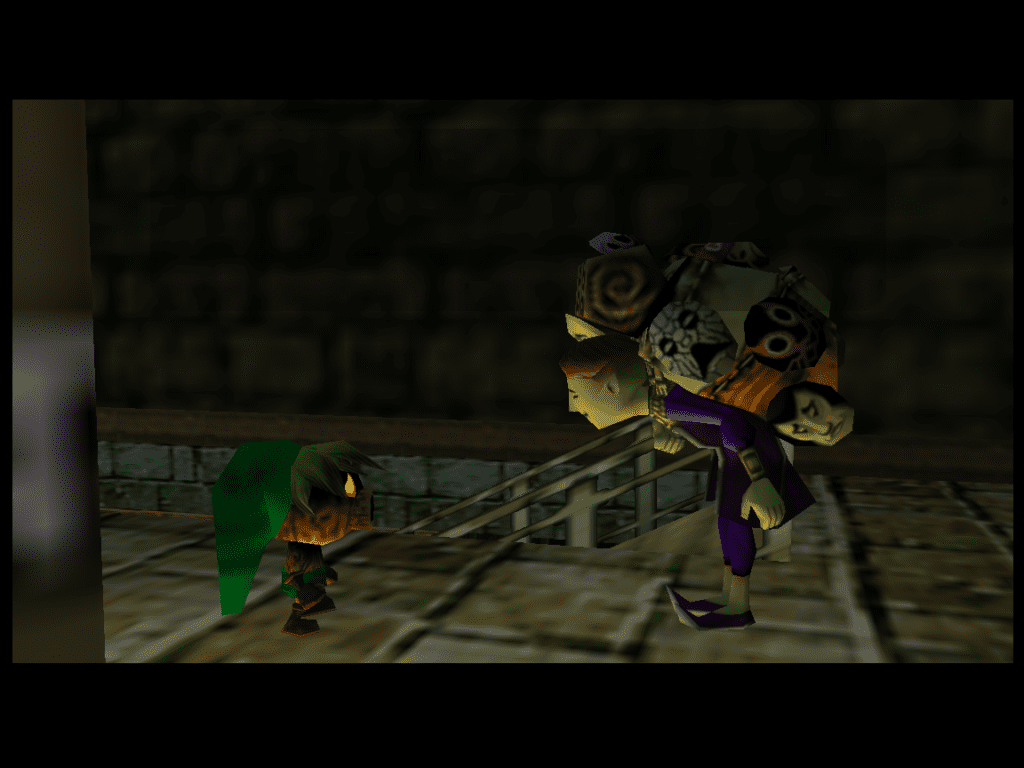
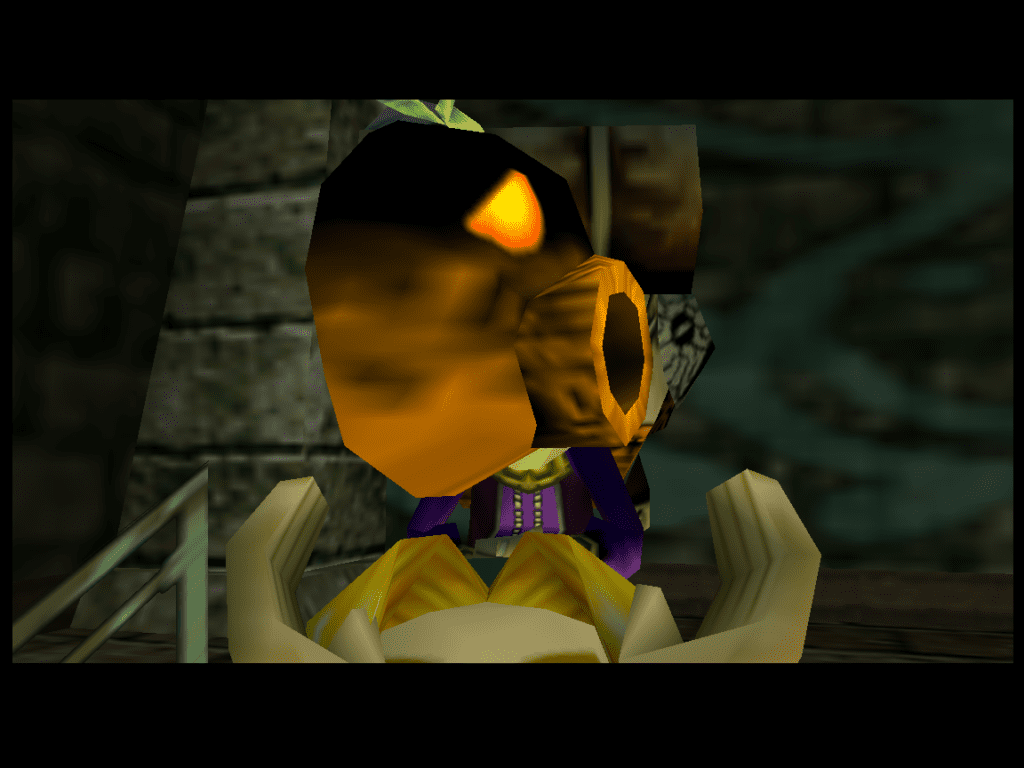
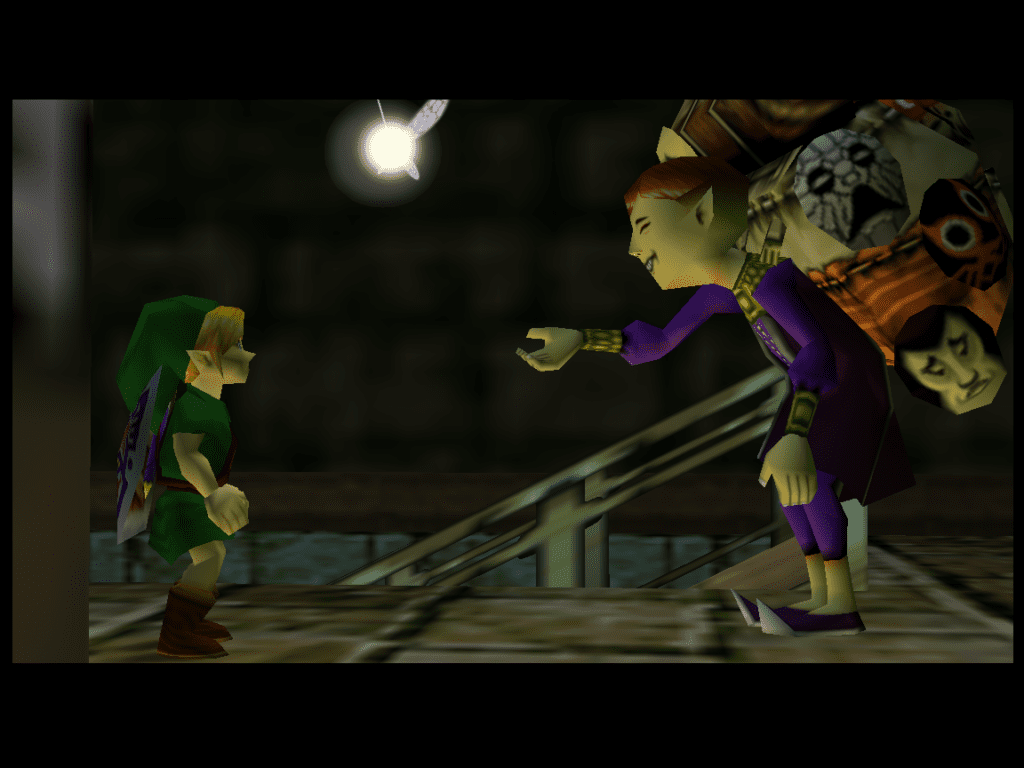
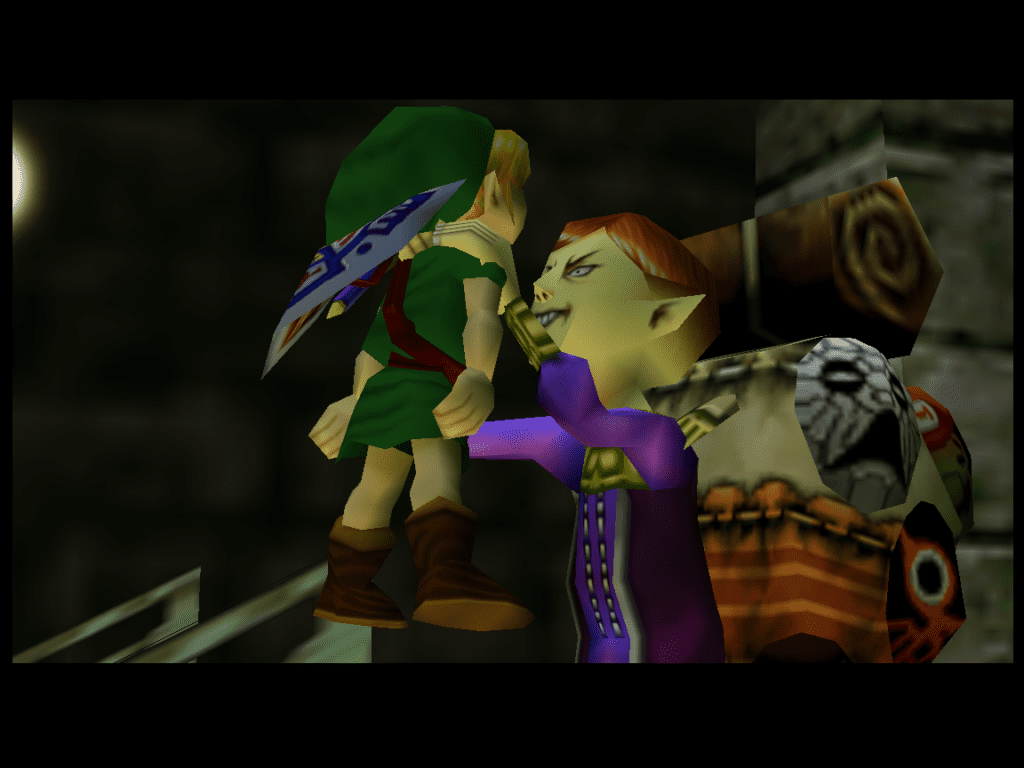
But as we are about to leave the building, having scaled to the top and found the big double doors… We are stopped by… a freaky dude. This is the Happy Mask Salesman, and his first line to you is, essentially, “You’ve met with a terrible fate, haven’t you?”. He tells us that he’s just stalked Link until this meeting and needs a favor from us.
He cuts a deal with us to say that he’ll help us return to human form if we return his precious Mask. The one that an imp stole from him (hint, hint). First, however, we must regain the item that the same imp stole from us (It’s Skull Kid… He’s become the worst kleptomaniac).
He also informs us that he’s on a time limit and needs to blow this popsicle stand in three days. This foreshadows Majora’s Mask’s most iconic game gimmick, the three-day time limit, coupled with the ability to get funky with time via the Ocarina.
An interesting change between the N64 version and the 3DS version is that you are immediately introduced to the Sheikah Stone.
This hot hunk of rock was not present in the original N64 version of the game. If you try talking to it now, it will tell you that it’s too early in the game and that you should get farther before it’ll be useful. The Happy Mask Salesman explains during his introductory cutscene that you just need to crawl inside the Sheikah Slate and it will show us the way. We’ll understand the meaning of that phrasing later.
Regardless, when we leave what we now know to be the Clock Tower in Clock Town, we get the famous Dawn of The First Day: 72 Hours Remain screen.
Tatl will also immediately pounce on the opportunity to talk to you. She quickly voices the seemingly universally common opinion that the Mask Salesman is a colossal creep.
Tatl also quickly reminds Link how inhumane the Mask Sellman’s “bargain” is; regardless, Tatl also provides our first lead. We must find the Great Fairy in Clock Town because she’ll know what’s up. Tatl also states that Skull Kid is no match for the Great Fairy… bold claim Tatl. Bold claim. Tatl also mentions that the Great Fairy can be found in North Clock Town.
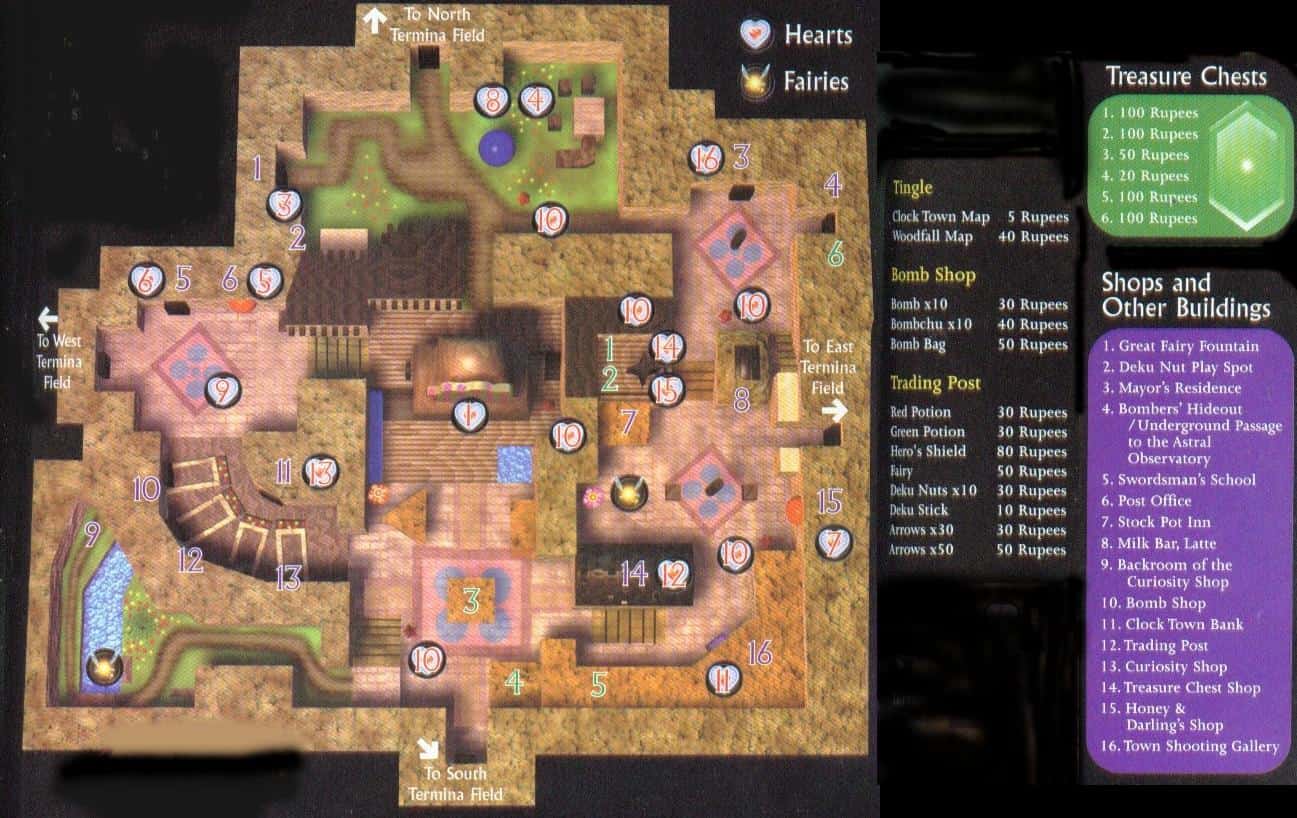
Exploring Clock Town is good before diving straight into the next big mission. Clock Town, frankly, may seem huge during the first few times trying to navigate it, but it’s pretty small. It gets easier to navigate over time.
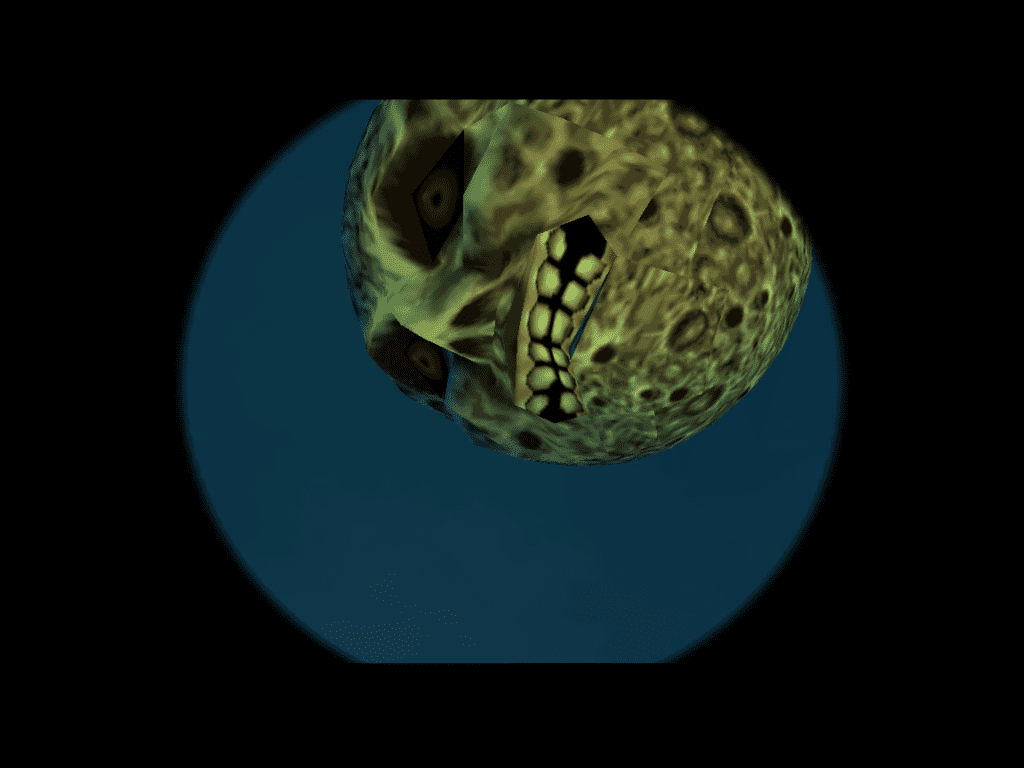
Walk around and engage in conversation with almost any of the townspeople. You will immediately start hearing about the most iconic imagery of Majora’s Mask, only second to the Mask itself. The strange moon in the sky. It’s there, massive, looming, and absolute nightmare fuel… and the townspeople are entirely aware of it. Some care more about dear old Mr. Moon than others.
There’s a dog that adores (or loathes) us, depending on which form we take. However, Mr. Pupper loathes us right now, probably because we’re a Deku Scrub.
Another difference between the 3DS and N64 versions is that in the N64 version, we can not save until we’ve regained Link’s human form. In the 3DS version, however, we can save almost immediately. All we need to do is walk up to the Owl Statue and we’ll get a short cutscene and automatically be asked if we want to save.
The Owl Statue in Clock Town is located behind the Clock Tower in the 3DS version, and on the west side of the Clock Tower in the N64 version.
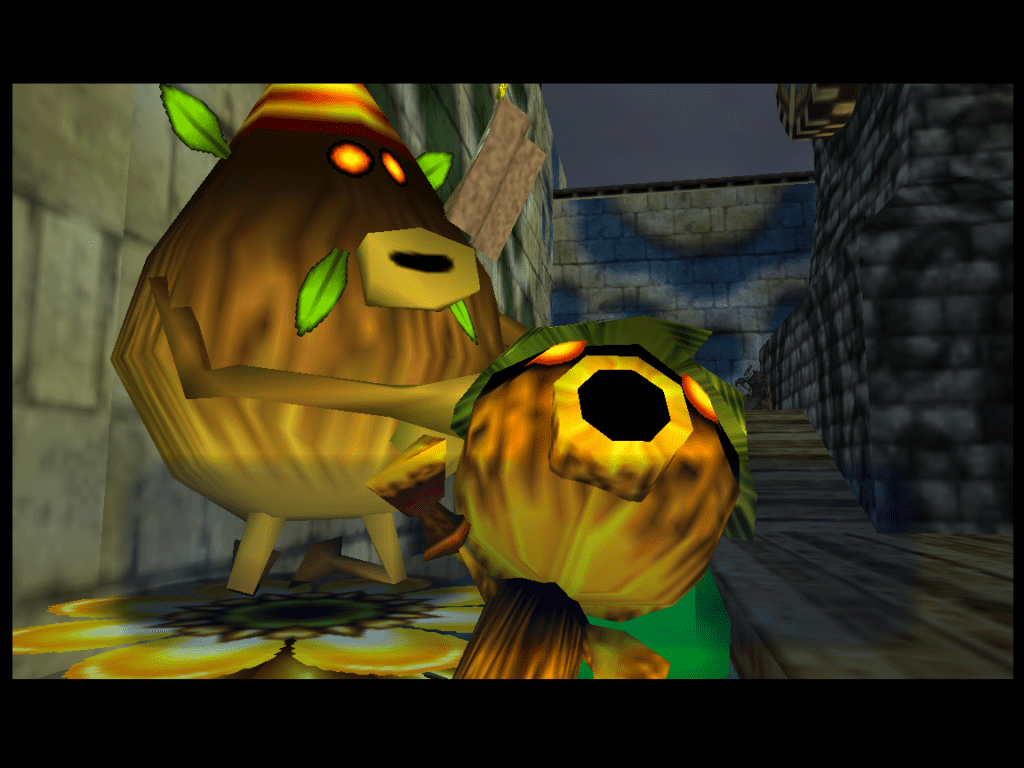
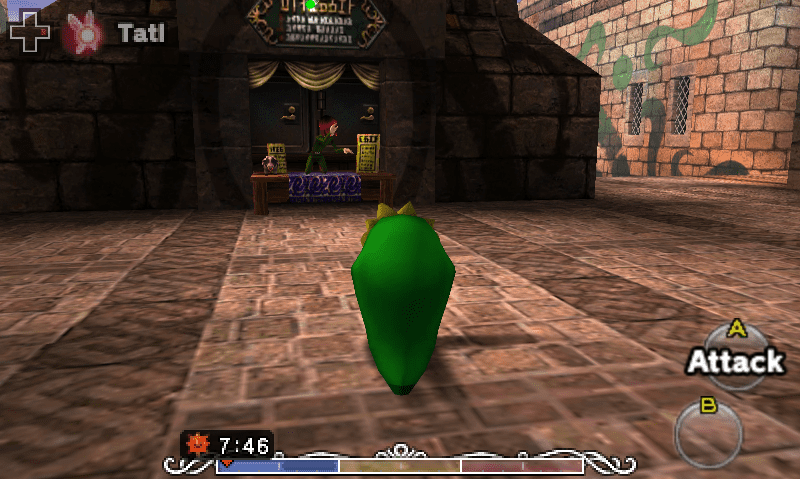
As we pass by the big yellow Deku Flower in the corner of town, a Deku Salesman will come flying out of nowhere to accuse you of using it without permission. Link quickly learns that this Deku Flower is private property. Talk to him, and he’ll mention that he’s already sold out of his wares even though the carnival hasn’t begun.
Stating that he’s thinking he’ll close up shop soon to find and buy the perfect gift for his wife, he mentions that he’s heard some things from the rumor mill about a Moon’s Tear.
He says that it will be the perfect gift for his wife, being all beautiful, shiny, unique, and luminous (like his wife), and to get it, he’ll be willing to trade the Title Deed for his spot (Deku Flower included!). This Wifeguy’s important later, so it would be wise to remember him and his request.
Regardless, as we travel through town, the townspeople will also mention that they’re all preparing for the annual Carnival of Time. The Carnival of Time seems to be an important yearly festival that brings in most of the town’s income, a real tourist trap. It’s also in three days… much to think about.
As we mosy on over to the back of the Clock Tower (we started at the lower entrance to the Clock Tower, so swing around to the back), we can enter North Clock Town.
Note that because Majora’s Mask 3D utilizes a slightly different map (although the map layout is mostly the same) some locations will vary. I will make note of these and make it clear when there are differences regarding the locations of items or landmarks.
Um… Mr. Tingle… Why Though?: Exploring North Clock Town
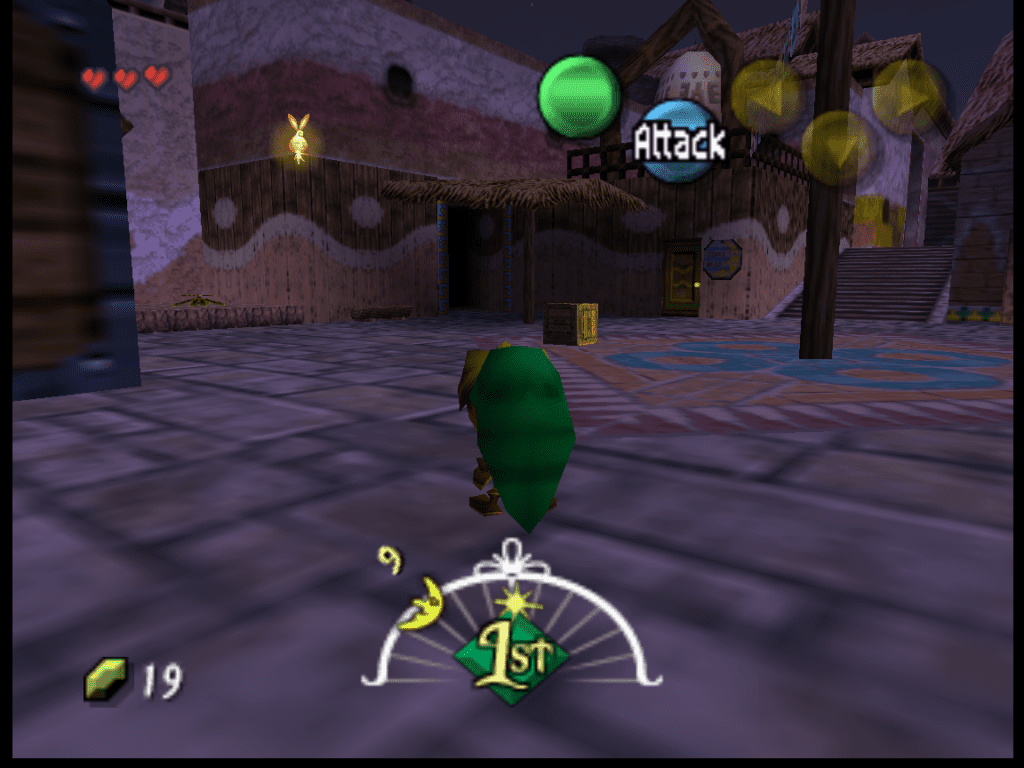
Now that we have made it into North Clock Town, we will get a pan over of the area. A kid is doing horribly at blowdarts, trying to pop a balloon with Majora’s Mask printed on it. There’s the guard at the gate; if you’re lucky, the Mailman is running through. And then… there’s Tingle.
Tingle is the little freak of nature dressed in green. He’s thirty-five and thinks he’s a fairy (or, at the very least, destined to be a Kokiri), and he’s his father’s greatest shame. Tingle is a recurring character in the Legend of Zelda franchise, being brought back repeatedly (similar to Beedle).
Regardless, he’s a little freak who, more often than not, needs to be brought down to Earth forcefully. He’s usually flying high, tied to a red balloon that we must pop to bring him down and talk to him. He’s also our map vendor and will tell you he ties himself to a balloon to better draw the land.
Talk to him, and we will discover that Tingle is currently selling a map of Clock Town for five Rupees. He’ll end this interaction with his magic words and tell you not to steal them. Tingle is also selling a map of Woodfall, but a cheaper one is available later, so I’ll leave that for now.
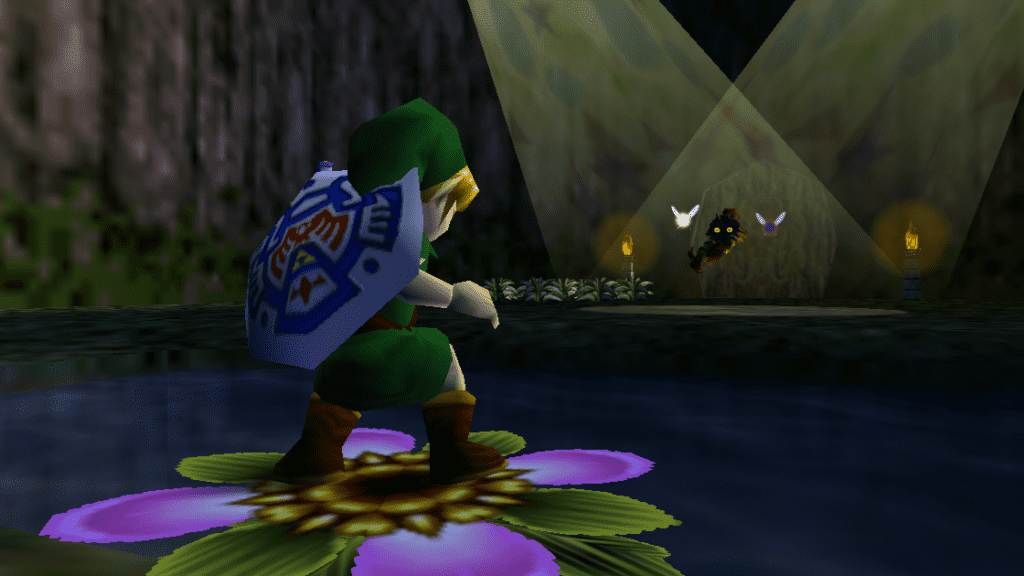
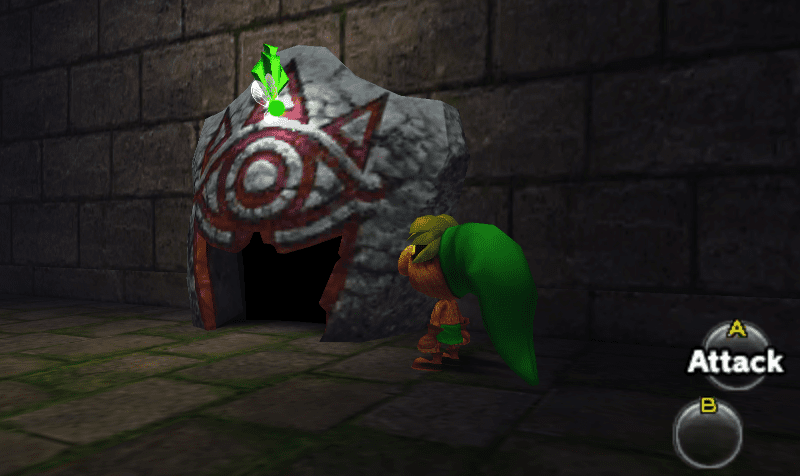
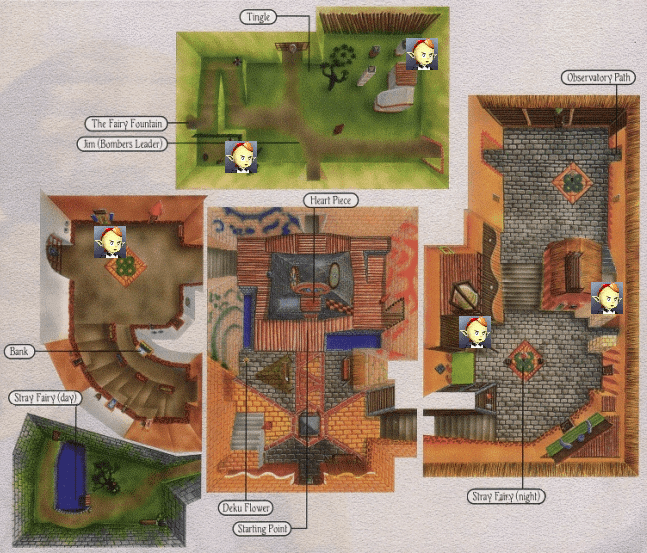
Enter the cave past the kid failing at blowdarts, and we’ll finally meet the Great Fairy.
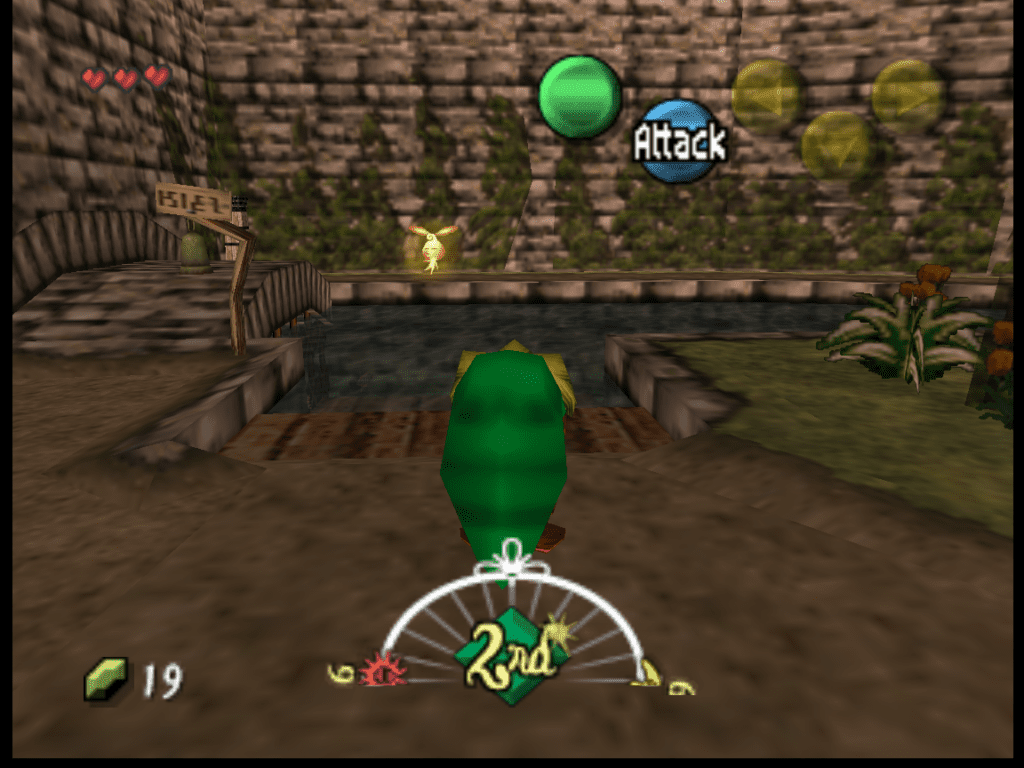
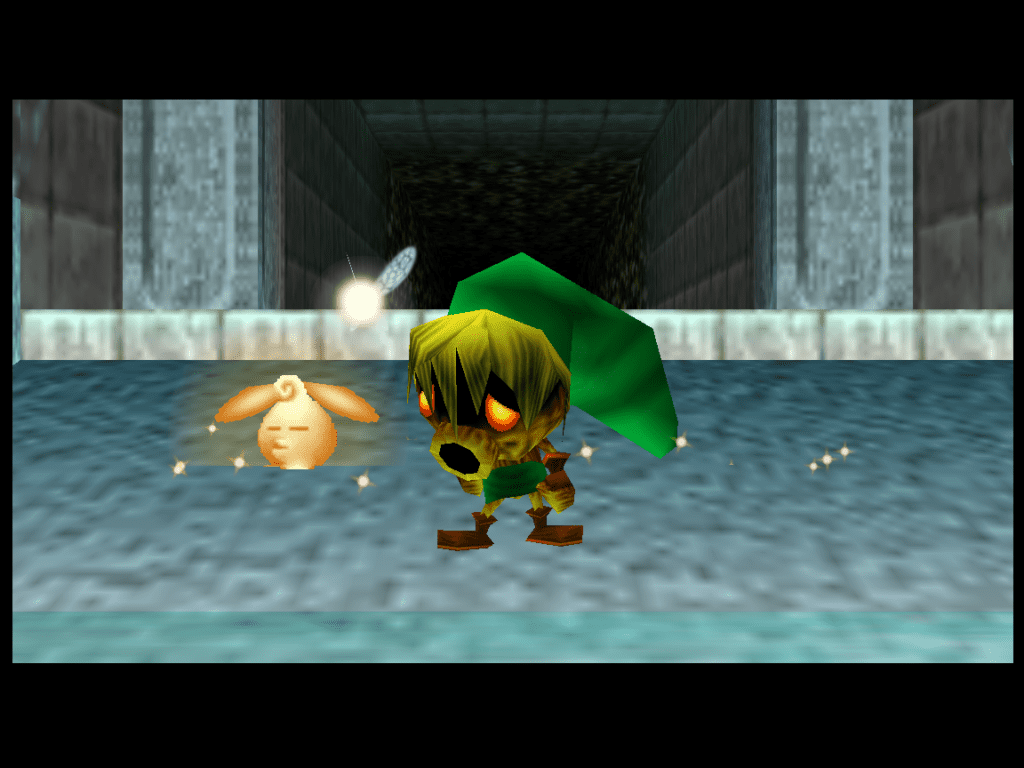
Heartbreaking! The Great Fairy is… Shattered?: Collecting the Stray Fairies Introduction
When you enter the cave, Tatl will make it clear that something is wrong. This also becomes obvious when you gain control of the camera and look at the pool.
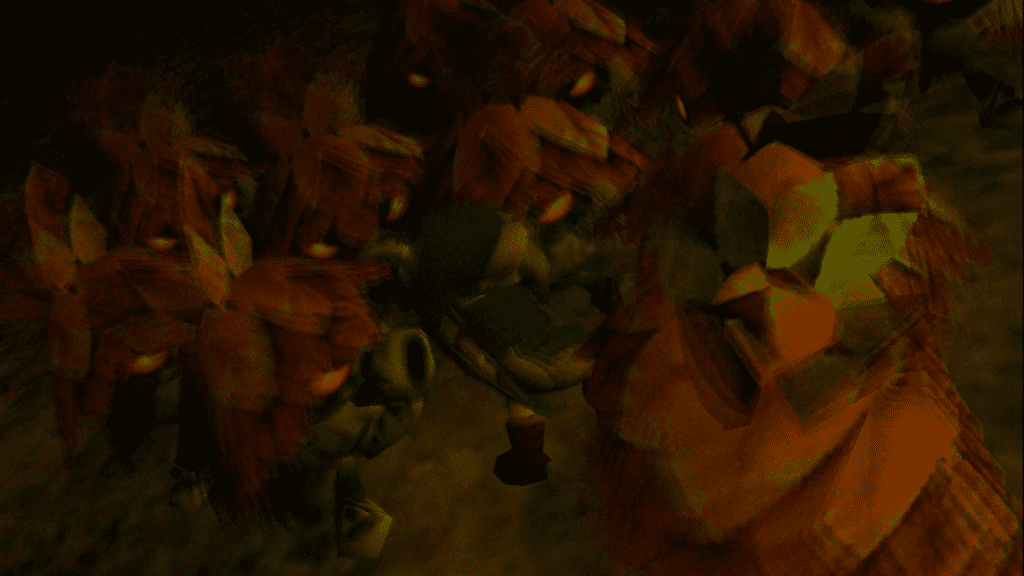
You know, the magic one, where the Great Fairy is supposed to be. After sauntering up to all these little guys who have something I can only define as an eternally smug kissy face, we get an earful of their beautiful SFX noise. A sound of, per my choice of description, a lot of dying ducks and crickets screaming all at once.
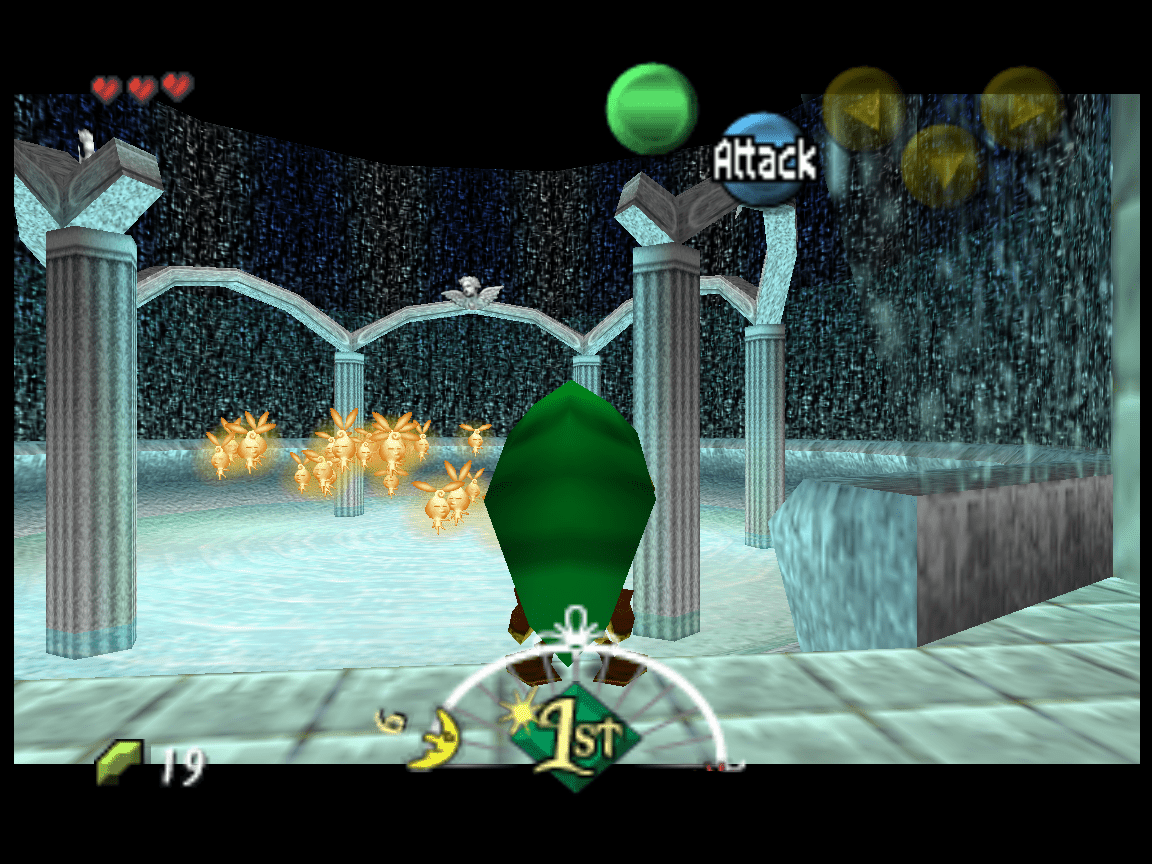
Regardless, after wading into the center of this madness, we will obtain some dialogue prompts from the shattered Great Fairy. She will inform us that one Stray Fairy is missing from the bunch in Clock Town and will request that we find it.
This may not seem all that difficult, but sometimes catching the little guy is hard. For this introductory fairy, she will have two predetermined collection points. These two points are just dependent on what time it is. Is it nighttime, or is it daytime?
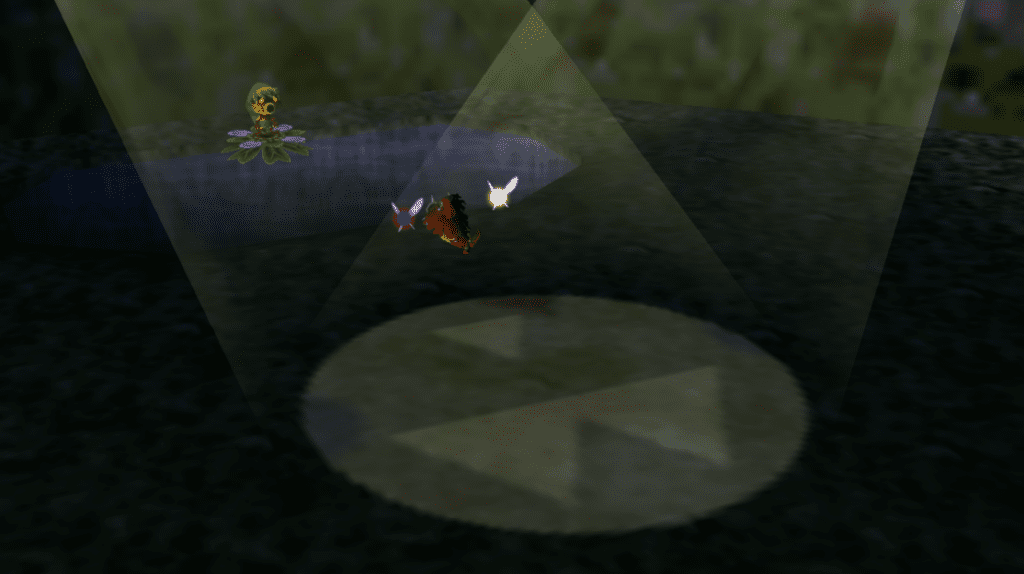
In the daytime, the fairy can be found in the Laundry Pool in the South West corner of Clock Town. Hop on the water towards the little bugger to retrieve her. The fairy will be bouncing around the East Clock Town central square during the nighttime. She’s too high up to get by any normal means, so we’ll have to use the Deku Flower in the area to fly up to grab her.
Now that we’ve collected the Stray Fairy, we will return to North Clock Town and return her to her sisters. Now that all the fairies are gathered, they swirl together (perilously) and create the gal we’ve been waiting for! The Great Fairy!
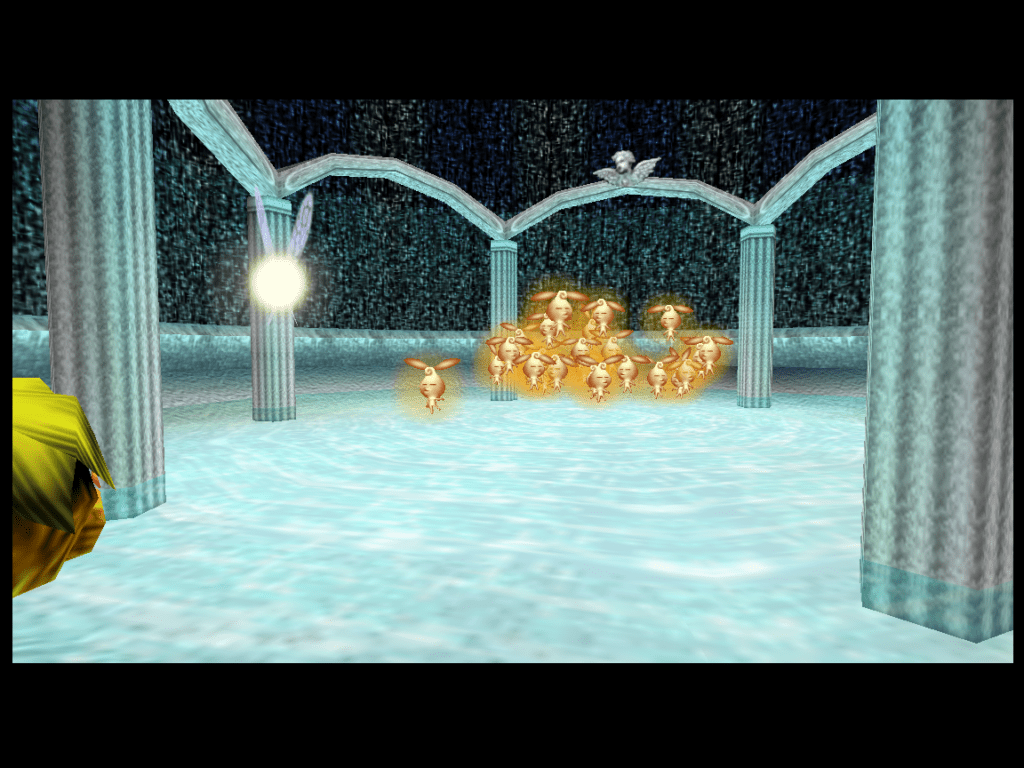
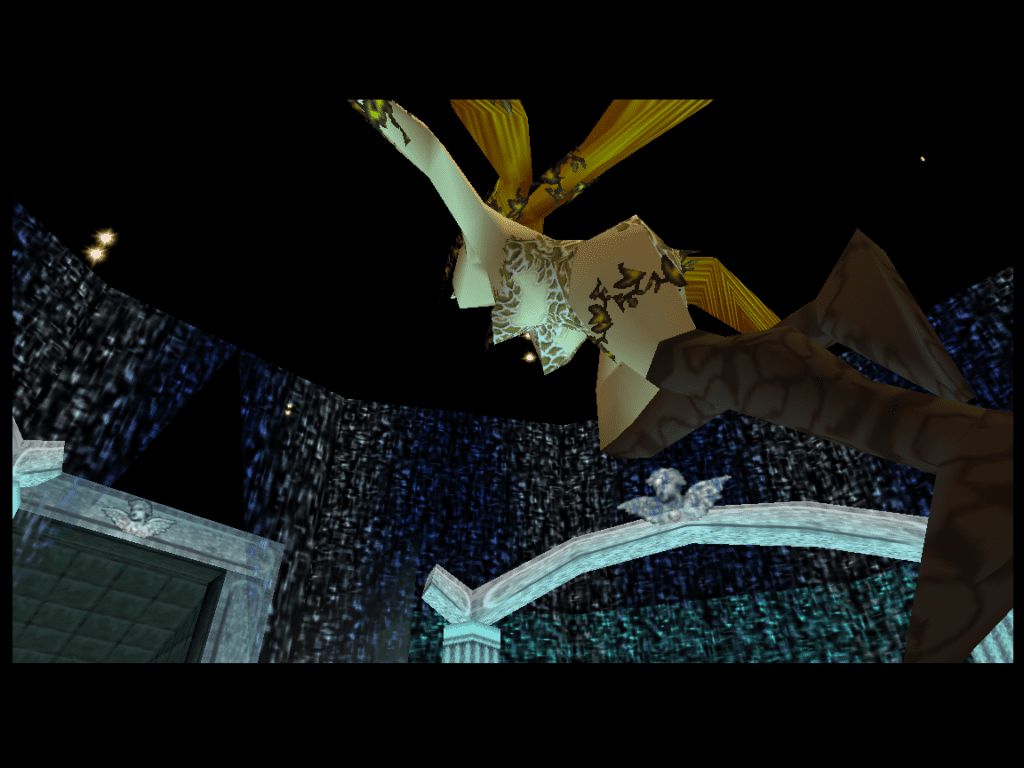

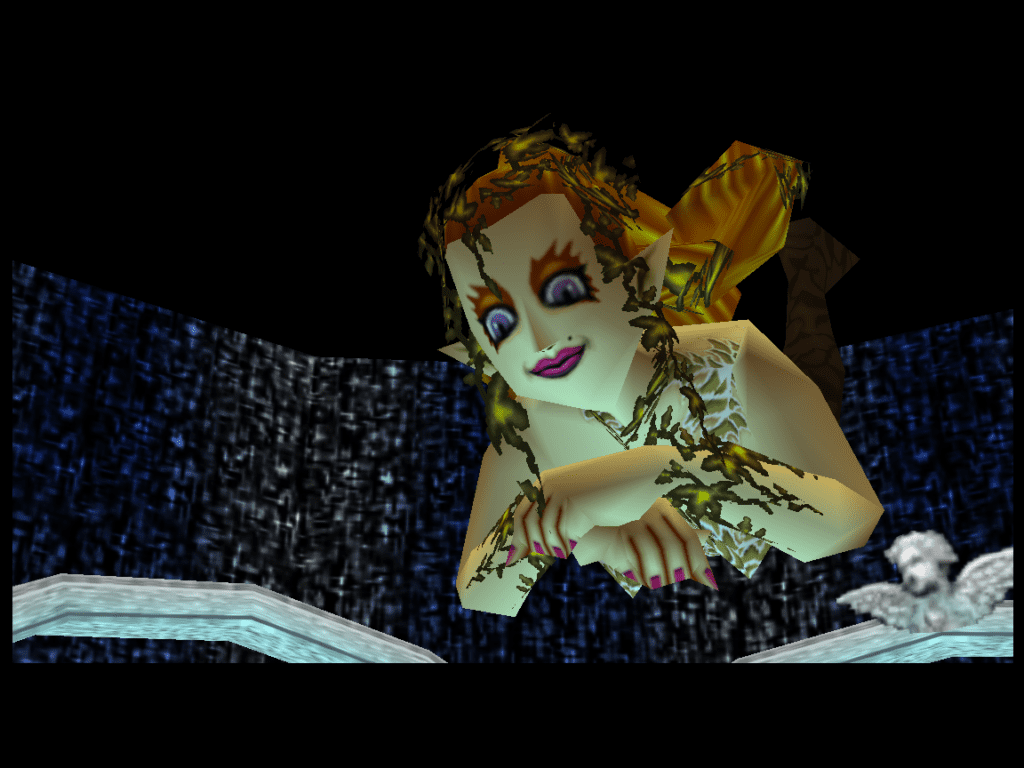
The big gal spins into existence with bright light and sparkles. She then explains her situation, which is basically that she mistakenly trusted Skull Kid—he, the disastrous fiend, who then decided to break her spirit and shatter her soul.
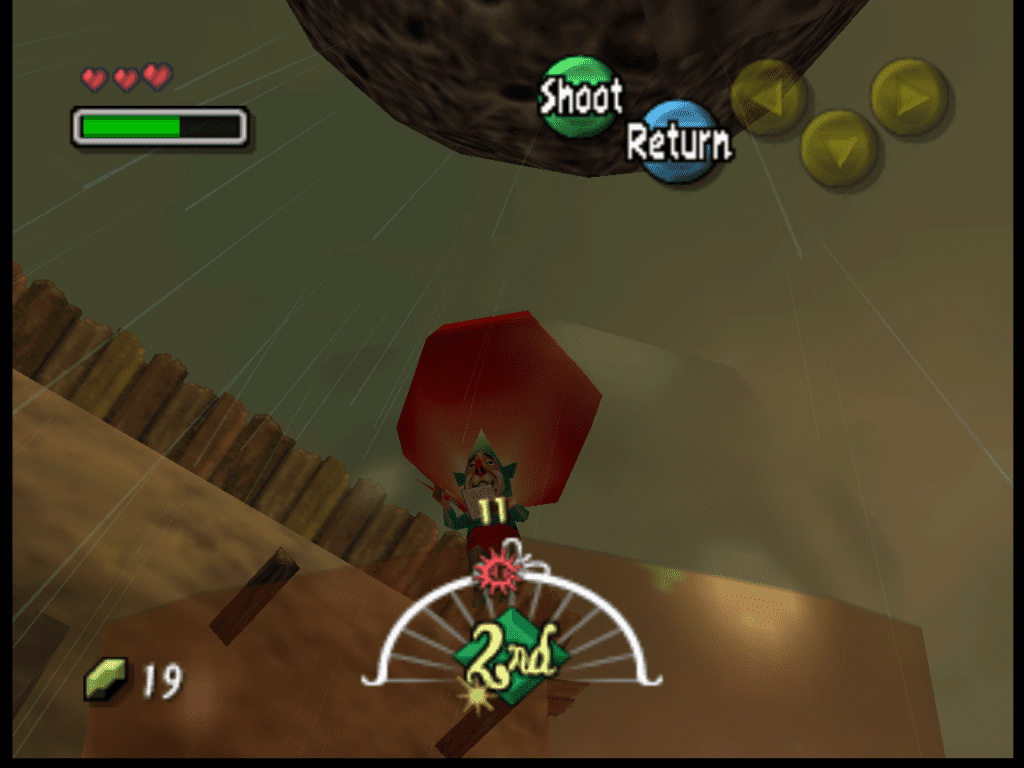
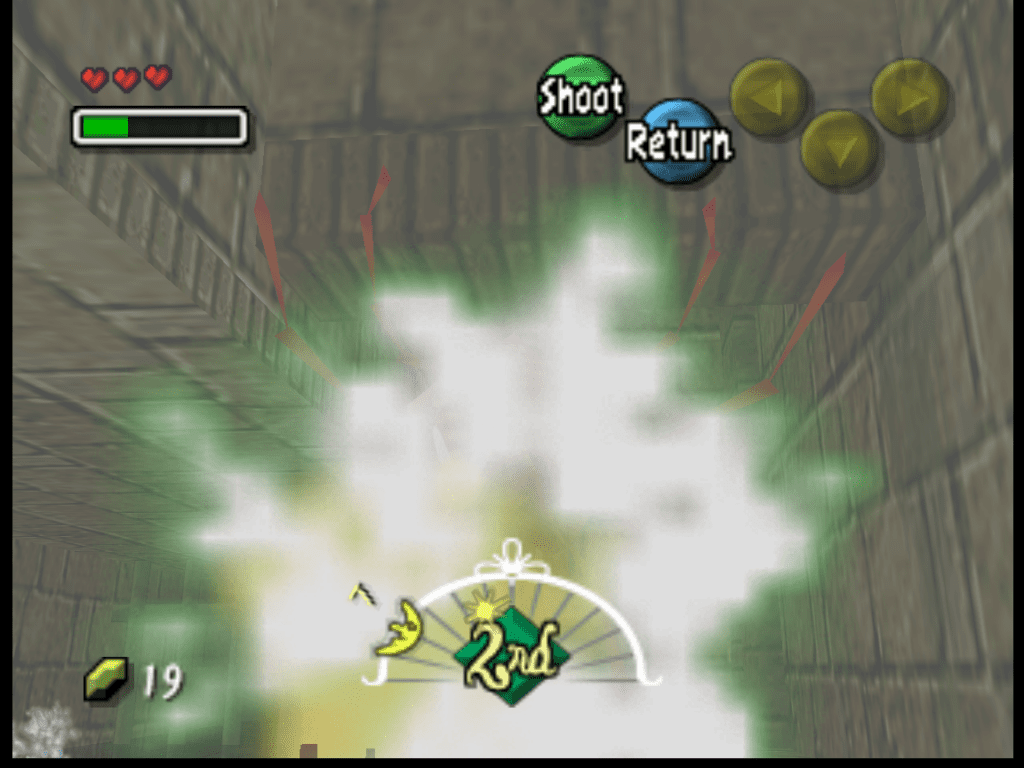
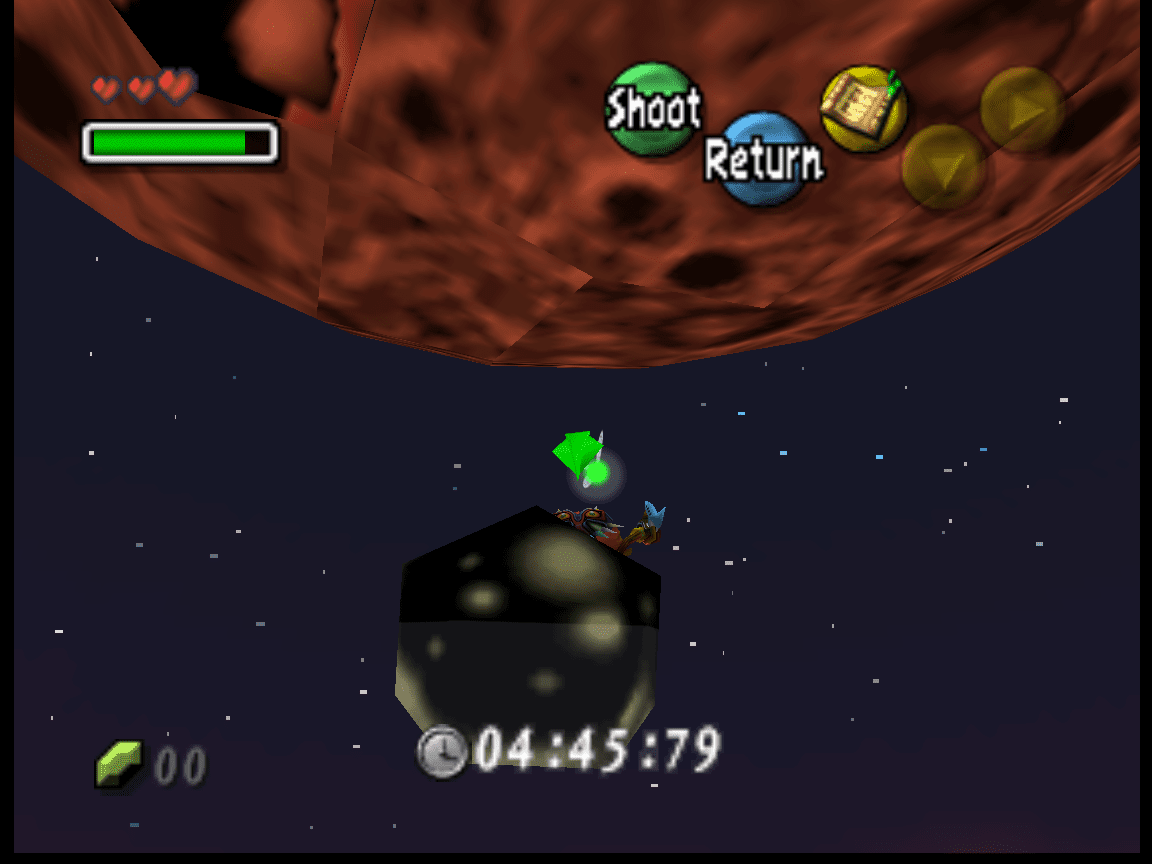
She thanks us for helping her piece herself back together and then gifts us her special sauce. As the Great Fairy of Magic, she gives Link a little bit of it (the magic). She UFO beams Link, who comes down with some suave new powers! Now we can use a sweet little move called Bubble Blast!
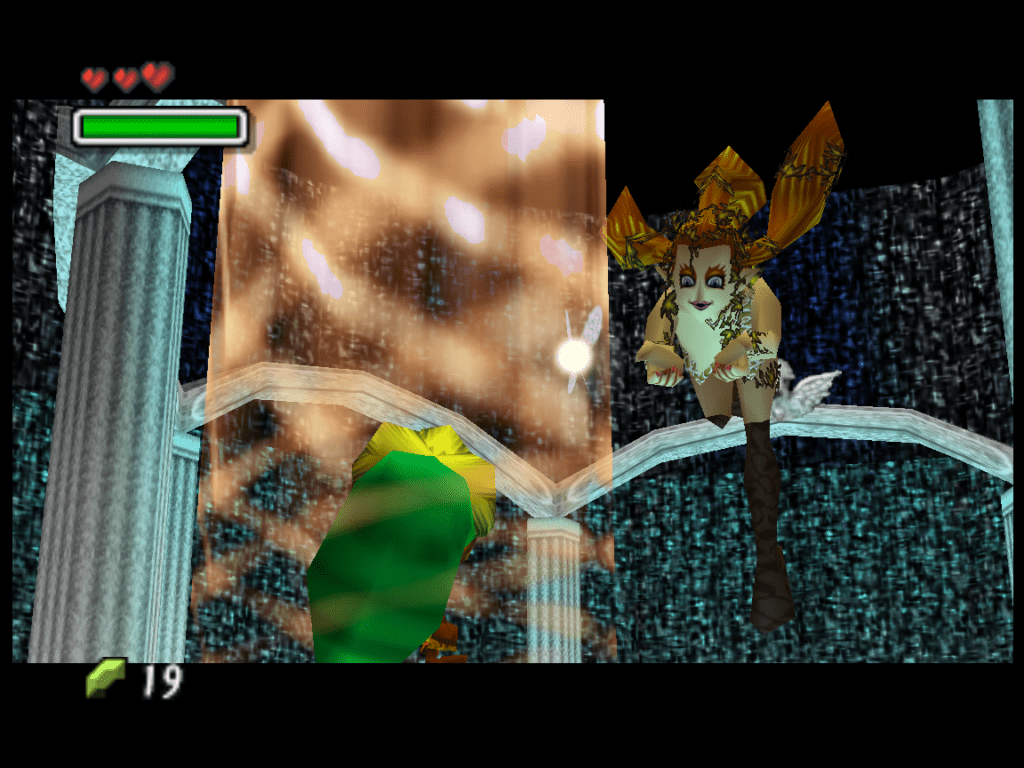
Bubble Blast boils down to this: when we press and hold the B-button, Link will blow a big purple-tinted bubble. Kind of like blowing a big purple bubblegum bubble!
When we release B, Link will shoot the bubble wherever we aim. I have found that aiming my shots with the clock on the bottom center of the screen is the easiest way to do this. Aim with the little decal at the top of the clock; generally, the target will be hit. Another striking thing to remember that our Big Gal Pal let us know is that we need Magic Bottles or Magic Potions to refill our Magic Meter.

Note that because Majora’s Mask 3D utilized a slightly different HUD, using Bubble Blast will be slightly different. With the 3DS version of the game, we are able to aim in an easier manner, with the game providing a big red see-through aiming reticule.
Regardless, the Great Fairy tells us to visit her after regaining our uncursed form. She also tells us that visiting the Observatory will be our best bet for getting out of dodge. There’s an old dude there who can help us! So now we have a new lead and goal for the future!
I Really Could Use A Wish Right Now: The Bomber’s Password
As you leave the Fairy Fountain, one of the first things to be noted is Tingle. Who’s now riding high on his aforementioned red balloon. We can pop Tingle’s balloon to bring him down for map deals, as will be customary from this point onward.
After popping Tingle’s balloon, he will perform a short animation. He’ll wait a moment before freaking out and then fall with a landing hard enough to create a substantial dust cloud beneath his feet.
After a few seconds, Tingle will look around and wait for you to talk to him. After a bit of waiting, Tingle will spawn another balloon on his back and slowly rise into the high heavens again as the balloon grows.
One would almost think that Tingle likes the thrill of a fall.

We also have front-row seats for how bad this kid is at blowdarts. Either he’s terrible at aiming, or his darts are incredibly dull. Let’s talk to him! Maybe we can find out!
…Well, we learned that this kid doesn’t take kindly to Link. However, he also said that if we pop his balloon, he’ll give us something worth our while. This sounds like something we can do! Fast, quick, and easy!

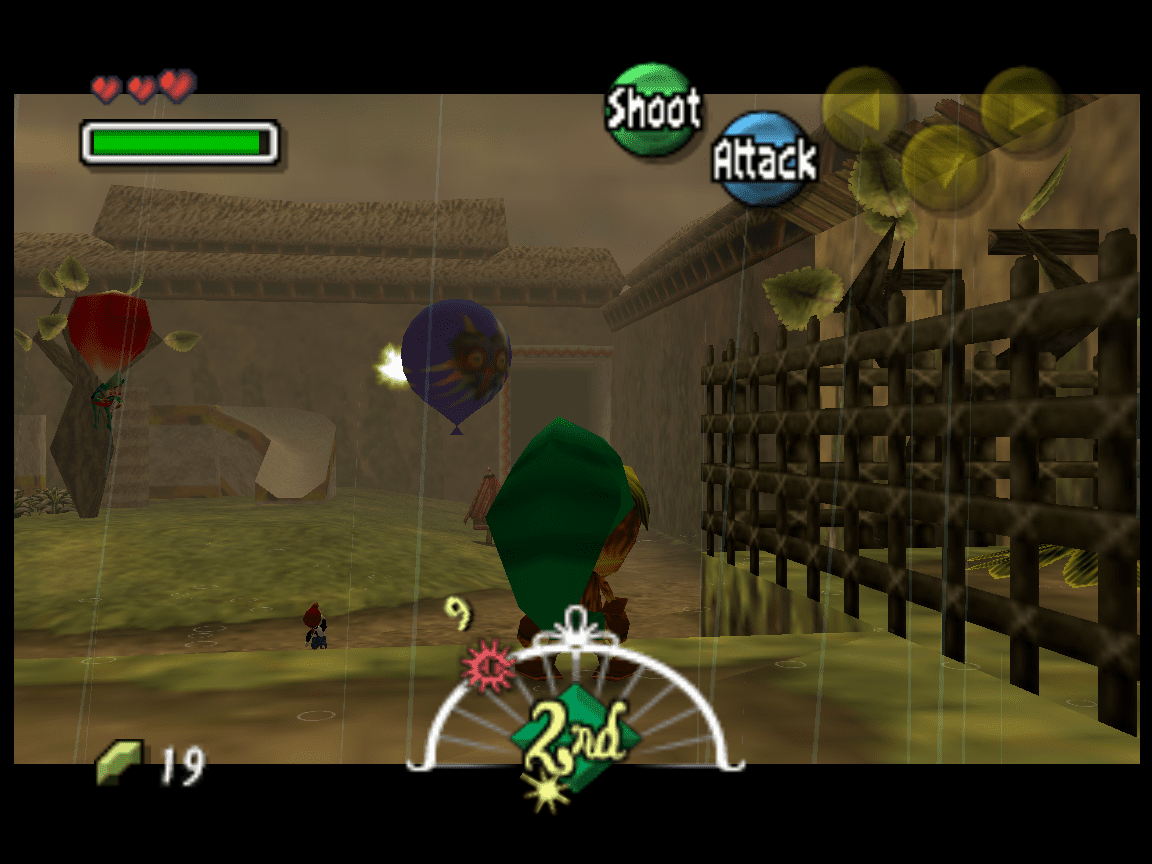
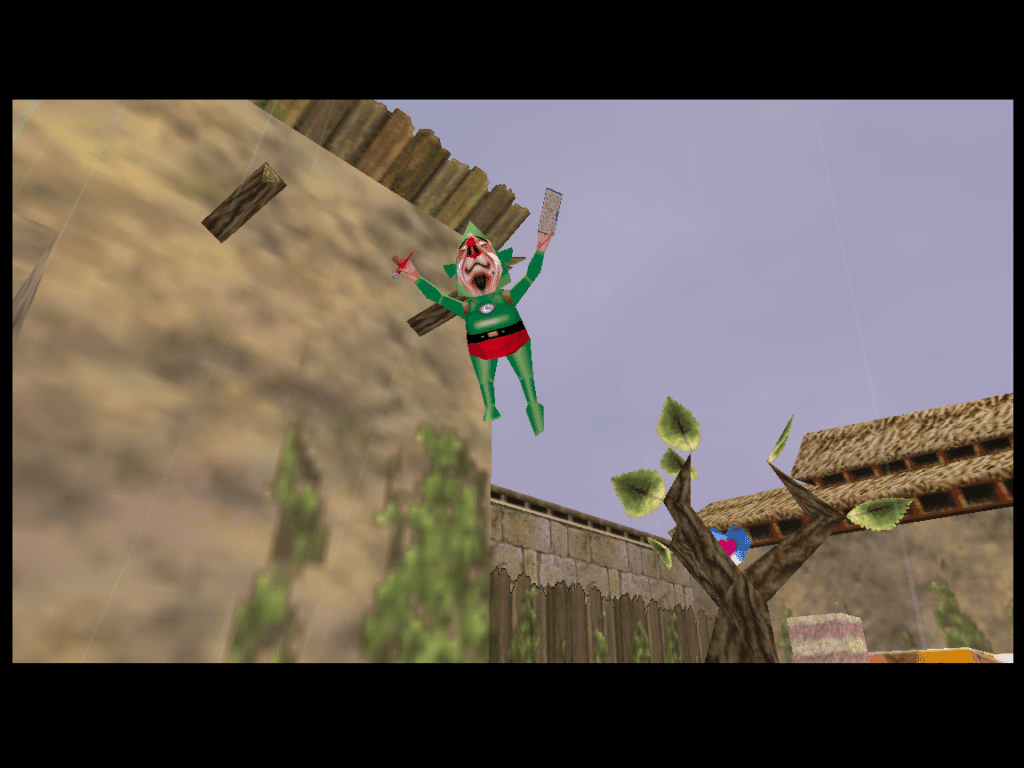
After popping the Majora’s Mask balloon with our Bubble Blast skill, the kid will give a short animation of disbelief and surprise. He’ll look around for the balloon-popping culprit and is now available for conversation. Might as well let him know that we’re the superior dart guy.
During the conversation, the kid will tell us he’s impressed with us! …But mostly because we’re a Deku Scrub. He also informs us that he’s a member of the local youth gang, The Bombers. He’ll also tell us that The Bombers have a secret-not-so-secret hideout at the Old Astronomer’s place, the Astral Observatory!
That’s precisely where we need to go! But we’ll need a code to get in, and he might give it to us, but only if we complete another one of his little tests.
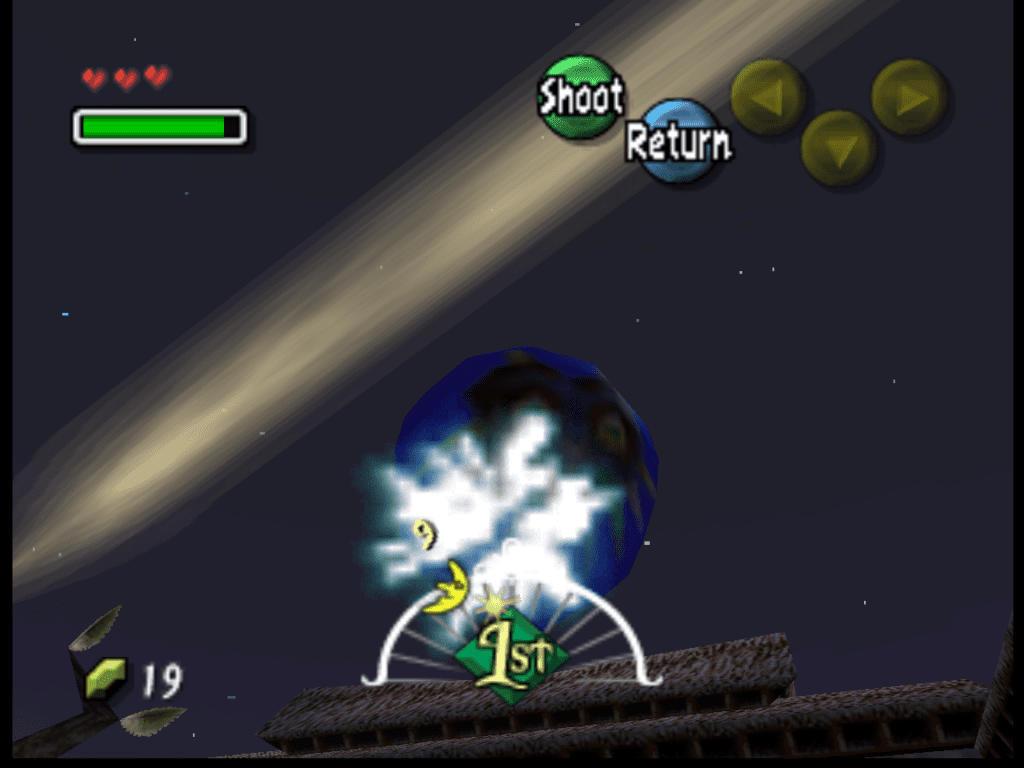
This test happens to be a game of hide-and-seek with The Bombers. You need to find all five of them before the next dawn. They’ll hide in places around Clock Town (the guards don’t let kids leave unless the kiddo has a sword), but they’ll run away when they see you. This is where our neat little Deku skills can shine! We can use A to spin towards them faster and B to blow a bubble that will stun them if it lands.
I have listed The Bomber’s locations below:
- Two of them are in North Clock Town. [One is behind the slide and the other is behind the tree.]
- One is in West Clock Town, near the Trading Post.
- Two are in East Clock Town. [One is on the roof above the Stock Pot In and the other is around the Milk Bar.]
After chasing down all these little men, they will all gather back in North Clock Town with Link. Their leader, Jim, will let us know that he can’t make us a full Bomber.
He explains that this is because the last time they trusted a non-human to join the Bombers (Skull Kid), his actions and intentions were less than altruistic. Jim lets us know that what he can do, however, is give us the secret code for getting into the Astral Observatory. Jim will gather the Bombers in a certain order and give us the five-digit code. Note that the Bomber’s Password is randomly generated.
An awesome thing to note is that this code does not change during the rest of the game! Rewinding time does not give you a new code.
Because the password is randomly generated, it would be wise to write it down somewhere where you will remember it! Especially because the N64 version doesn’t save the password anywhere else in the game. It’s just this one screen/cutscene. Unless you feel like chasing down the Bombers again, I recommend writing it down. This rule is applicable for all consoles outside of the 3DS because it either is the N64 or the game is just a port of the N64 version.
The reason the 3DS version is excluded is that version of the game is a whole remake. In Legend of Zelda: Majora’s Mask 3D, the Bomber’s Code will automatically end up in your Bomber’s Notebook (an item obtained later).
Jim will also inform us that the entrance to the Observatory from town is in East Clock Town. After we get our codes and write them down, we’ll head over there.
Moon, O Moon, Why Do You Cry?: Meeting the Astronomer and Moon’s Tear Trading
After we make it to East Clock Town, we will head up to the area near the Mayor’s Office. We’ll see a kid in a yellow cap standing in front of a small alleyway. This is our guy.

After talking to Yellow Cap and giving him the password, we’ll head down into this small alleyway. Supposedly, this leads to the Observatory. I suppose we will learn the truth of this soon enough.
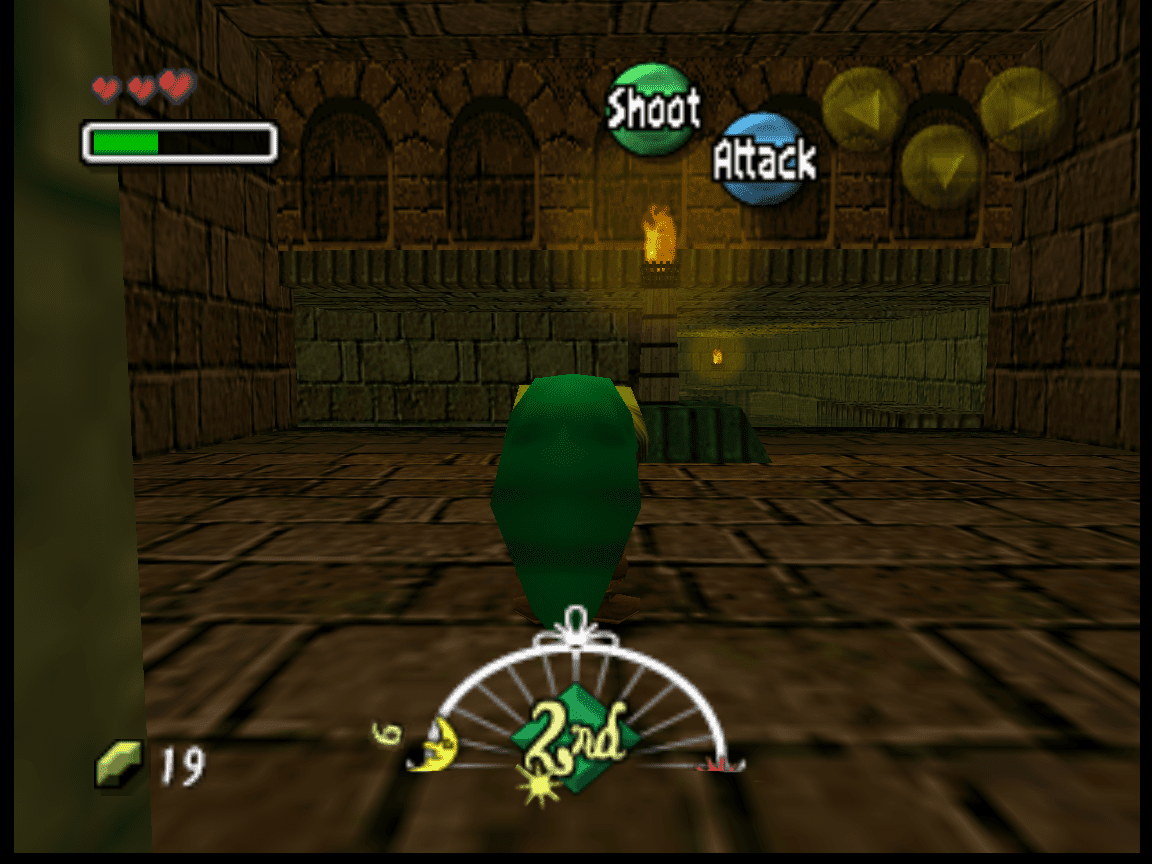
Going through what we now know is a tunnel, not an alleyway, we will be greeted with a water-filled canal with several platforms in it. This part is fairly straightforward, hop through the canal, platform to platform. Due to Deku Link having quite a few hops in him while we’re on the water, we can be a little spicy and skip a few of them.
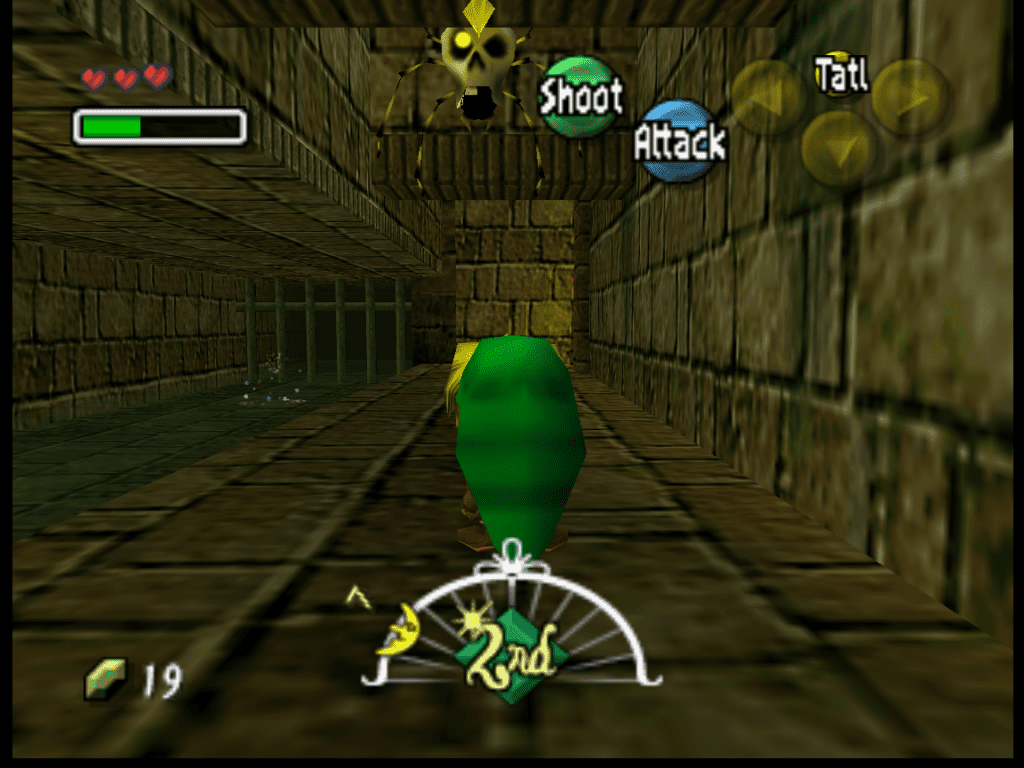
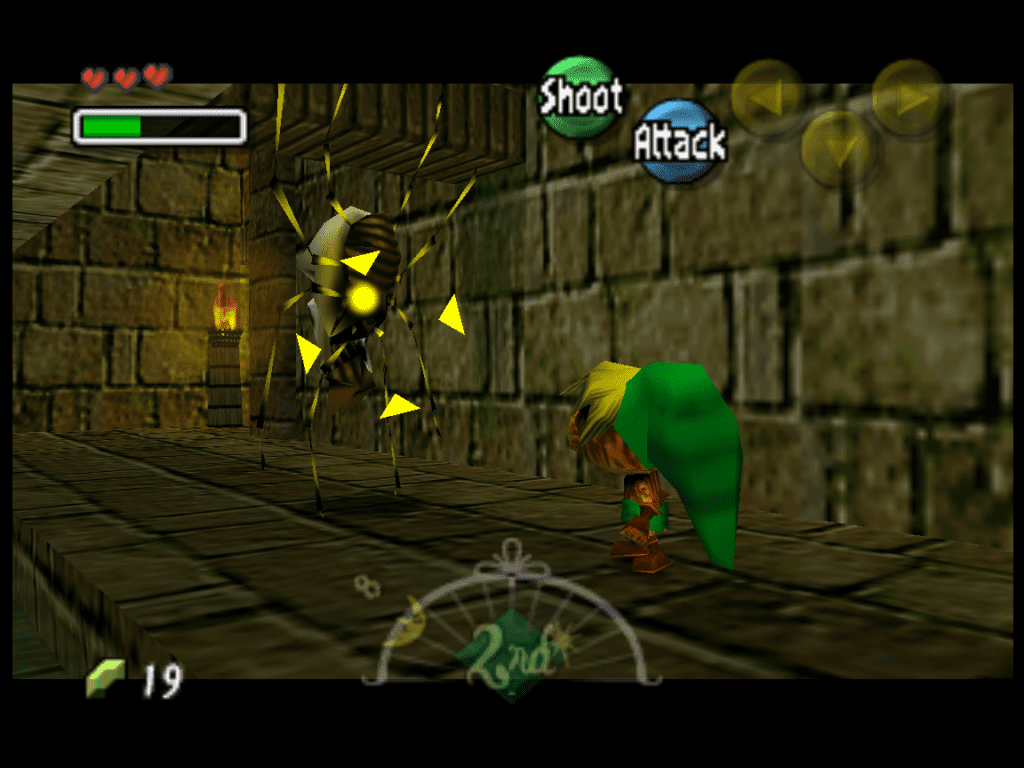
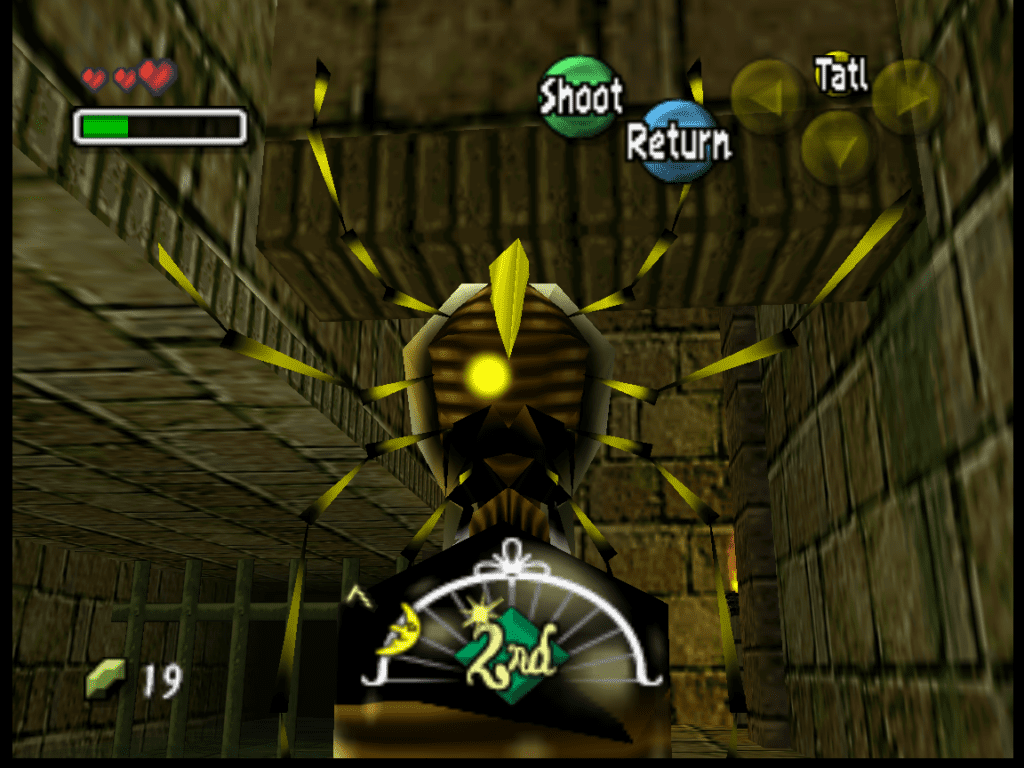
Once we reach the turn in the road, there will be a long landing-type platform spanning the wall. I don’t recommend just blazing it down this platform, yet… There is a Skulltula hiding up in the rafters. This big boy will come down and hit us if we come near him, and I don’t like fighting these bugs this early in the game.
If we do decide to fight the Skulltula, keep in mind that we need to hit the spider’s soft underbelly. So we’ll need to wait for the big man to spin around himself. Bubble Blast is our best attack for Spidey-boy. Our self-made bubble gun keeps us out of the emo spider’s attack range, along with killing him in one hit.
After beating up the Skulltula (optional), we can head through the archway on the far side of the wall. Next to the fire basin in the corner. Here, we will witness another Majora’s Balloon and several pots that we can break. The pots will contain either green Rupees or magic bottles, and we’ll have to pop that balloon to go any further. It’s blocking the ladder behind it.
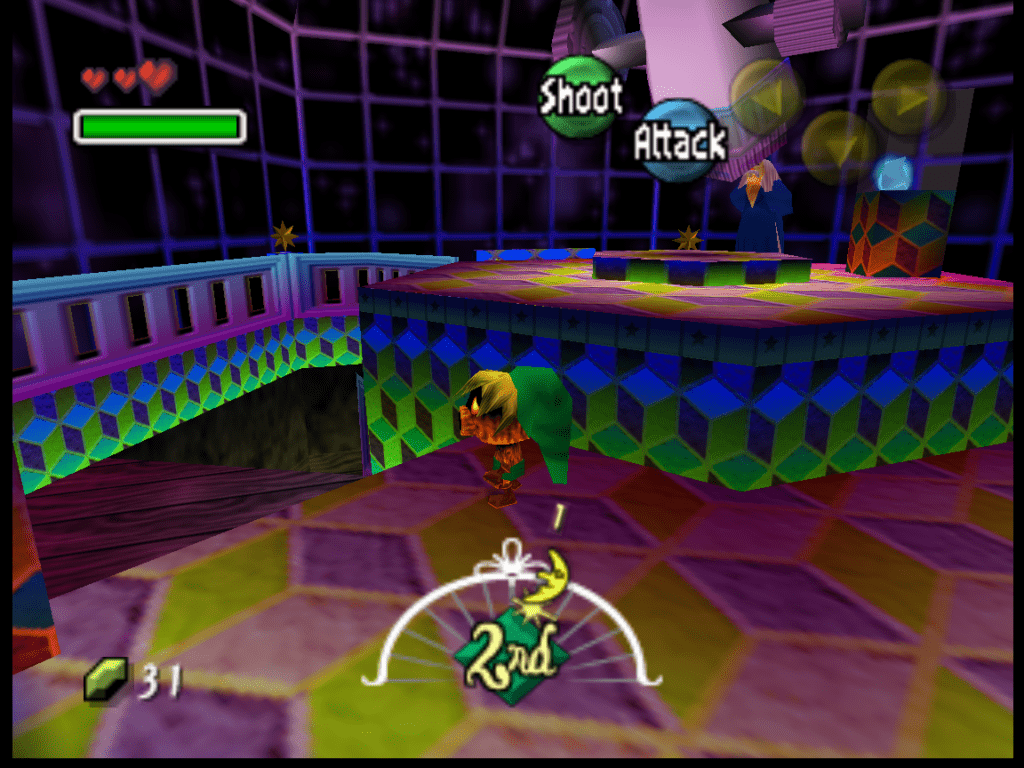
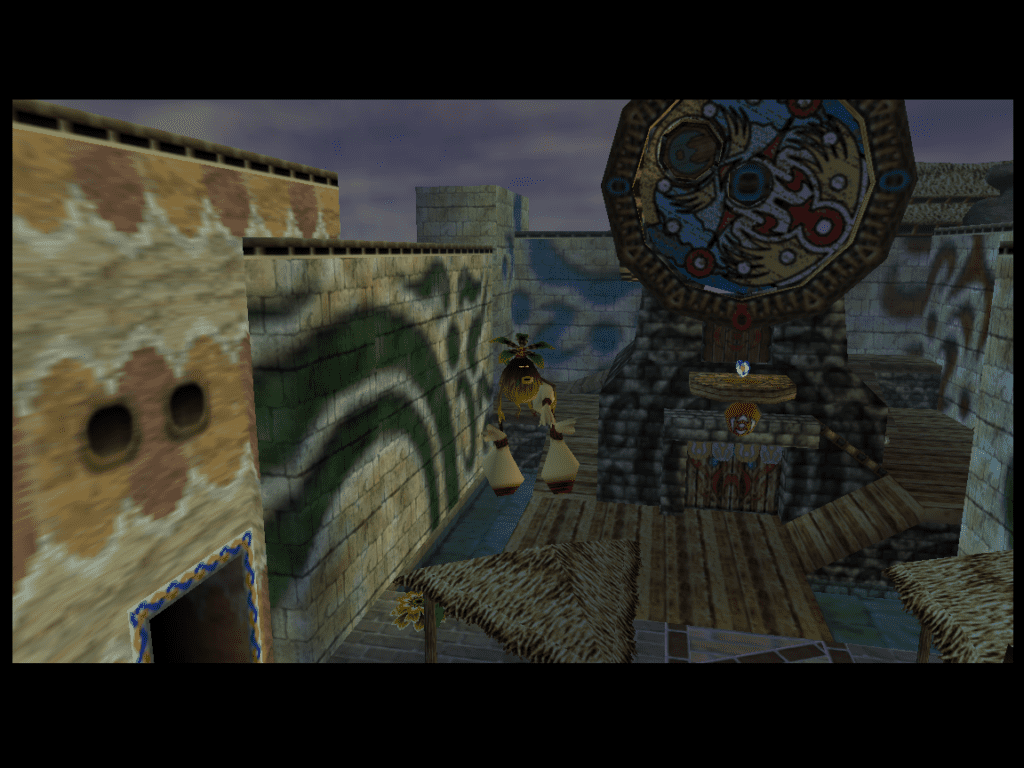
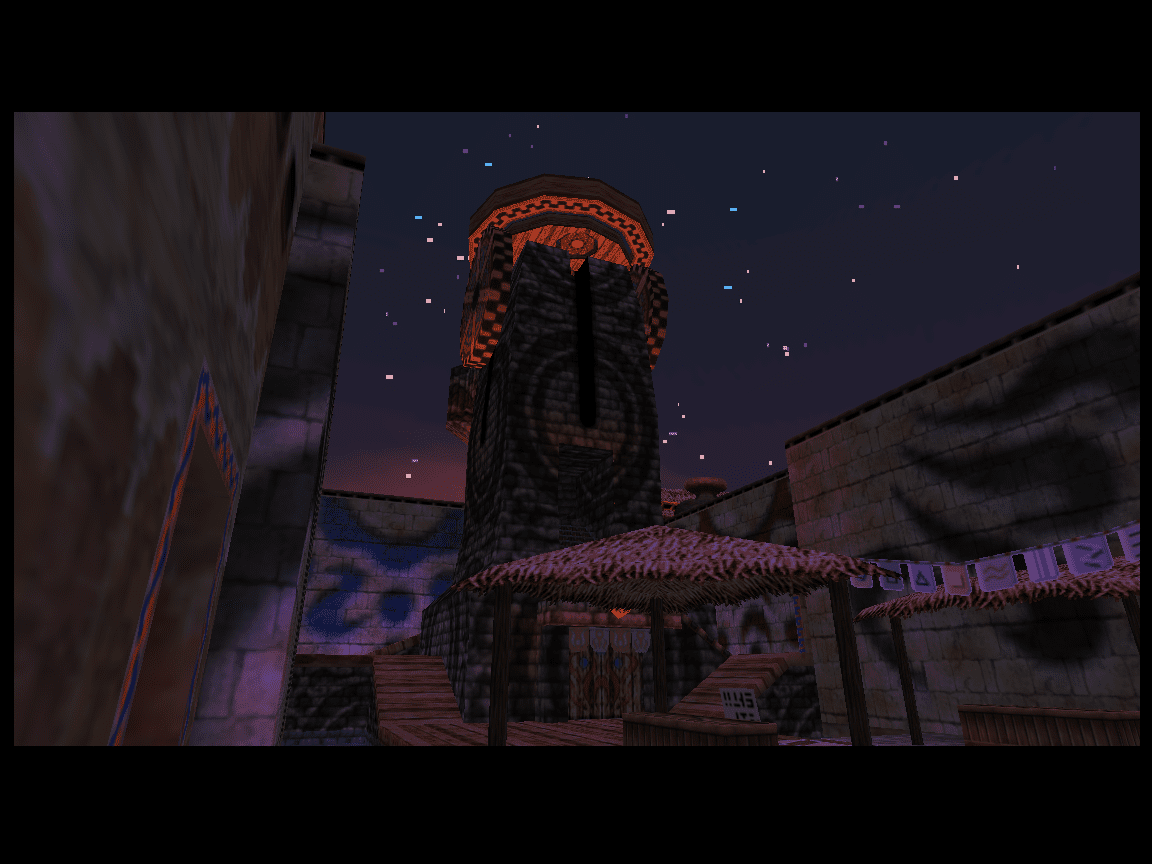
Regardless, after ascending this ladder, we discover our greatest find yet! The Astral Observatory. In spite of the sketchy tunnel, the Bombers weren’t lying to us! The Observatory is very… colorful, to say the least.
We’re almost immediately welcomed by a weird little laughing sound. A sound, which, to save us all some time and headache, is coming from Lord Scarecrow in the corner. He introduces himself as a Stylin’ Scarecrow, so that will be the name we use for him from now on, and he really badly wants to get lost in the musical sauce with us.
Getting musical with Stylin’ Scarecrow speeds up time, so we’ll end up losing half a day. So, unfortunately for him, we don’t want to get lost in the sauce yet. He’ll ask if we would want to learn his sweet song, but yet again, misfortune strikes, as we can’t actually learn any songs yet.
We’ll need to grab our Ocarina first. Stylin’ Scarecrow gives us some disappointed dialogue and tells us that he’d like to hear our own sweet tune next time. This is good information to file away for later.

Aside from Stylin’ Scarecrow, we have some jars in the room that we can break for blue Rupees this time or magic bottles. After having our fill of the lower room in the Observatory, we can head up the stairs, where we’ll finally meet the Astronomer.
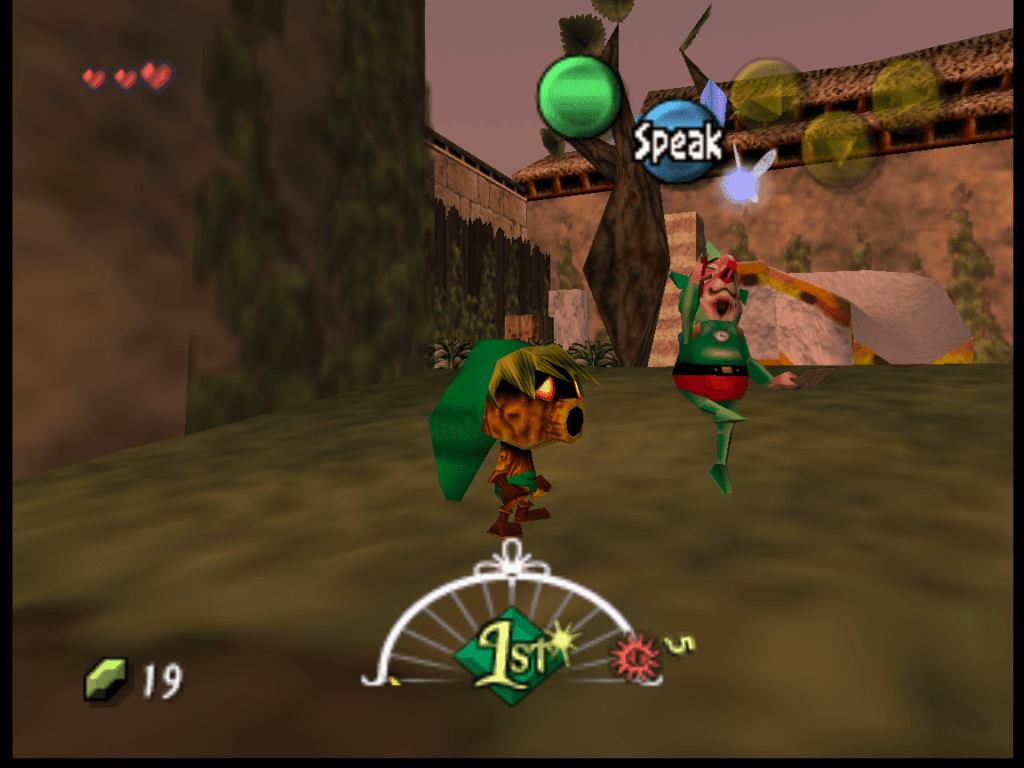
The Astronomer’s name is Professor Shikashi, and it seems like his hobbies include standing uncomfortably close to people when talking. After walking over to Professor Shikashi, he will immediately engage us in conversation. He observes that yet another strange-looking child has joined him in his tower today, and proceeds to tell us that we’re not as ill-mannered as Skull Kid.
Thanks, bro, it’s good to know that Link’s a polite little man. This old man also informs us of the various ways that Skull Kid threatened him and states that Skull Kid is likely still causing trouble around the Clock Tower.
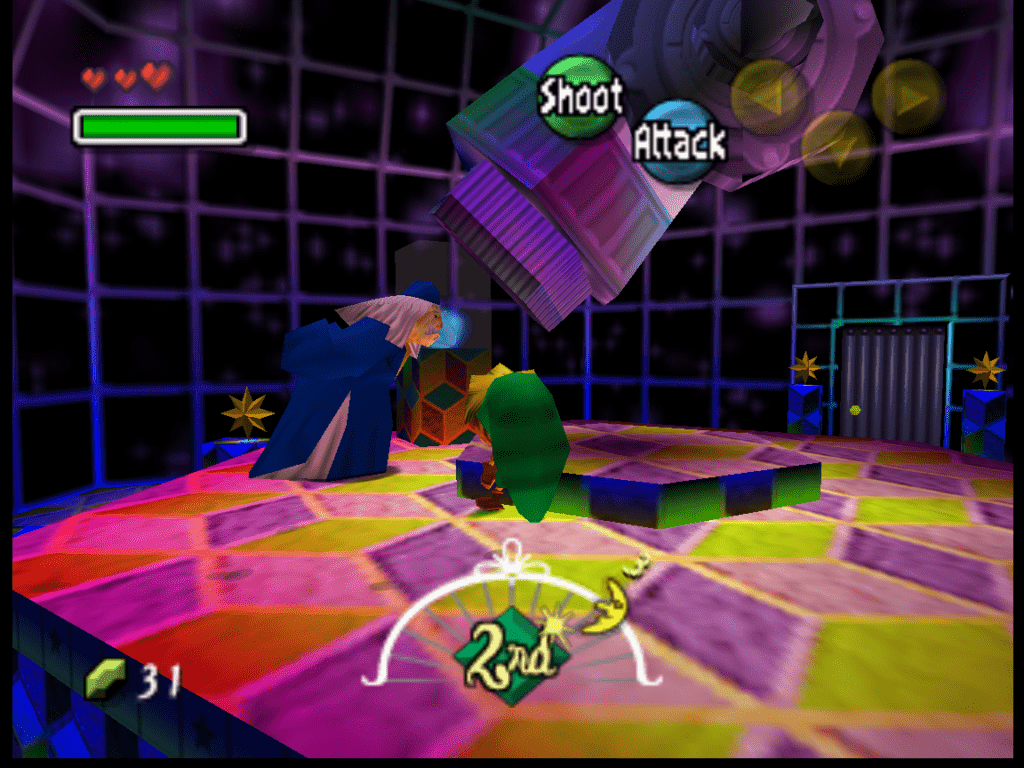
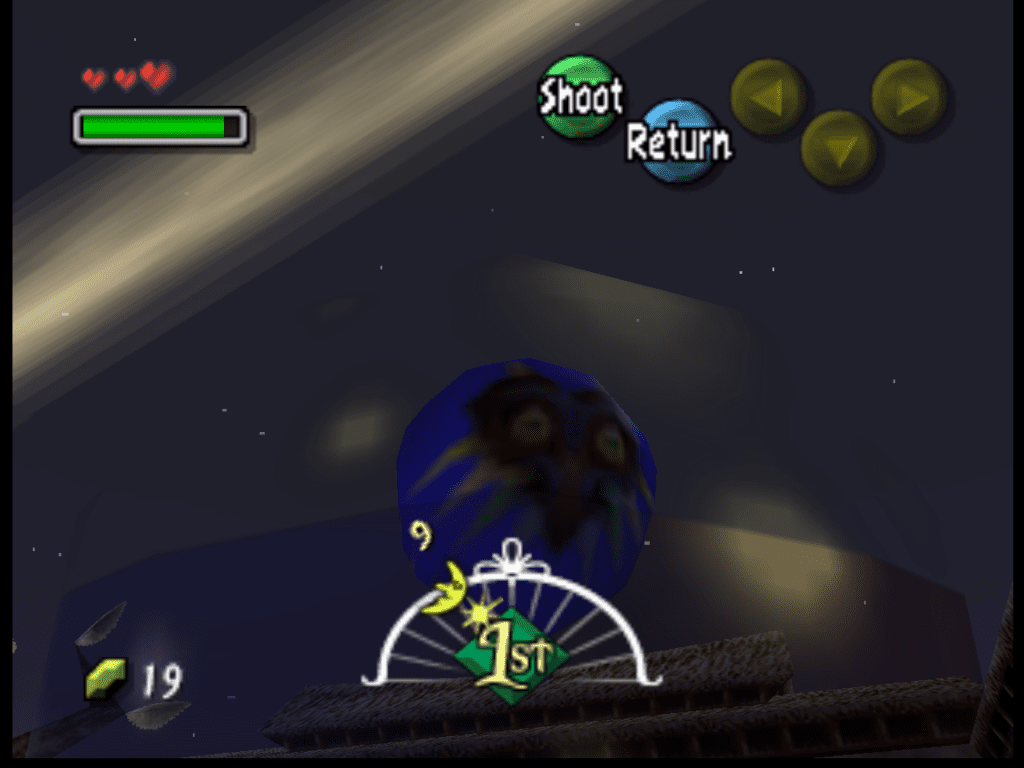
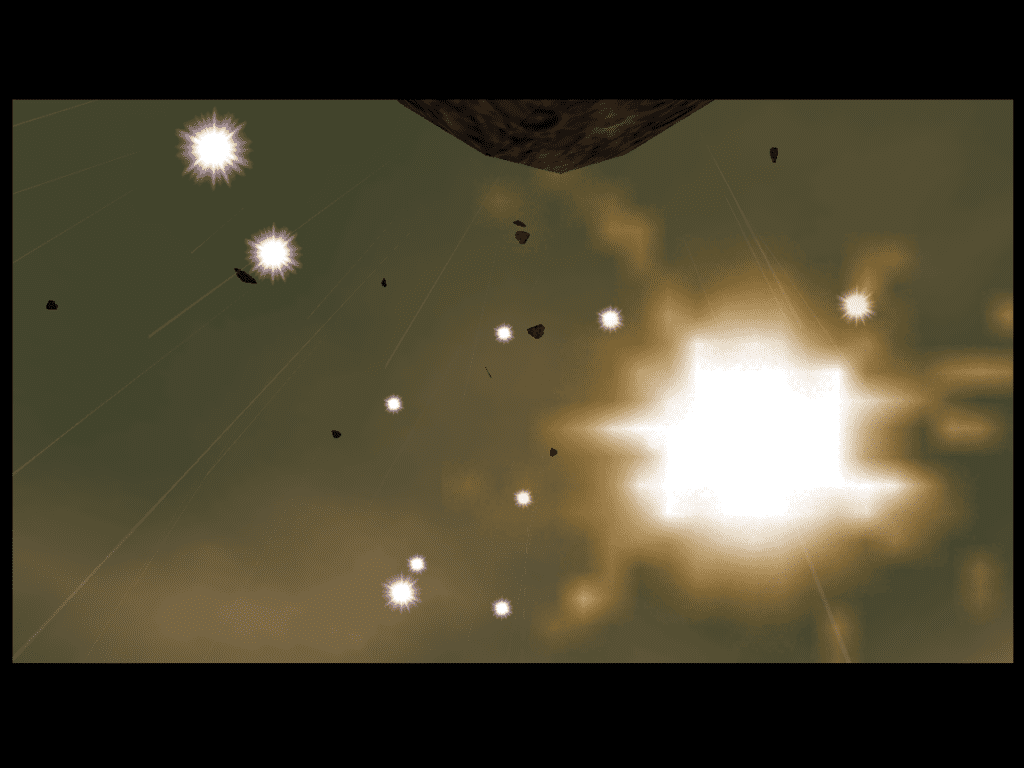
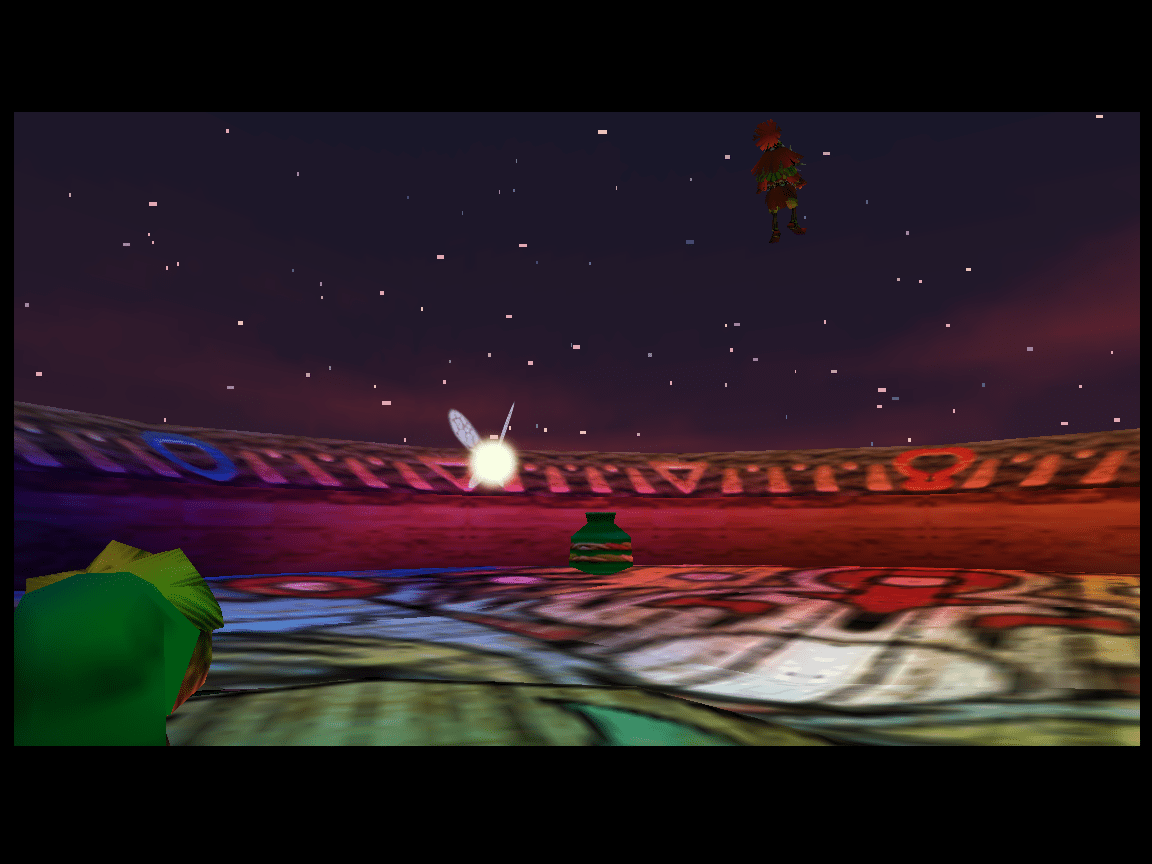
We get the option to gaze in his telescope and we’ll make sure to hit yes. During the telescope adventure, we can look around a little, but our main goal is to look up at the top of the Clock Tower. We’ll get a short cutscene where Skull Kid does a little jaunty jig, and when he looks up at the moon after a moment, we’ll follow suit.
We’ll witness the fall of another Moon’s Tear, you know, the rock that Skull Kid told the Astronomer that he’d steal from him. Skull Kid then taunts us by slapping his butt and… twerking, for lack of a better phrase.
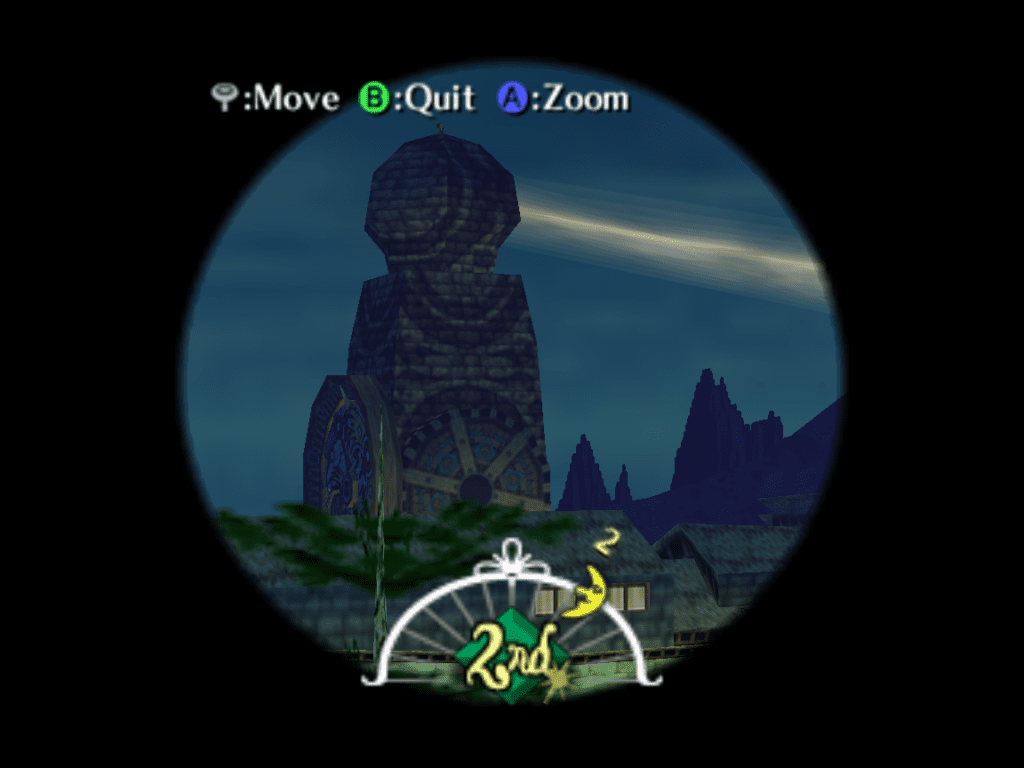
After the cutscene plays out, Prof. Shikashi questions how Skull Kid got to the top of the Clock Tower. As this is a feat that is only supposed to be possible during the festival, due to the festival being the only time the Clock Door is open. Prof. also vaguely questions what that loud noise was (the Moon’s Tear landing right outside his door), but shows no motivation to actually discover anything.
He tells us, instead, that we should just head through his door to the outside world to find out what’s happening. We’re fenced in though, so don’t be expecting an escape from Clock Town anytime soon.
After heading outside, it will quickly become even more readily apparent where the Moon’s Tear landed. Because when we walk out it’s literally right at our immediate left. Let’s grab the Tear, and go back inside.
The Moon’s Tear will become very important later in the game, so it will be a very sagely move to remember how to get them. They’re used to obtain pieces of heart as well as other items in the game. In fact, it will become extremely handy right now!
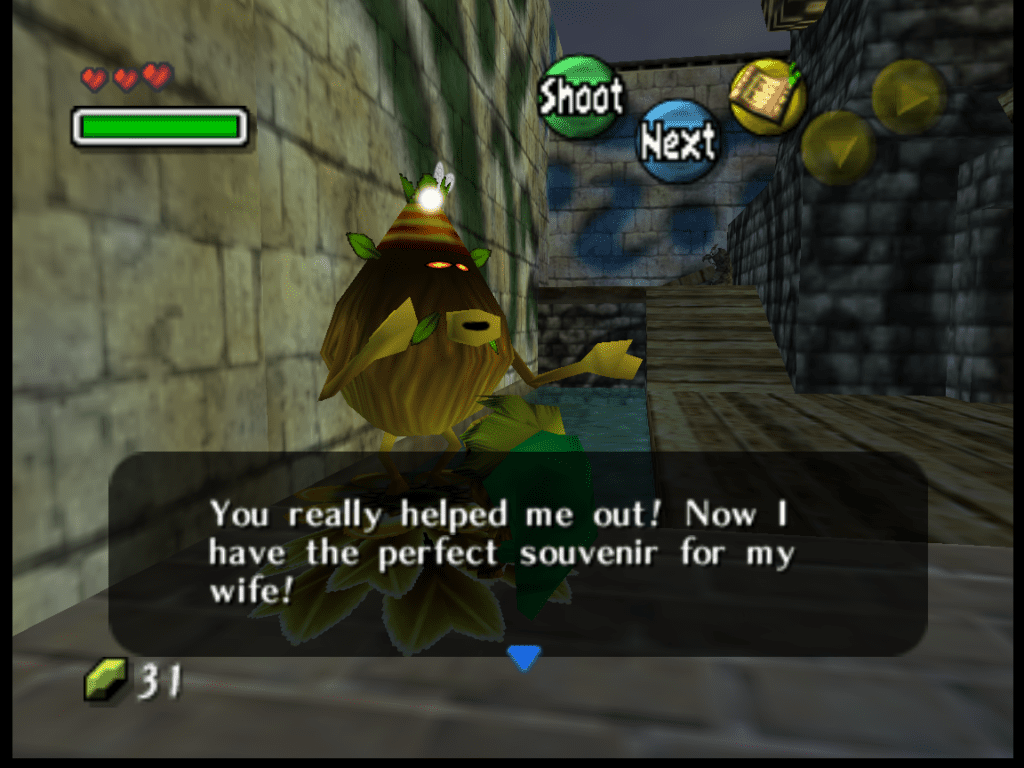
Now that we have the Moon’s Tear, let’s head back to South Clock Town. Remember that Wifeguy Business Deku that we talked to earlier? Well, we have a Moon’s Tear for him now!
We’ll need his spot to reach the Clock Door unless we want to try to mountain climb our way up to the platform. While it is possible to climb up to the door by the very narrow pathway on the right side, we can only climb it while not in Deku form. I find the Deku Flower to be more convenient, regardless.
After making the trade, Wifeguy Deku will thank you and give you the Land Title Deed. He’ll mention that this spot is in high demand among Deku Scrubs, so if we don’t need it anymore we can sell it for a pretty penny. Although we should already know that, the Deku Scrub we are.


After he takes flight with his bags, we can launch ourselves up to the Clock Door platform, and now we wait. Remember, if we’re not close to the third day by now, we can go back to Stylin’ Scarecrow to pass by the day(s).
The Clock Door only opens at midnight on the Eve of the Carnival. There are also other things that we can do until the time comes, like getting better acquainted with Clock Town or earning Rupees with the minigames. We could also try our luck at getting some of the Pieces of Heart that are here and there in Clock Town.
There is the Treasure Chest Shop in East Clock Town, which has minigames at the ready depending on what form Link takes. The owner of the shop is also incredibly willing to play favorites and will increase and decrease the price of the game depending on how attractive she thinks Link looks.
From five Rupees when Link is a Zora to thirty when he’s a Goron. The prizes differ depending on form as well. I’ll include a table for reference below, although we won’t be able to get the majority of these prizes yet.
Link’s Form | Game Price | Prize(s) |
|
Goron Link |
30 Rupees |
50 Rupees or a Piece of Heart |
|
Human Link |
20 Rupees |
50 Rupees |
|
Deku Link |
10 Rupees |
10 Deku Nuts |
| Zora Link | 5 Rupees |
20 Rupees |
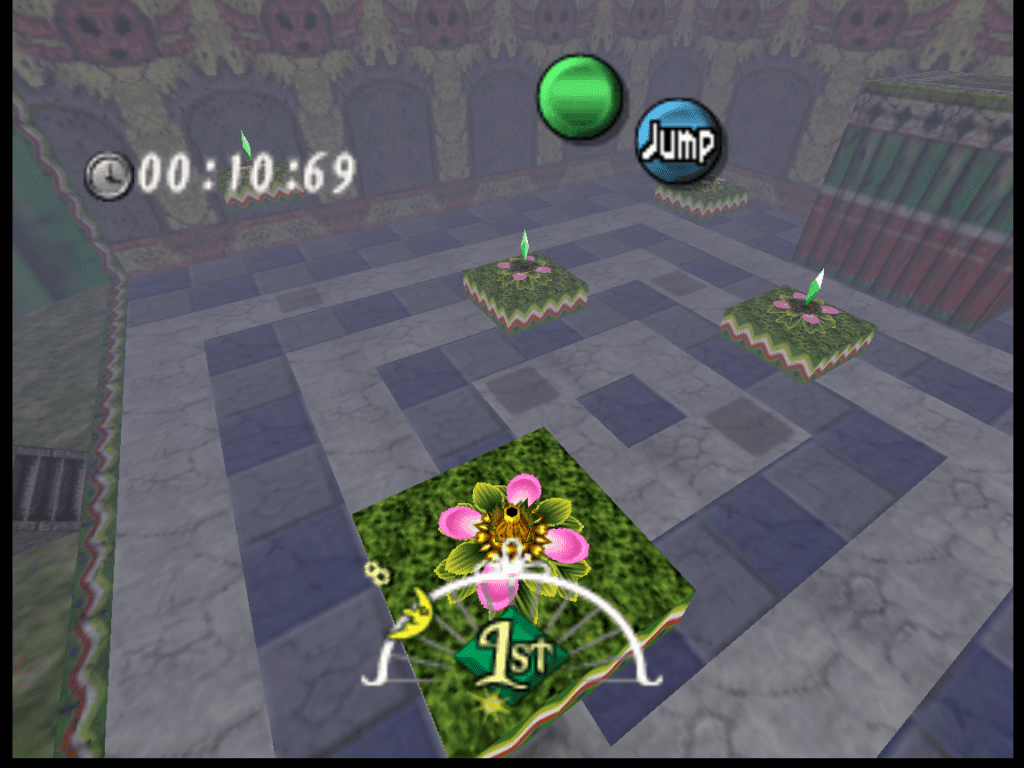
There’s also the Deku Scrub Playground, which is over by the Fairy Fountain in North Clock Town. There’s a gated-off area only accessible by Deku Flower. The Scrub Playground is run by two Business Scrubs and features a minigame where Link must run around and collect Rupees on various moving platforms.
This minigame costs 10 Rupees. If we collect all the Rupees and set a new record, the Business Scrubs will gift us a Purple Rupee (worth 50 Rupees). This minigame will get progressively harder as we set more records, and if we’ve set a record for each of the three days, the Business Scrubs will reward us with a Piece of Heart.

Again, Stylin’ Scarecrow is also an option. He exists in two locations, the Astral Observatory, and the Trading Post (Which is located in West Clock Town).
Before we do too much though, we should head over to the Bank. The bank is located in two different areas in the N64 and the 3DS versions. In the N64 version, the Bank is in West Clock Town, and the guy you’ll want to talk to will be in a little hole-in-the-wall area somewhere in the center. In the 3DS version, the Banker is located in South Clock Town, just behind the Clock Tower.

The awesome thing about the bank is that it will hold our Rupees, even after resetting time. After our first deposit, Banker will congratulate us for making our deposit and will ask for our name.
As a way of working in a loophole in the story so there’s no frustration with the bank, Banker will stamp Link with their “special ink”. They assure Link that this ink is invisible and enduring, and it’s here so they’ll always recognize him. And it absolutely works that way! Every time we talk to Banker, they’ll look for their stamp and know it’s Link, regardless of form.
… Now only if there was a way to store our items as well.
These Are My Roaming Hours: Snatching the Ocarina Back and Gaining the Deku Mask
Now that we have adequately passed the time, we should saunter over to the Clock Tower Door. There’s a Piece of Heart on the platform, and it’s pretty much impossible to miss.
After the piece of heart is collected off the platform, there will be a heart to restore health instead. The Pieces of Heart are things that we absolutely will want to keep an eye out for because when we get four of them it will increase our life count/energy.
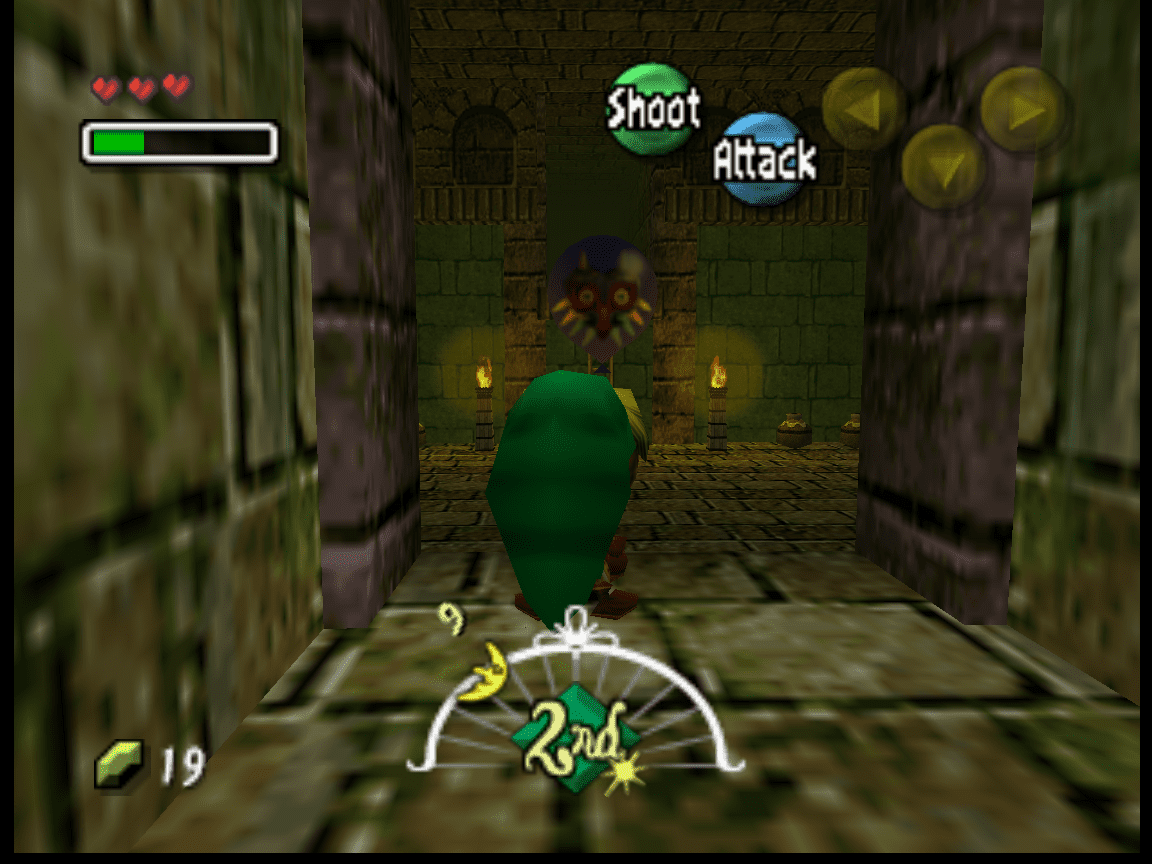
At 12:00 on the night of the Final Day, we’ll witness a cutscene regarding the start of the festival. This includes fireworks and the Clock Tower seemingly evolving, with some mechanical force pulling the top out and the doors down. The “door” is now a flight of stairs! Let’s head up and maybe fight Skull Kid!
After we go up the stairs, a cutscene will play. This one features Skull Kid being a real douchebag, and Tael will attempt to give a hint about what we’ll need to do later. Skull Kid will hit him and give snark about talking out of line, and Tatl will lose her mind. After a second, Skull Kid will scream and make the moon drop onto Termina even faster. Now our “battle” begins!
The most important thing to remember is that we’re not beating Skull Kid anytime soon. We just want to hit him with our slick new move, Bubble Blast, to stun him.
Bubble Blast will make him drop the Ocarina, and we’ll run over to pick that up.

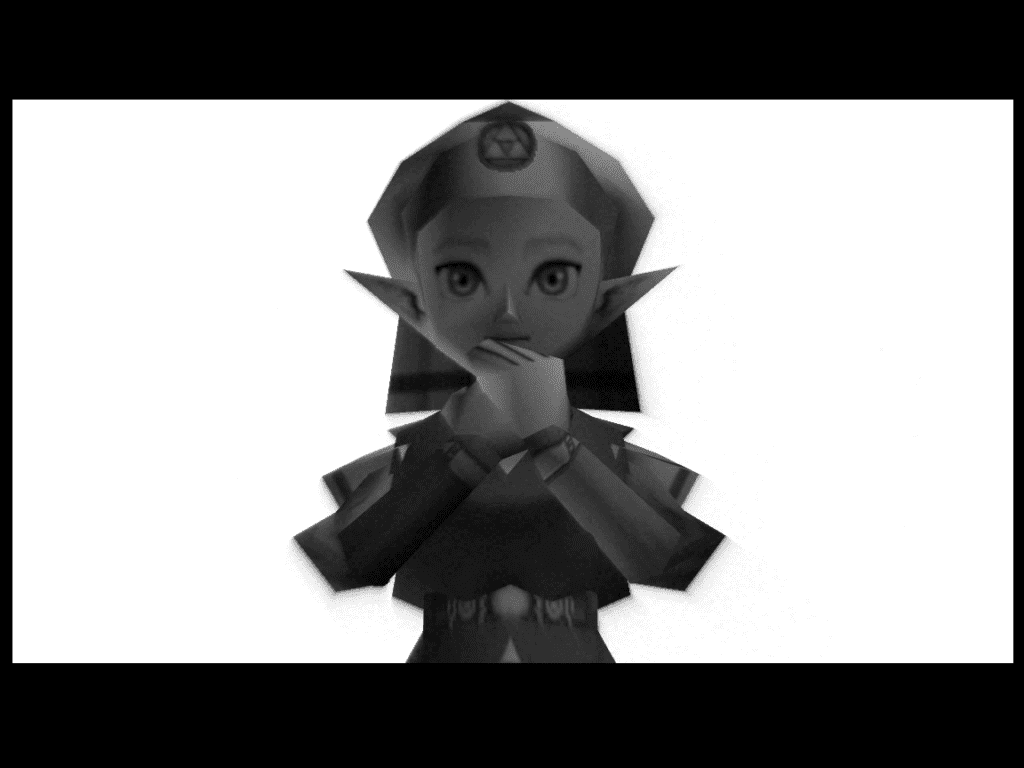
Picking up our instrument will make a short flashback cutscene play, featuring Zelda giving the Ocarina to you. We’ll remember the Song of Time as a result, so we’ll want to immediately play that.
After we play the song, we’ll get a life-flashing before our eyes scene, and we’ll be taken back to the Dawn of the First Day. Tatl will comment, and you’ll look around for a minute before realizing that the world is truly reset.
Tatl will now mention that, oh yeah! You did make a deal with the Mask Salesman, and he said he’d give Link back his human body! Let’s go talk to him!
Entering the lower doors of the Clock Tower will reveal the eagerly awaiting Happy Mask Salesman. He’ll ask if you’ve recovered your precious item, and get really excited about the fact that you have. He’ll now teach us the Song of Healing, which gives us the Deku Mask and returns us to our former state.
We’ll get a cutscene of Link waving goodbye to the Mad Scrub he was possessed by, and the Happy Mask Salesman will smile at us. He explains that the magic in the Deku Mask has been sealed, so we’ll only return to a Deku form when wearing the mask. When we take off the mask, we will return to our normal state.
We need to go to the inventory menu and assign the mask to a quick-access button in order to use it.
The Mask Salesman will now ask Link if we’ve recovered Majora’s Mask, and then he’ll shake Link by his shirt collar. He’ll explain the history of the Majora’s Mask, and will request our absolute aid in retrieving it. We agree, and the Mask Salesman calms down a little bit.
And that is it! That’s the First Three Days in Majora’s Mask!
Majora’s Mask Walktrough: FAQs
Question: Is Majora’s Mask coming to the Switch?
Answer: Yes! Majora’s Mask is actually already available on the Nintendo Switch, through the Nintendo Switch Online + Expansion Pack. This pack actually includes several other classic Nintendo 64 titles, although I honestly think that the worth of the package is debatable.
Question: Is Majora’s Mask better than Ocarina of Time?
Answer: This question is like a can of worms. I don’t honestly believe that there is a definitive answer on whether or not any piece of media is good or bad! It’s all up to the player and their preferences in video games.
I personally enjoy Majora’s Mask a little more than Ocarina of Time, although both games have their ups and downs. Majora’s Mask is heavily repetitive, but I found Ocarina of Time to be lacking at some points in a way Majora’s Mask isn’t. As an artist myself, I find the creative design and direction in Majora’s Mask to be thrilling!
It has a vibe to it that Ocarina of Time doesn’t! I also adore that they repurposed old character models (every character model in Majora’s Mask came directly from Ocarina of Time). But the same opinion can’t be said for everyone! I encourage everyone to try out different styles of games to find out what they like best!
Even if it doesn’t initially sound like your cup of tea, it could end up being your favorite game ever! This has happened to me on multiple occasions, I didn’t think I’d like playing NetEase’s mobile game Identity V (I don’t usually play mobile games, and I play even fewer MMO-type games), but I like to play it. Even if my main focus is having fun and learning the cast.
Question Three: Is Majora’s mask the darkest Zelda game?
Answer: I don’t honestly think so. There are definitely elements of Majora’s Mask that ring darker than some of its predecessors, but I don’t think it’s the most horrifying game. Lore-wise, that is. It absolutely has the grungiest graphics.
I actually think, personally, that The Legend of Zelda: Link’s Awakening is the more macabre game. The graphics are obviously more colorful and cutesy (especially considering the Switch version), but I think the story is a lot more existentially horrifying. I won’t go into detail here because I want to avoid spoiling the game for people who haven’t played it, but it shares some common themes with Majora’s Mask, only slightly different.